User Guide Of iSalvor
Is it possible to bypass iCloud activation lock on iPhone? Can I re-access a screen locked iPad? Is there any way to remove iPhone SIM lock? How to disable iPhone camera sound to avoid embarrassment? The answer is absolutely YES! All these problems can be solved by iSalvor. Just follow this guide!
Part 1. Bypass Activation Lock
Step 1Launch iSalvor
Download and install iSalvor on your computer. Open it and choose Bypass iCloud Activation Lock Screen.
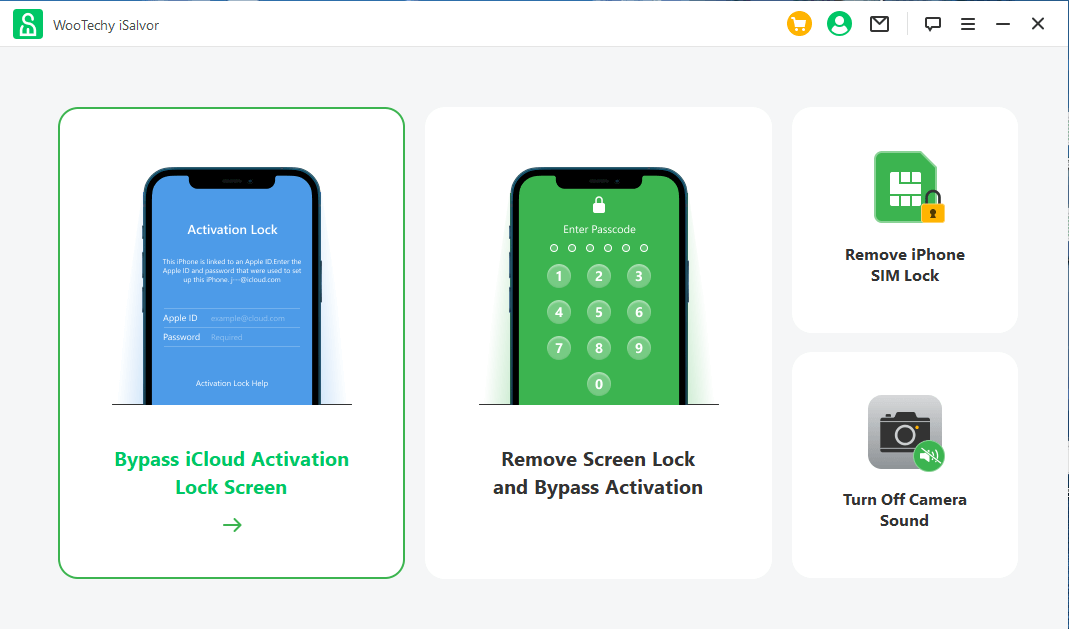
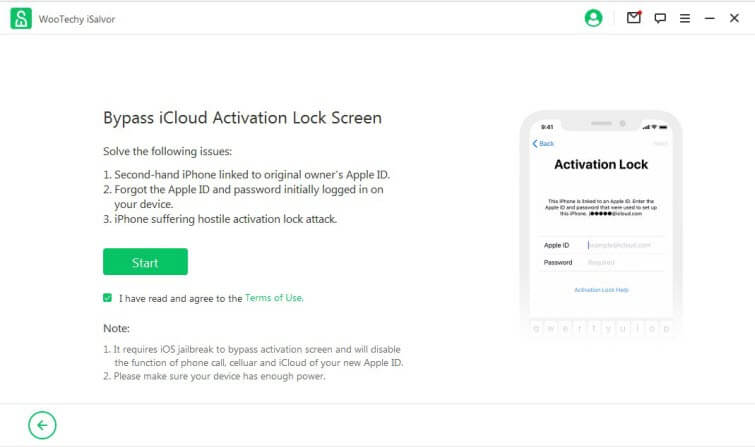
Now click the Start button.
Step 2Connect Device
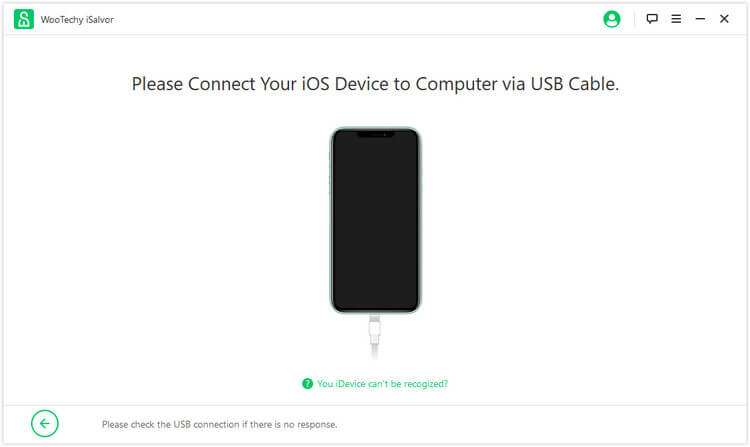
Connect your iOS device with a lightning cable to your PC. If the connection failed, click Your iDevice can’t be recognized to check the solution.
Step 3Jailbreak Device
A jailbreak is needed before bypassing iCloud activation lock. Make sure that your device is jailbroken before the bypass process. Here are the jailbreak solutions for the macOS version and Windows version.
- For the macOS version, go to Option 1. Jailbreak Solution for macOS Version.
- For the Windows version, go to Option 2. Jailbreak Solution for Windows Version.
Option 1. Jailbreak Solution for macOS Version
After the connection, iSalvor will download a right jailbreak package automatically for your device. Once the downloading process is done, click the Start Jailbreak button.
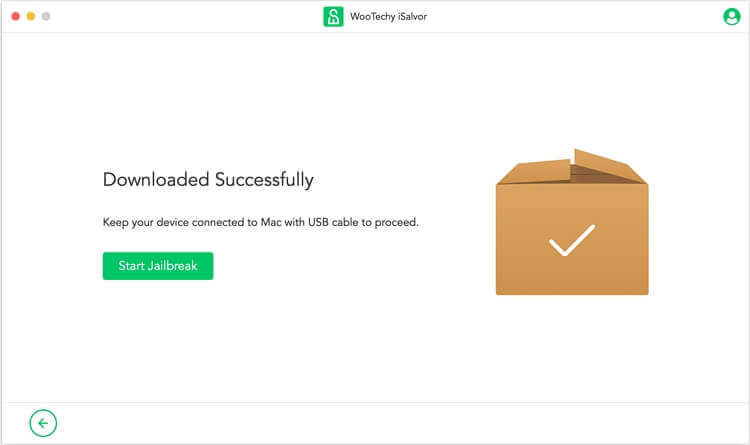
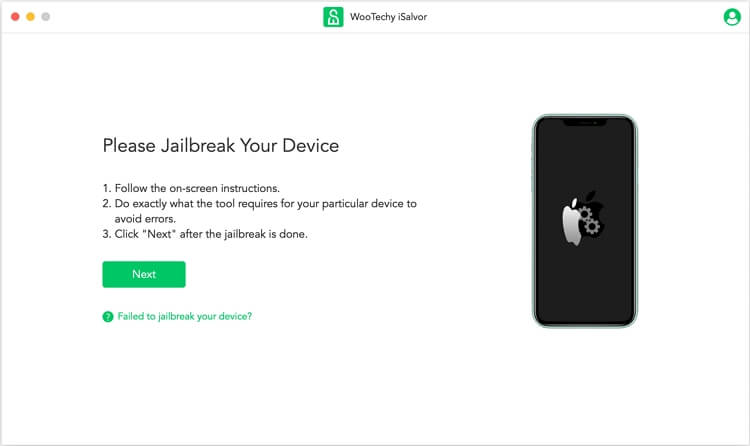
Follow the onscreen instructions and do exactly what the tool requires to put your device into DFU mode. Wait for a moment until the jailbreak process completed. After jailbreaking device successfully, click the Next button to continue.
Option 2. Jailbreak Solution for Windows Version
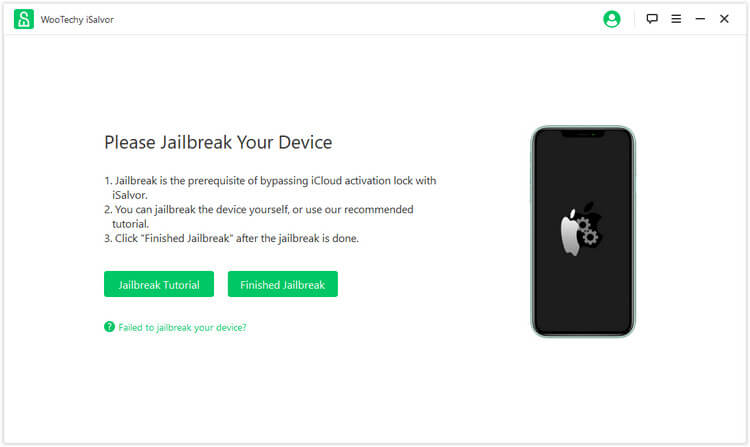
For the windows system, there is no jailbreak tool. What you can do is to click the Jailbreak Tutorial button and follow the tutorial to jailbreak your device on Windows computer. When the jailbreak process is done, click the Finished Jailbreak button to proceed.
Step 4Bypass Activation Lock
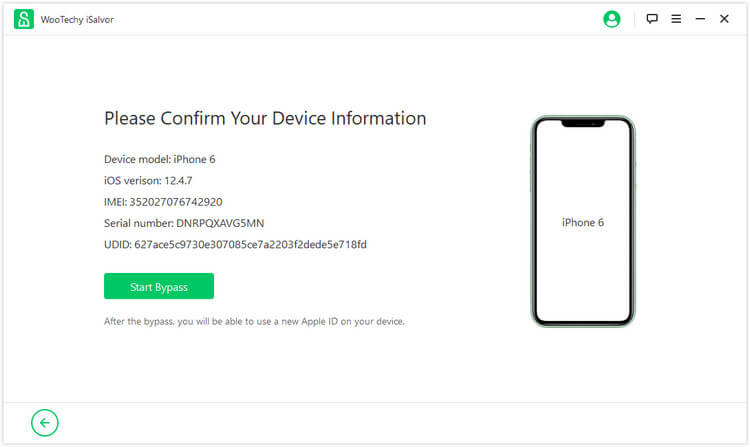
Now you can see all your device’s information here. Check your device model, iOS version, IMEI, serial number and UDID before starting the bypass process. Then click the Start Bypass button.
(Note: Once the bypassing process is done, all features like Apple ID, iTunes ID, Apple Store and others are available except for phone calls, cellular, FaceTime, iMessage and iCloud of your new Apple ID.)
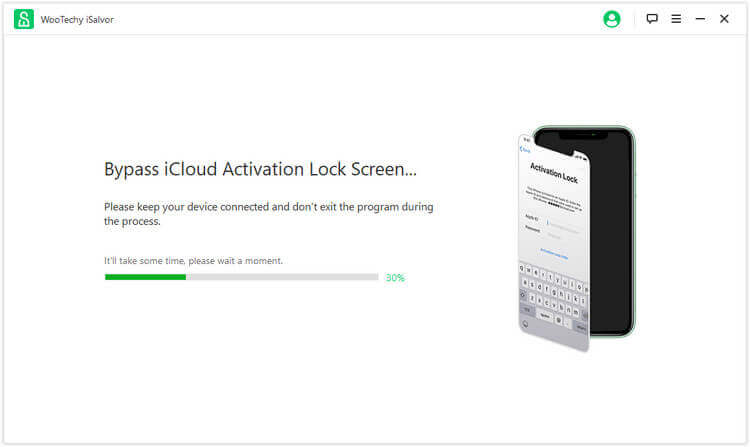
iSalvor will start to bypass the Apple activation lock screen immediately. The whole bypass process only takes a few seconds.
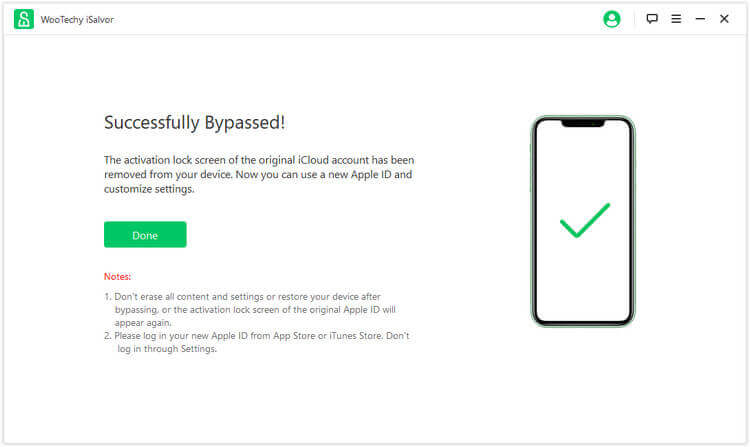
Once it is done, a successfully bypassed window will display on your Mac or PC. That means the activation lock screen linked to the previous owner's Apple ID is bypassed successfully. Click Done to finish the whole process. You can now enjoy using your iDevice with a new Apple ID!
Part 2. Remove Screen Lock
Step 1Launch iSalvor
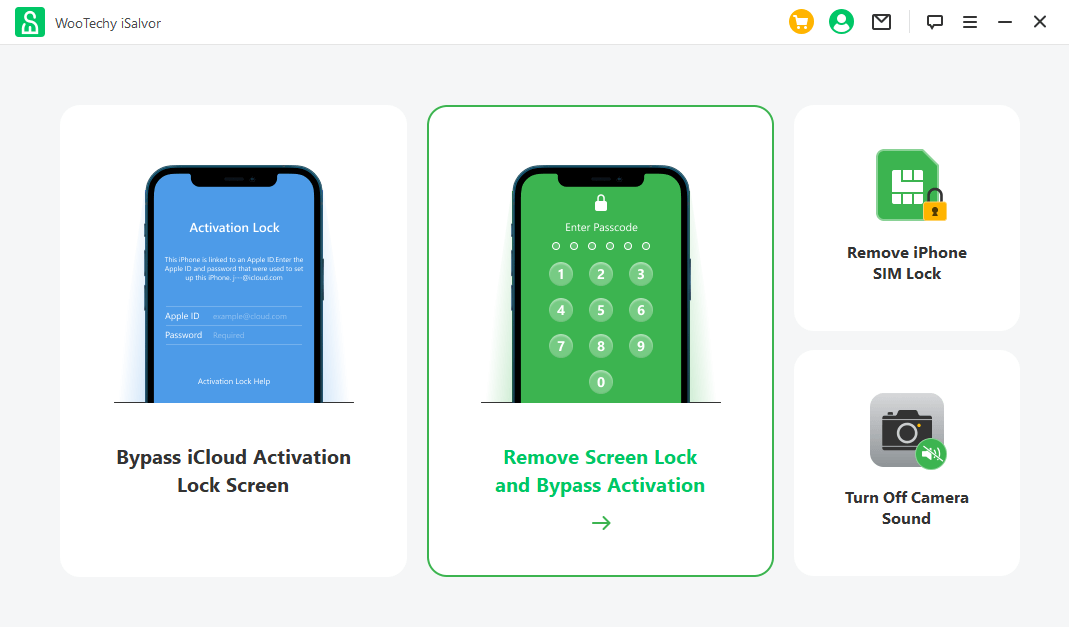
Launch iSalvor, select Remove Screen Lock and Bypass Activation.
Click Start to remove screen lock.
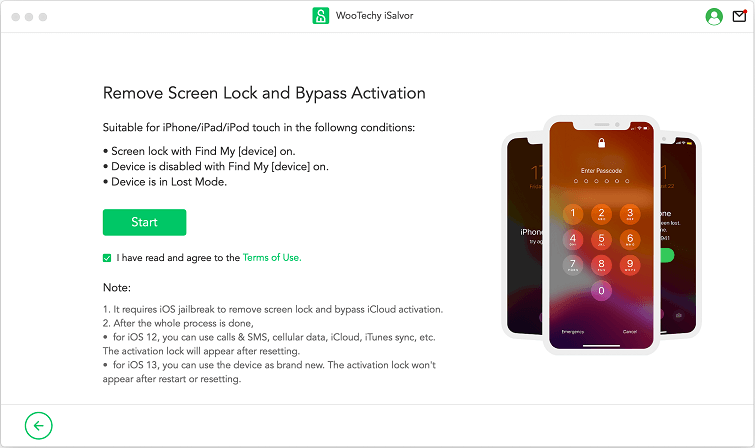
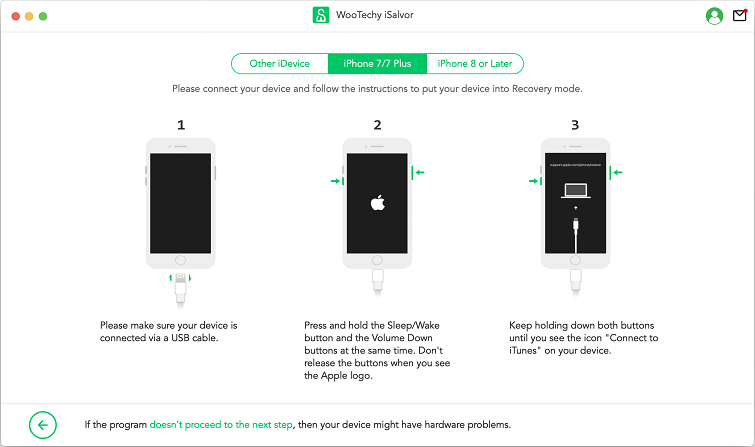
Connect your device to the computer. If you are asked to trust the computer on your phone, make sure to tap Trust. After that, put your device into recovery mode according to the on-screen instruction. Make sure you choose a correct device model on the top of the screen to see the correct instruction.
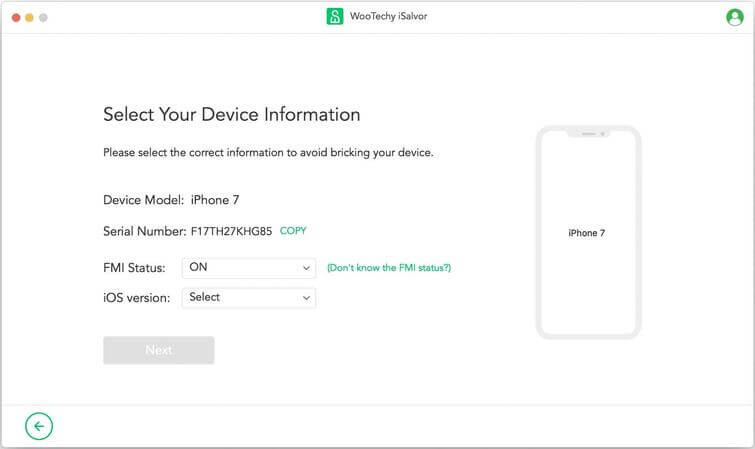
Confirm your device information. Make sure you select the correct FMI status of your device. If you are not sure about the FMI status, click Don’t know the FMI status to find out, or see more information about the FMI status. Finally, click Next to proceed.
Step 2Jailbreak Device
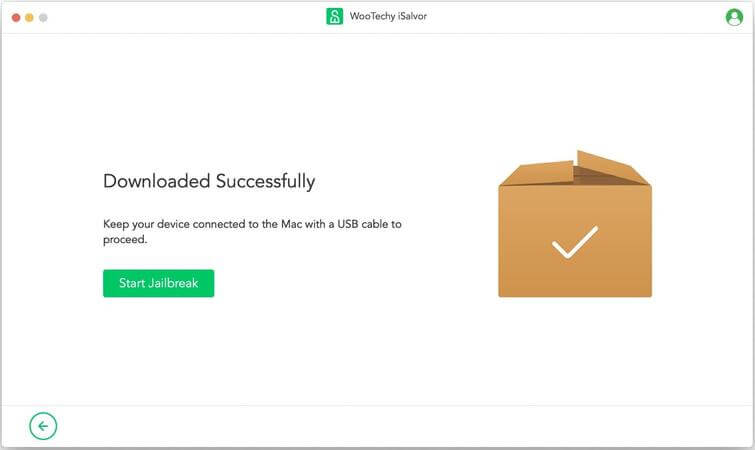
Proceeding to the jailbreak step, iSalvor will automatically download a jailbreak package for you. After the download is complete, click Start Jailbreak.
Agree to the Terms of Jailbreak to proceed.
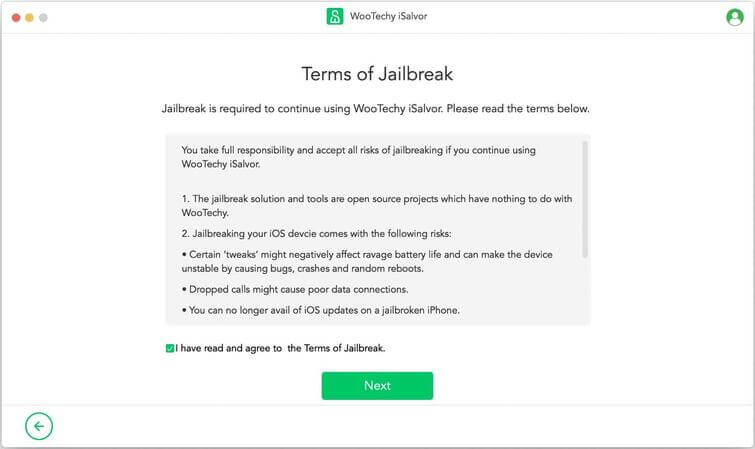
Then click Next to start jailbreaking your device.
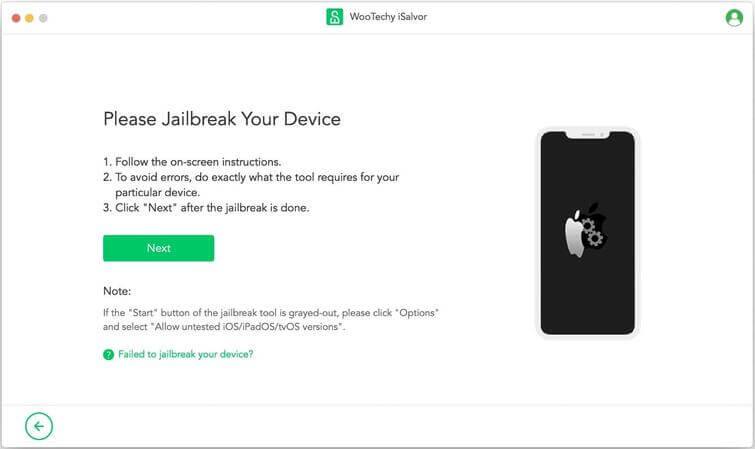
Step 3Remove Screen Lock
After jailbreaking, the process would be a bit different for devices running iOS 12 and devices running iOS 13 or above.
- Option 1. Proceed with devices running iOS 12: You can use most functions including calls & SMS, cellular data, iCloud, iTunes sync, etc.. But the lock will reappear upon reboot.
- Option 2. Proceed with devices running iOS 13 or above: You can use the device as brand new. The activation lock won't appear after restart or erasing.
Option 1. For Devices Running iOS 12
Once the jailbreak is done, iSalvor will take a few seconds to process the data. After that, click Download to download the firmware for your device.
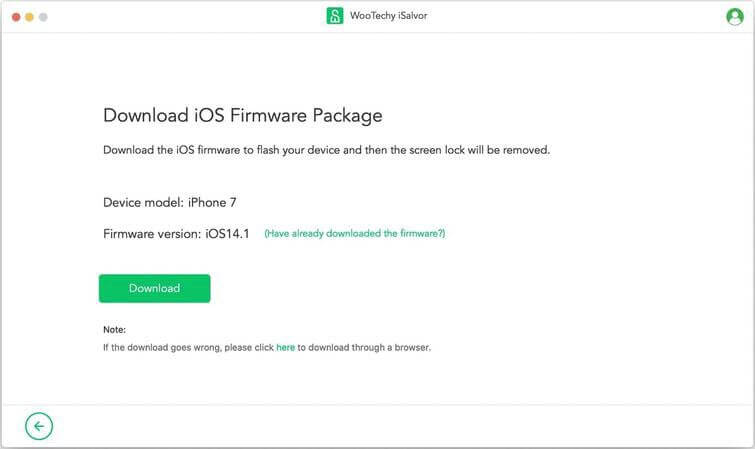
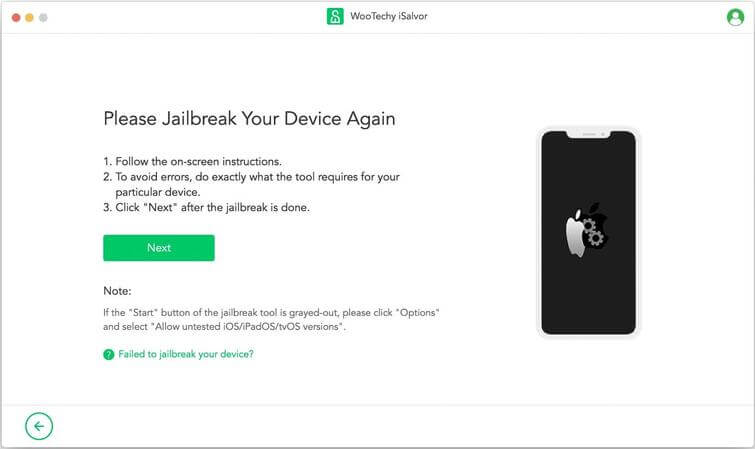
Now iSalvor will remove the screen lock on your device. After that, the device will reboot, just click Next and follow the on-screen instruction to jailbreak your device once again. It’s the same process in the 2nd Step.
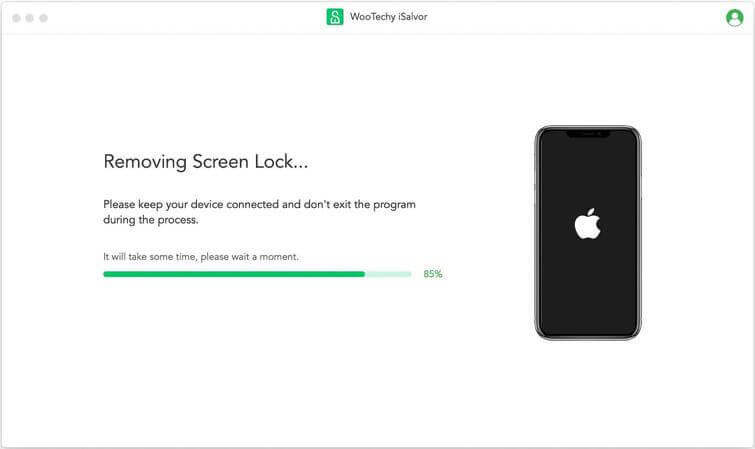
Finally, iSalvor will help you remove the screen lock and bypass activation lock. All you need to do is to make sure the device is connected and wait.
When the [Successfully Bypassed iCloud Activation] screen appears, click Done to confirm. Now you can enter the iOS system, login with a new Apple ID and use most functions including phone call, cellular and iCloud sync and more.
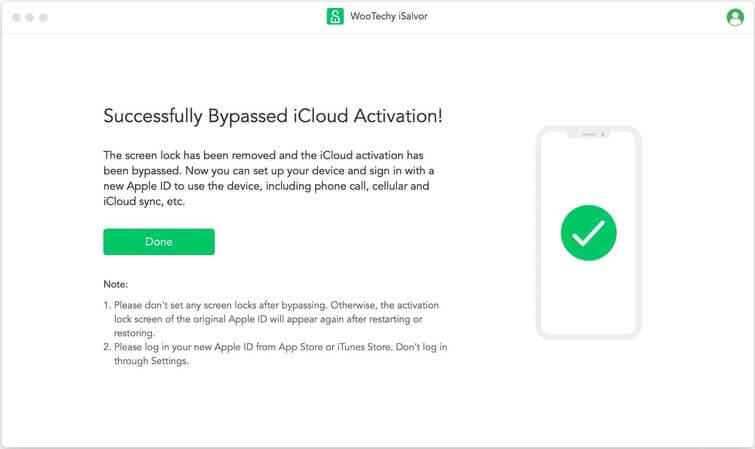
Note for Devices Running on iOS 12.x:
Option 2. For Devices Running iOS 13 or Above
Once the jailbreak is done, iSalvor will start turning the Find My function off.
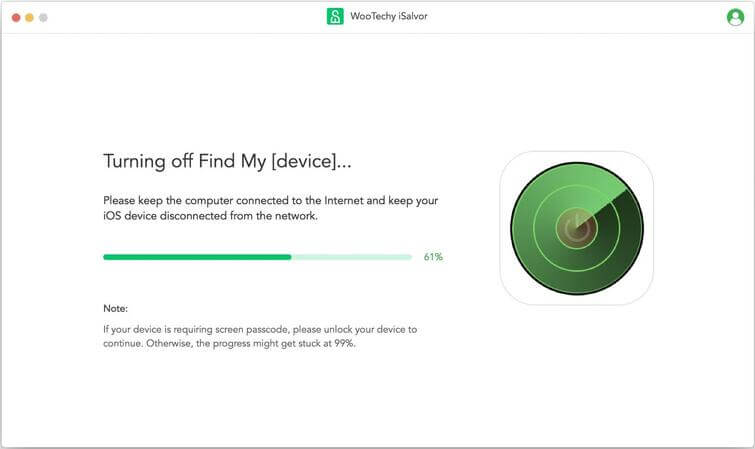
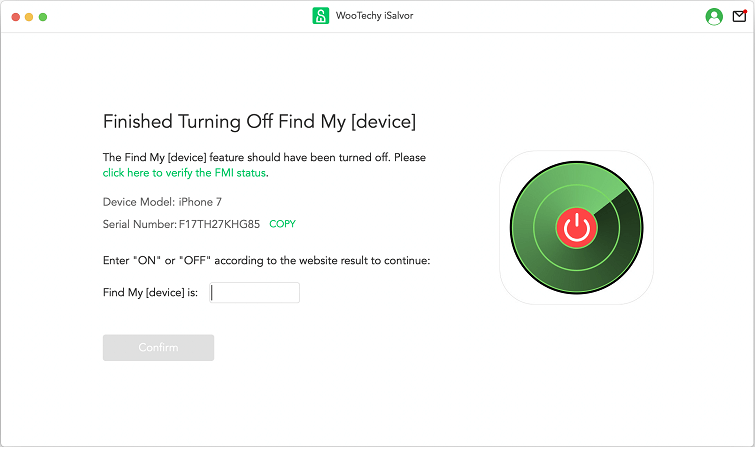
Verify your FMI status, and input ON or OFF before clicking Confirm.
Now iSalvor will go through a series of process to download and extract firmware package then remove Apple ID. Click Download to start, and make sure you don’t disconnect the device from computer during the entire process.

Once the bypass process is complete, click Done. Now you can disconnect the device from computer and start using it as new.

Part 3. Remove SIM Lock
Step 1Launch iSalvor
Launch iSalvor, select Remove iPhone SIM Lock.
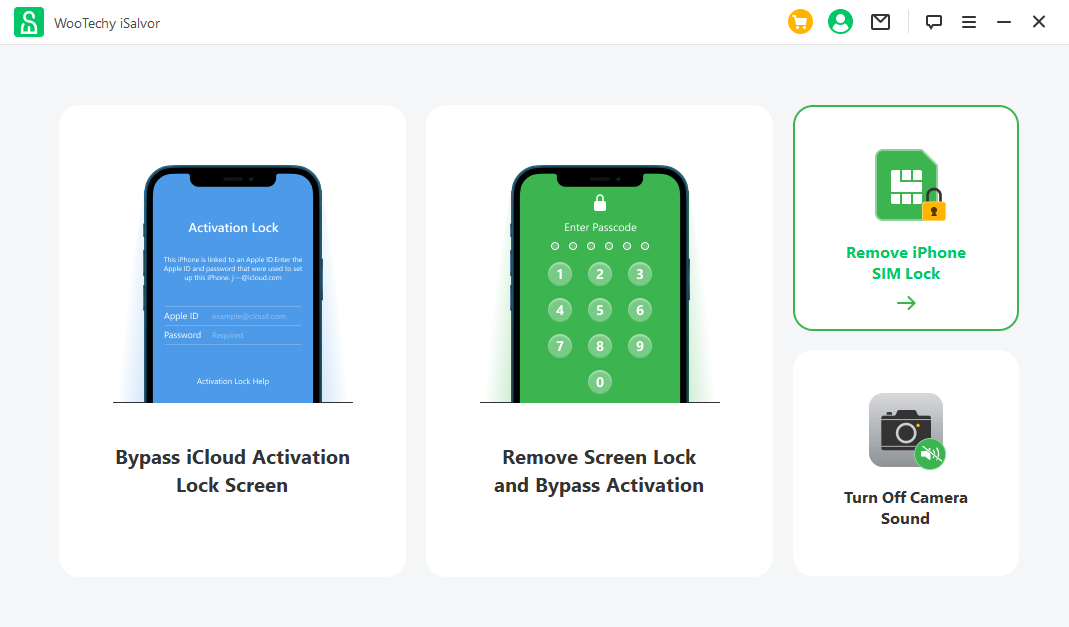
Click Start to start the process.
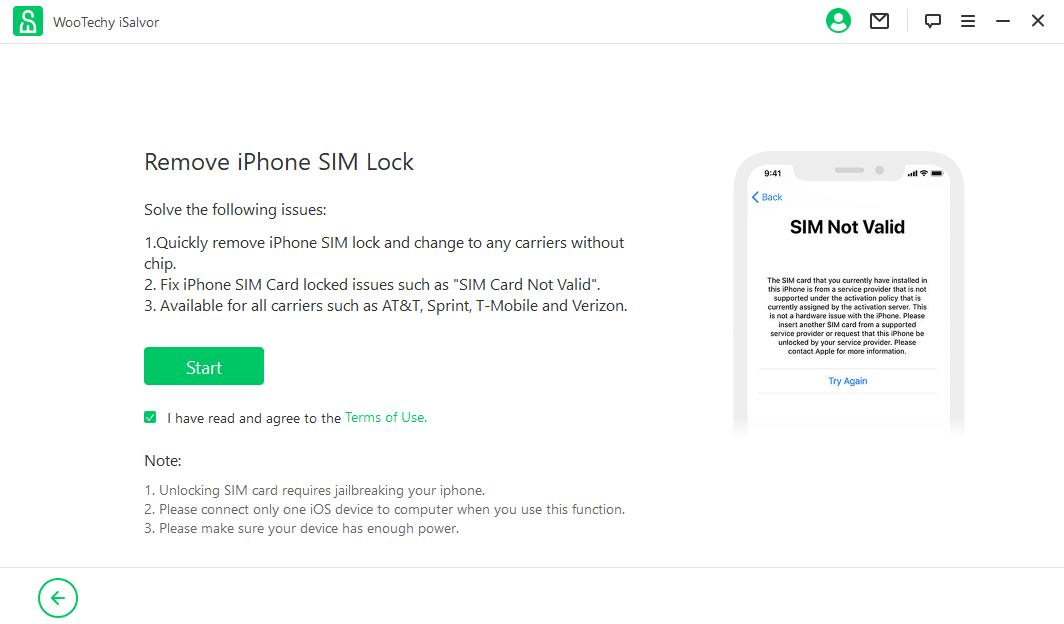
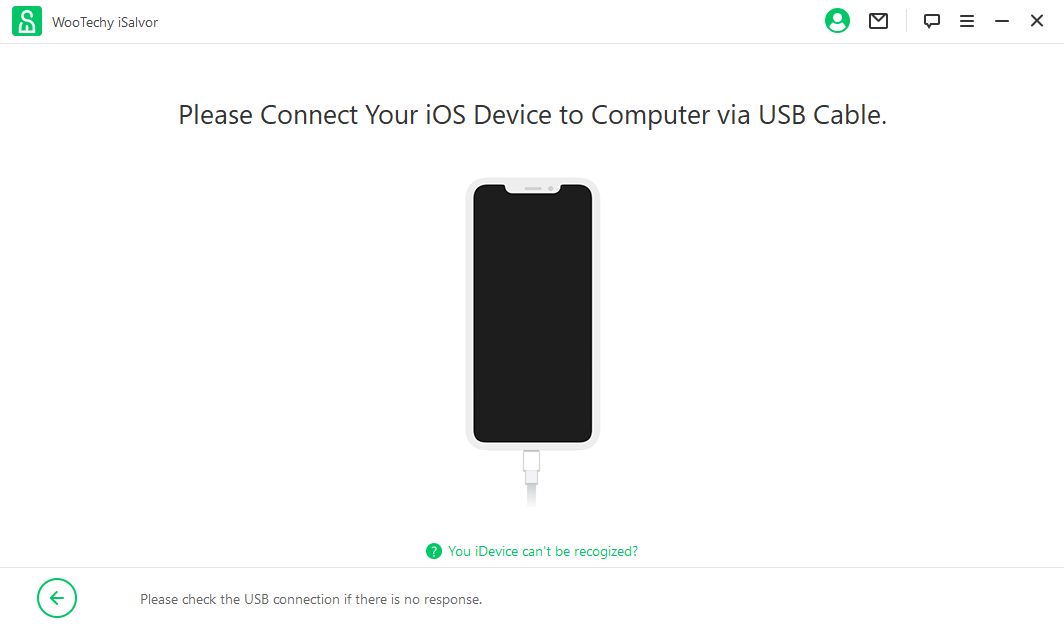
Connect your device to the computer using a suitable cable. Trust the computer if you have not done that before.
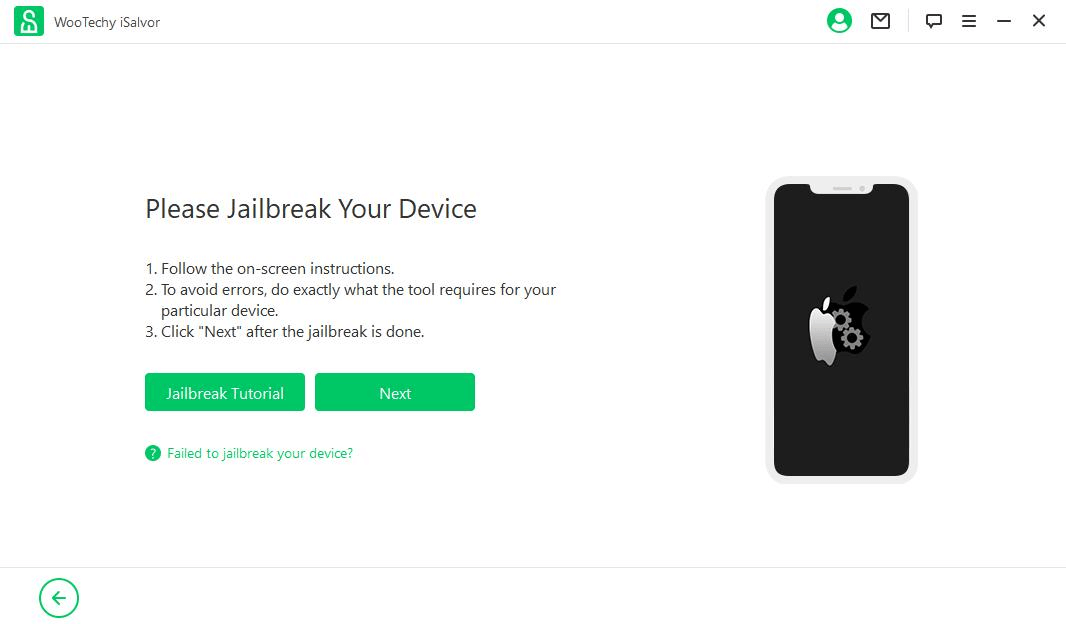
Step 2Jailbreak Device
You need to jailbreak your device to remove the SIM lock. For the Windows user, the program will provide a jailbreak tutorial. Just click on the button and follow the guide to finish the whole process. When the jailbreak is done, click Next to contiune.
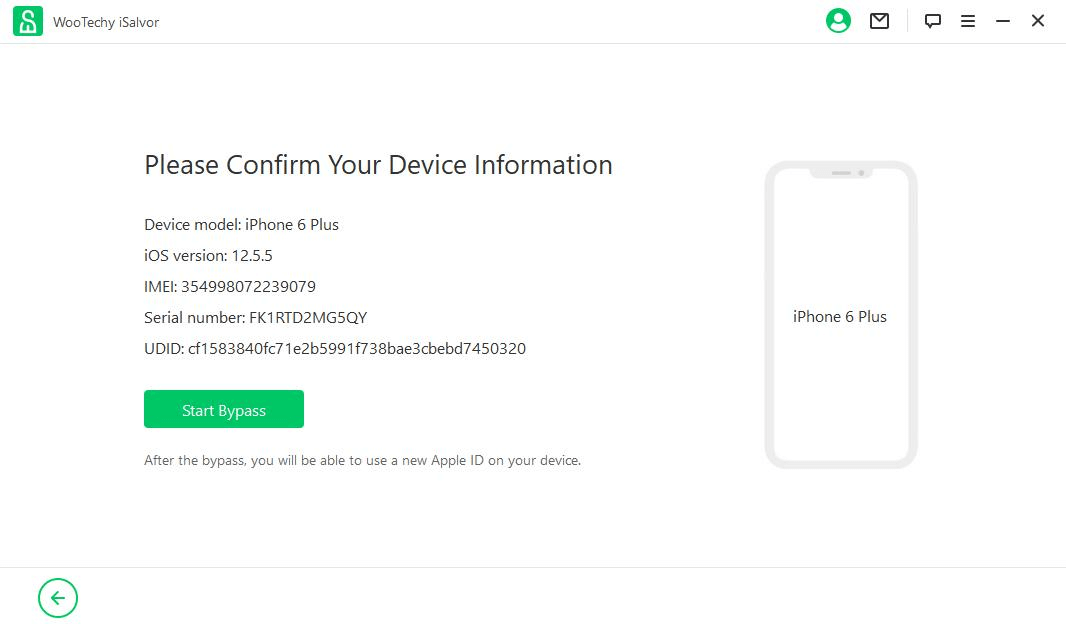
Step 3Remove SIM Lock
Now you'll see all the details about your iPhone. Check them one by one for confirmation. If everything is right, click Start Bypass.
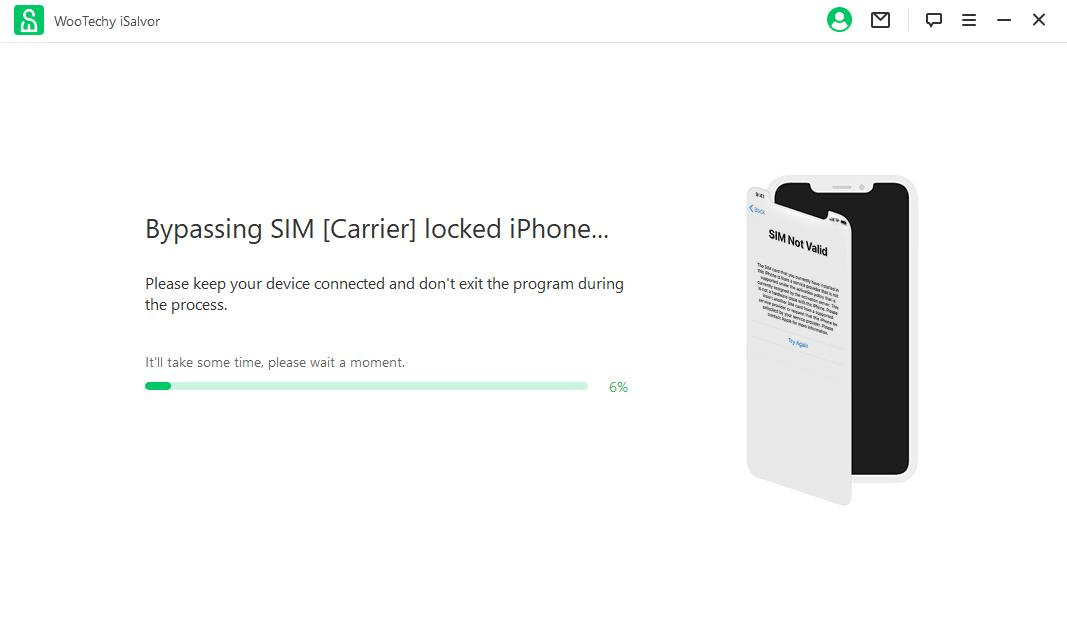
iSalvor will start to remove the SIM lock from your iPhone. The whole process won't take more than 10 minutes, please wait patiently.
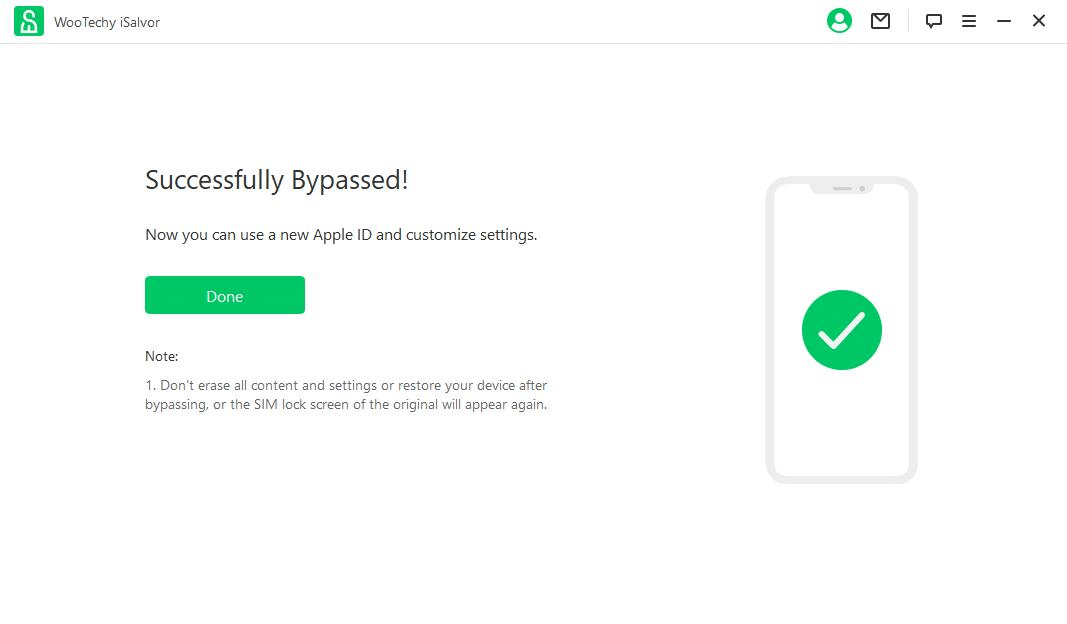
Once done, there will be a successful message on the screen. Click Done to end the whole process. Now you can use any SIM card as you wish! No functions will be influenced!
Part 4. Disable Camera Sound
Step 1Launch iSalvor
Launch iSalvor, select Trun Off Camera Sound.
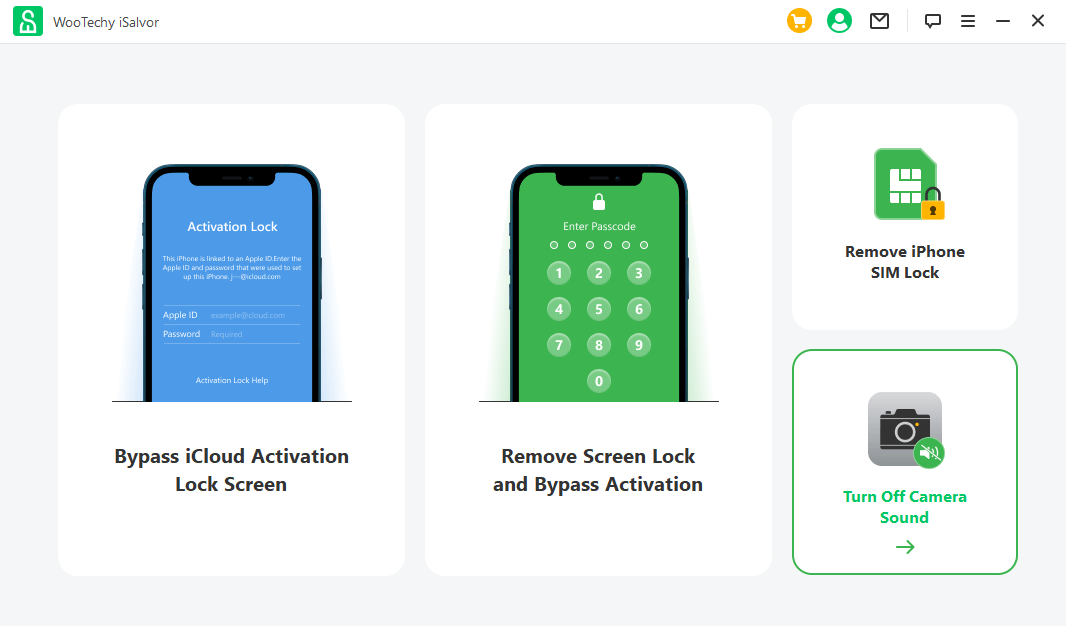
Click Start to turn off iPhone camera sound.
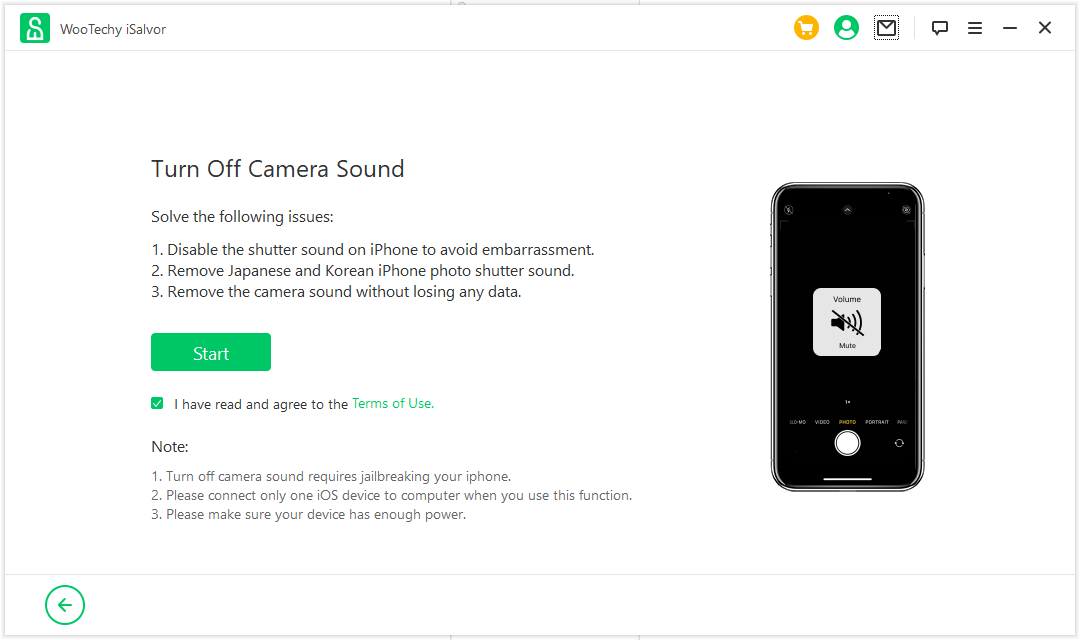
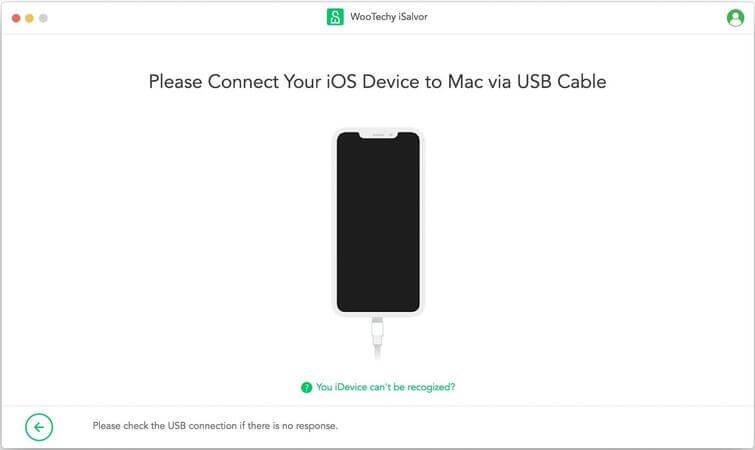
Connect your device to the computer. If you are asked to trust the computer on your phone, make sure to tap Trust.
Step 2Jailbreak Device
Now you need to jailbreak your device. Jailbreak for iPhone 6 to iPhone X can be done by following the in-app guide. Jailbreak for iPhone XR to iPhone 11 Pro Max can be done according to this Jailbreak Tutorial.

Step 3Turn Off Camera Sound
When the jailbreak is done, iSalvor will start turning off camera sound. Make sure your device is connected to the computer and the internet connection is stable throughout the entire process. After the process is finished, verify your device information, then click Turn Off.
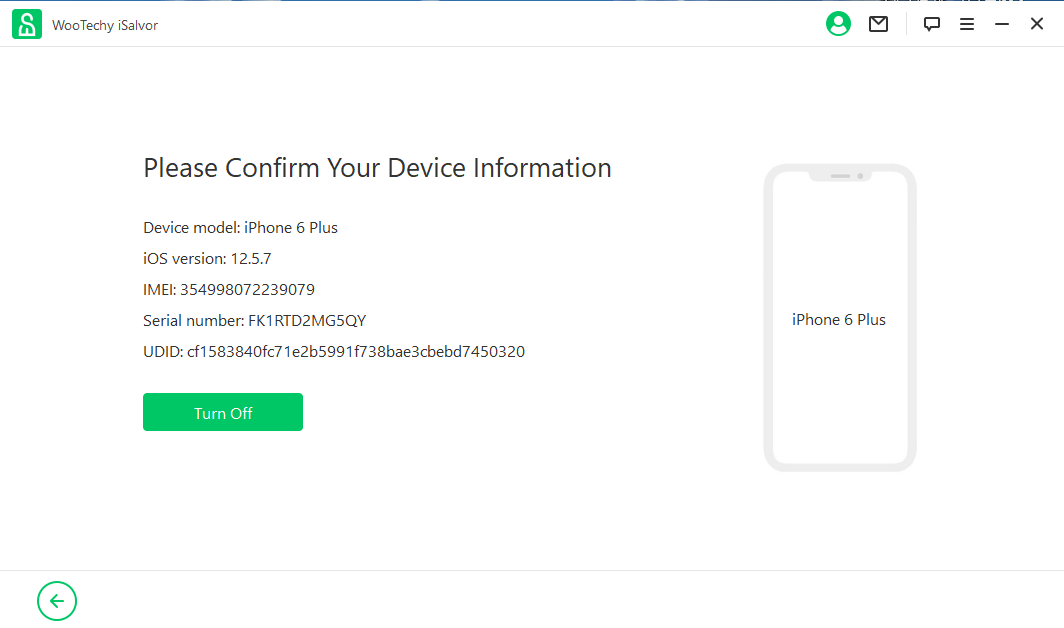
Now iSalvor will disable camera sound from your device to prevent embarrassment and there is no data loss.
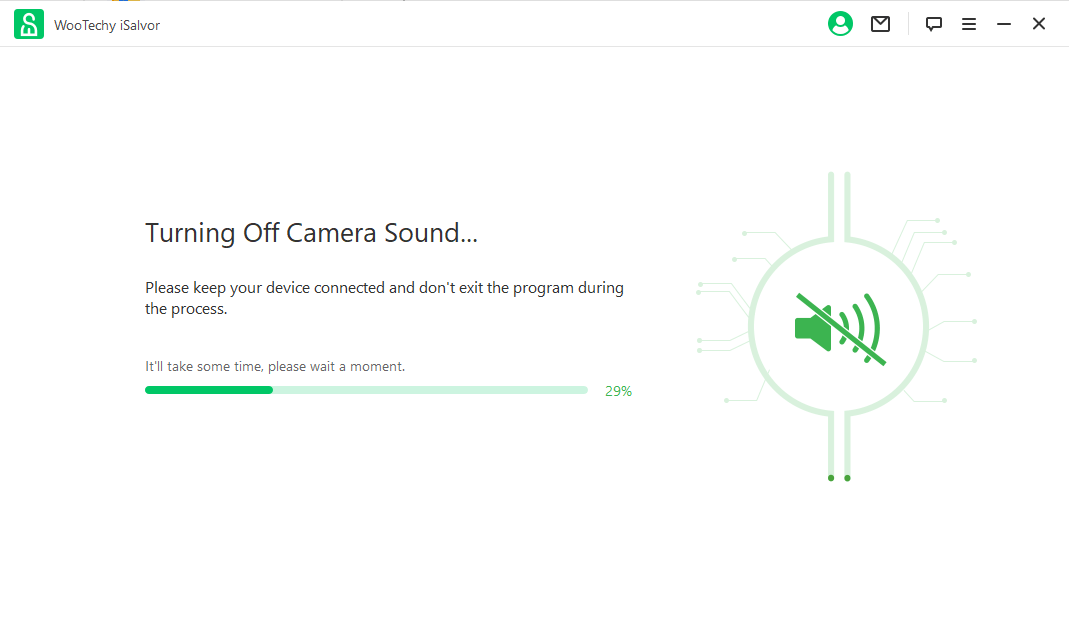
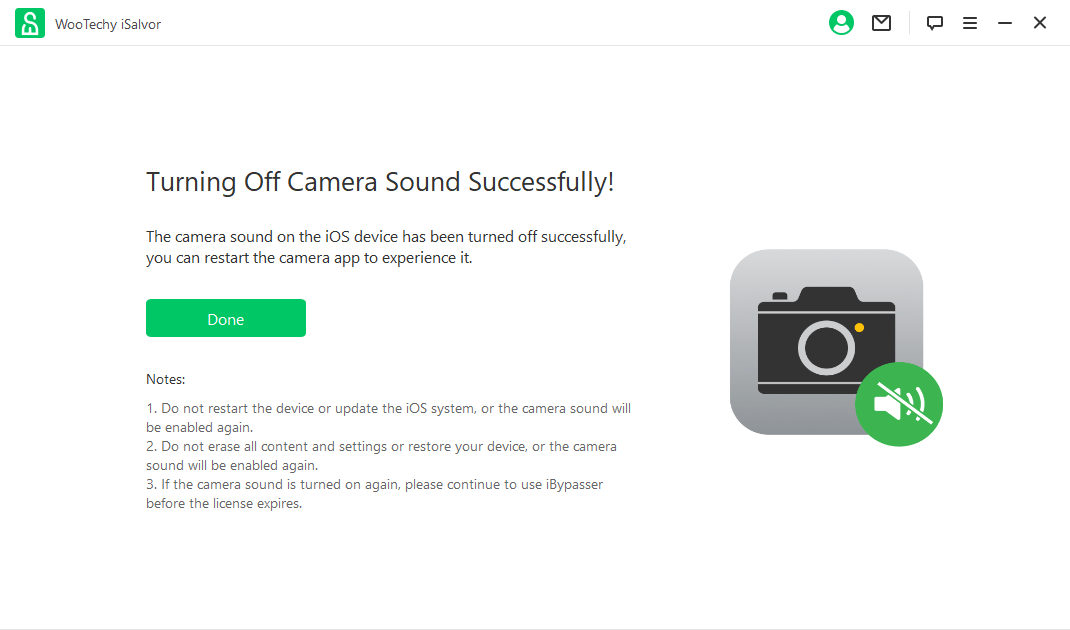
Once the process is done, the camera sound is turned off successfully. Now click Done and you can take photos without sound when you reopen the Camera app.
