Snapchat is one of the most used and trendy social media platforms nowadays. It's location feature enables people to spread their posts or see other's sharing, and users can also see the location of friends and family. In this article, you will be guided on how to add location on Snapchat and also change location on Snapchat without others knowing.
- Part 1. How to Put and Add Location On Snapchat
- Part 2. How to Create a Location Filter On Snapchat
- Part 3. How to Change/Fake Your Location On Snapchat Map
- FAQs: More About Snapchat Location You May Want to Know
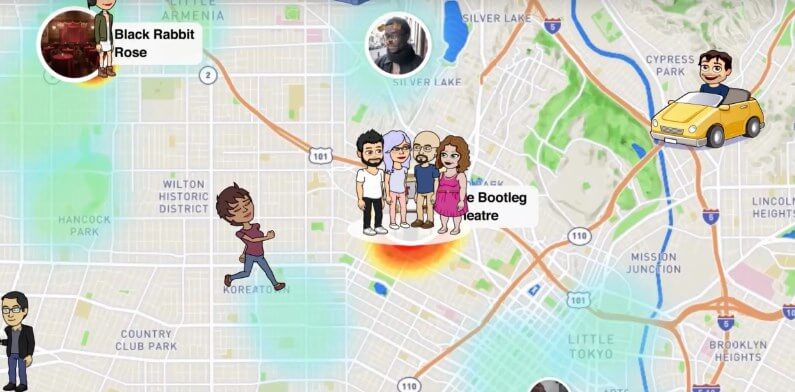
Part 1. How to Put and Add Location On Snapchat
It is straightforward to add a location to your Snapchat account. The Snapchat sticker will help you to add a location to your post. It has almost every location stored in the application, and you can use it in multiple ways.
You can add locations while traveling or going to a restaurant so that your friends can watch and enjoy themselves with you. Let's discuss the steps to teach you how you will do it on your device.
Step 1. Download and install Snapchat on your mobile phone. Log in with your phone number and email.
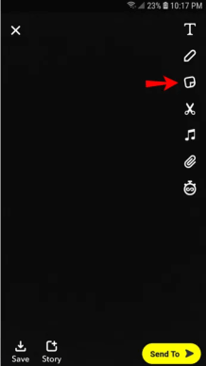
Step 2. Capture any pictures, or you can choose from your gallery. Tap the Sticker icon on the right-hand side menu. It will show you a massive library of stickers.
Step 3. Tap Location from the top menu and search for the desired location. After searching, tap on the location that will be added to your image. You can adjust the location sticker accordingly. Now, you are all set to share the snap with your friends to let them know the location where you are currently staying.
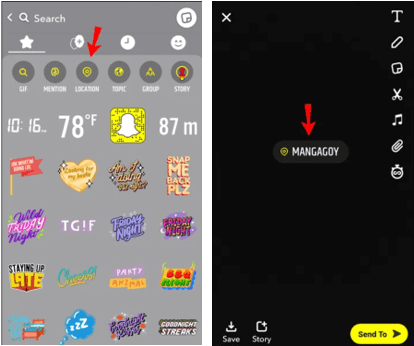
Make sure that you have downloaded the latest version of Snapchat to avoid bugs, and it fetches your location automatically by entering your number or Gmail.
Part 2. How to Create a Location Filter On Snapchat
Snapchat is well known because of its outstanding and effective filters. It has numerous filters to apply to your images and send to your loved ones. There is a geofilter in Snapchat to give your pictures a warm look and feel and show your desired location.
You have to disable Ghost Mode from your Snapchat account to enable this location filter. It is applied by default when you don't give location access to Snapchat. Let's see the steps to see how you can apply them.
Step 1. Tap your Bitmoji at the top left of your screen and go to the Setting icon from the top right corner.
Step 2. Scroll downward because you have plenty of options. Under Privacy Control, tap See My Location and follow the next step.
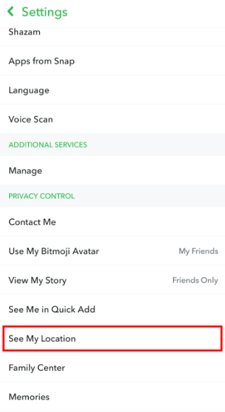
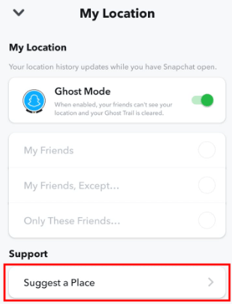
Step 3. You will have multiple options for the location, but you can't access it due to ghost mode. Turn off the Ghost Mode and set the preference to the public or friends. You can also select a specific location if Snapchat is not detecting the right one automatically. Tap Suggest A place and select the relevant one.
Step 4. Get back to the capture section, click a picture, or select from the previous library. Swipe left to apply the filters. After a few swipes, you will find the location filter, stay with it and save your photo with the location filter.
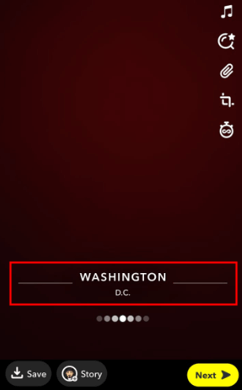
You can also search for the desired location by tapping on the previous location and entering it accordingly.
Part 3. How to Change/Fake Your Location On Snapchat Map
Now you have learned how to add location on Snapchat. Sometimes, however, we might don't want to show our original location, so we disguise ourselves with a fake location. To mask your location, you must use professional software. WooTechy iMoveGo is well-known for spoofing your GPS location to any place. It not only works with Snapchat but also with location-based apps without jailbreaking.
WooTechy iMoveGo allows you to fully control your location in Snapchat efficiently. With 5 location change modes, you can change your location on Snapchat to any place, even pause your location or fake your live location.
Let's dive into the steps to change your location on Snapchat.
Step 1. Download WooTechy iMoveGo and install it on your PC. It is compatible with Windows as well as Mac. If you prefer to change location on Snapchat without a computer, you can also directly installed it on your mobile phone.
Free Download
Secure Download
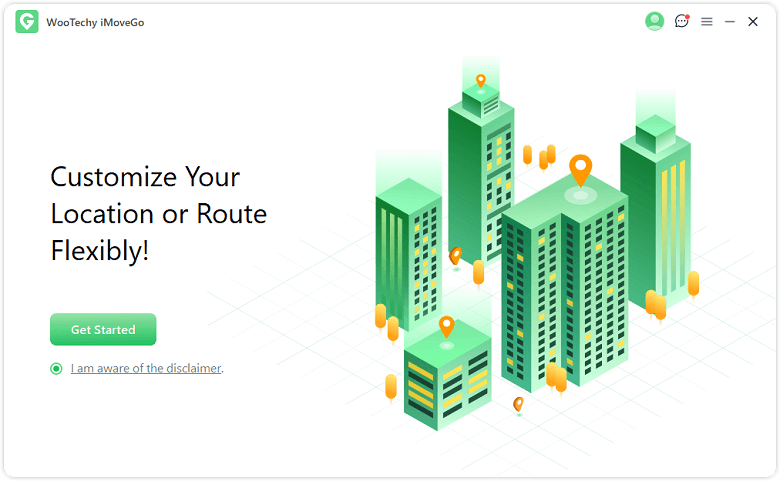
Step 2. Launch the software; you will have a user-friendly interface. Tap Get Started to begin.
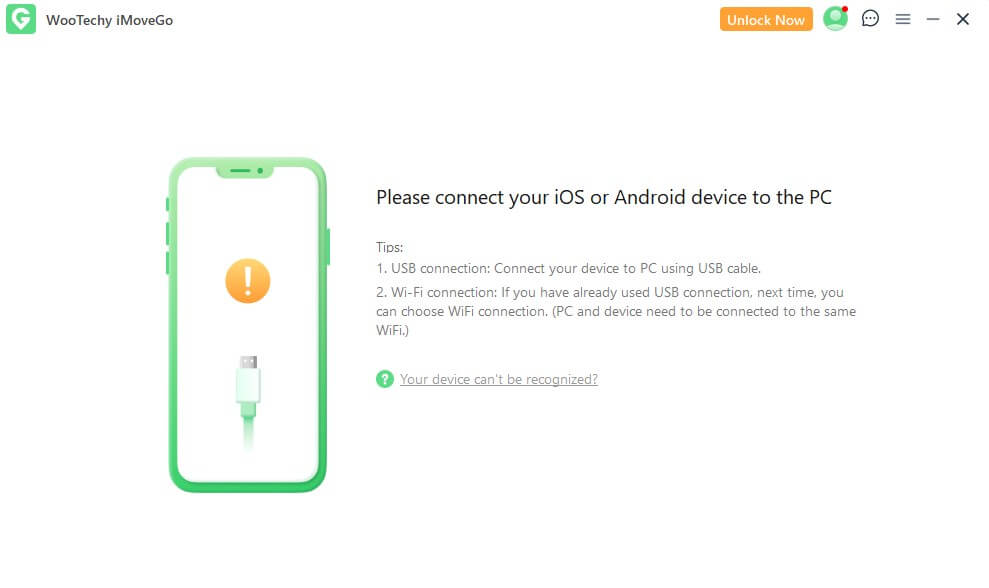
Step 3. Connect your iOS/Android device via a lightning cable or WiFi to your PC. For iOS devices, tap Trust on your phone. When it gets connected, the map will start to load.
Step 4. Click the Teleport Mode icon on the top right corner of the interface. Search for the desired location and hit Move. You can also set the location manually by zooming in and dragging the cursor to the perfect place.
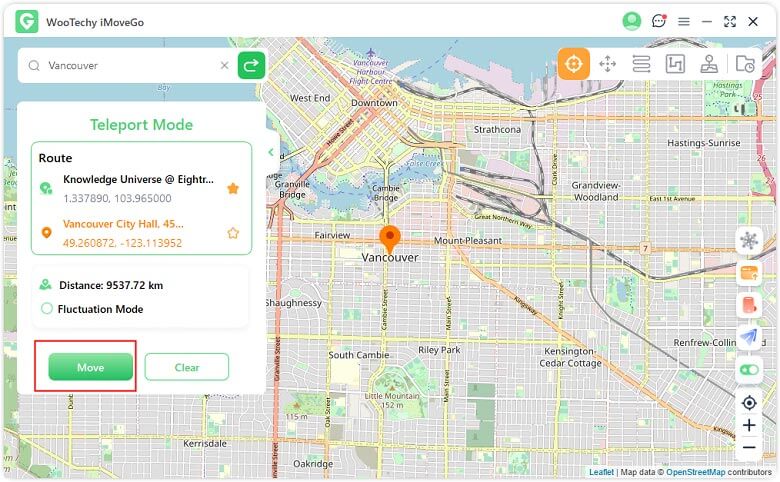
The current location is changed to your desired location, which will apply to all the location-based apps on your mobile phone, including Snapchat. Now you can use Snapchat with the spoofed location.
FAQs: More About Snapchat Location You May Want to Know
1Can people see when you check their location on Snapchat?
No, Snapchat will never notify them when you check someone's location. It can notify the user if you request them to see their location.
2How to tell if someone checked your location on Snapchat?
It is possible only when someone has uploaded a snap map story on their account. They can check the activity when someone taps their Bitmoji. It has an eye icon that tells the user that you see their location.
3How to turn off your location on Snapchat?
From the settings, turn on Ghost Mode; it will turn off your current and saved locations.
4How accurate is Snapchat location?
It is sometimes not 100% accurate because it doesn't update your current location at the time. You have to set it up later. That's why the last active location isn't correct all the time.
Conclusion:
Kudos! You have now learned all the techniques to add, share, and prevent Snapchat locations. The privacy of your location is essential to avoid spies and hackers. WooTechy iMoveGo is the best to disguise your Snapchat locations from unknown people.
Try it Free
Secure Download
Unlock All Features
Secure Buy


