Without doubt, having a problem with an iPad can become a headache. One of the most common issues is having the issue where your iPad won't update. When an iPad, or any Apple device, will not update then you need to work pretty patiently to get it working again. Thankfully, solving the cause of an iPad not updating is not as confusing as it might seem. Below, we will break down the common causes of an update failing, and what you should do if your updates continue to fail to load.
Now, you can quickly and easily get your iPad updated and make sure that it is secured properly. So, where do you start when solving an iPad that will not update?
What Causes an iPad Not to Update?
There are various reasons as to why your iPad will not update. The most common reasons include:
- You are not connected to the internet – updates typically wait until you are on WiFi.
- You are not connected to a secure internet connection, and the update will not start.
- You are otherwise unable to reach the update server, which can be an Apple-server issue.
- Your iPad has a low battery and thus the update is not able to start and finish safely.
- Your iPad has a low storage capacity and thus is unable to store and install the update.
Of course, other issues can exist which might be related to a technical or hardware fault. Other devices, such as an especially old iPad, might not simply not be able to use the latest edition of iOS/iPadOS. Keep these factors in-mind moving forward.
What Should You Do If Your iPad Won't Update?
If you find that you are sick of looking for solutions to my iPad will not update, then the following solutions can fix the problem quickly enough.
1. Check for Your iPad's Eligibility to Update
This is a common reason as to why your iPad will not update. This is common when a piece of hardware, such as a first edition iPad, is not able to support the latest release. If you find that your iPad will not update at all, then it might simply be a case of not being modern enough to use the new and improved iPad infrastructure.
Keep this in mind because the iPad update eligibility will shift as the device itself ages. Always keep a close eye on the age of your iPad, as eventually it simply will not update due to the age of the device.
2. Check Apple's Server
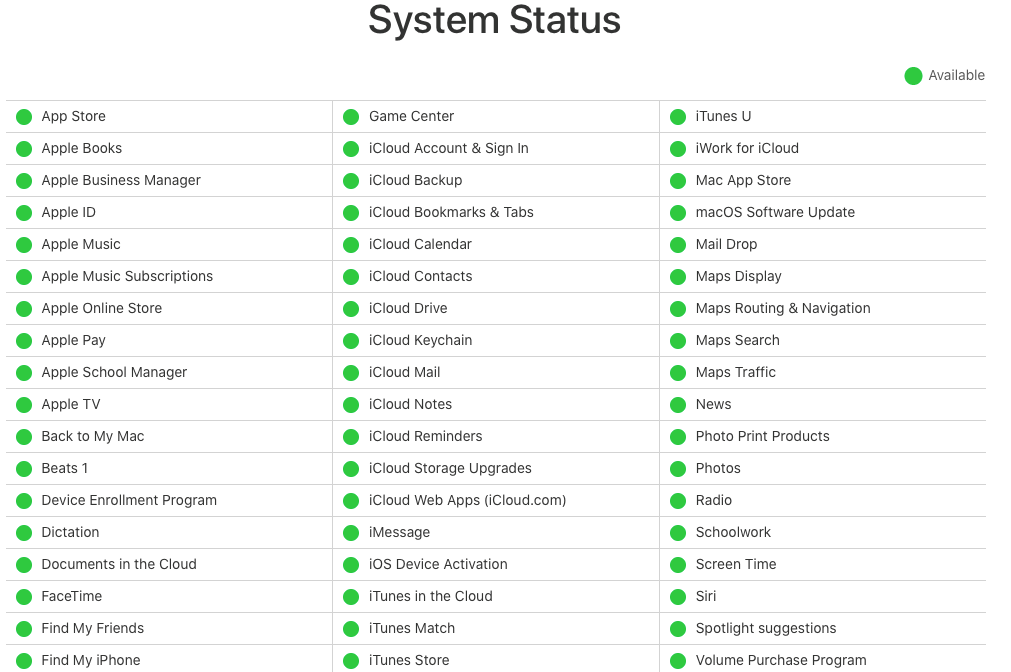
This is another common reason for an update failing. If your iPad will not update, then you will want to make sure that the Apple servers are running fine. The easiest way to check this is simply to run a Google search for "Apple server status".
The official Apple site will make clear if any issues exist on their end. You might also wish to run a quick social media search, too, as users will typically post about this.
3. Check Your iPad's Battery
As mentioned above, the battery power of your iPad has an impact of whether or not your iPad will update. So, be sure to check the battery life out ASAP as this can play a role in determining whether or not your iPad will properly begin the update or not. For a smooth update, make sure your iPad has enough battery.
4. Check Your WiFi Connection
If your iPad is not connected to a secure network without metering, then it will not start the download. This is in case you run out of data, or you are on an unsecure connection. So, always make sure that you look into the connection of your iPad.
Try disconnecting and reconnecting to the network and trying again. Connectivity can be spotty at times, so this can be an easy way to solve an iPad that will not update.
5. Check Storage Space on iPad
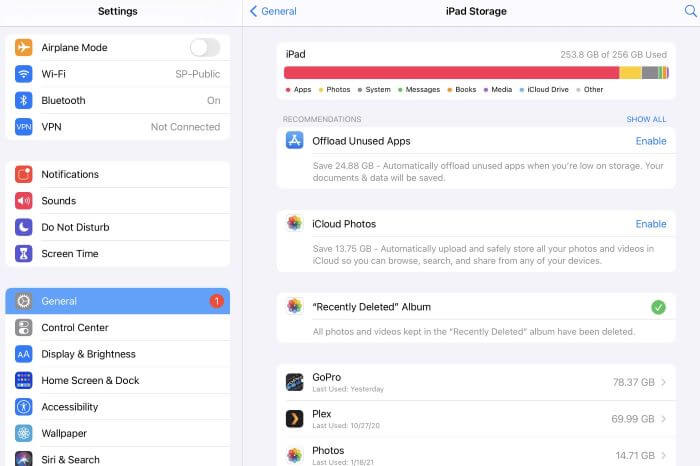
An update needs to have enough room to properly download, so you should take the time to check out how much storage space you have currently used. To do this, go to Settings > General > iPad Storage. If you find that your iPad is out of storage space, or is close to being out of storage space, that the problem might lie here. Simply try deleting some files that you do not need, such as an old app, and see if this can give you enough space to install your update.
6. Force Restart Your iPad
You should also try a simple force restart to see if this solves the issue of iPad not updating.
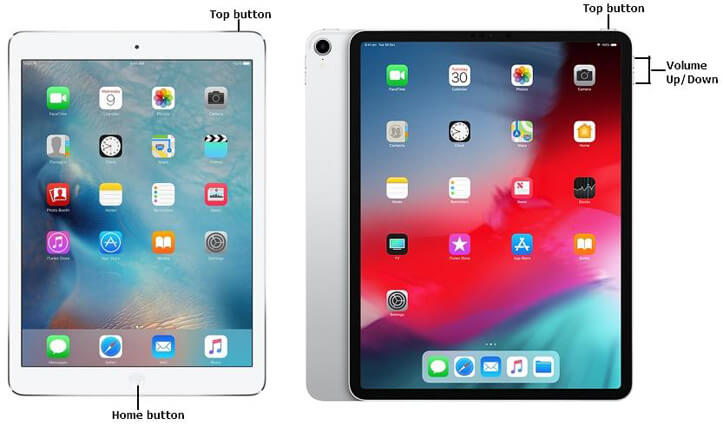
To force reboot an iPad with a Home button, you can do so via holding down the Home button and the Top button simultaneously until the Apple logo appears.
To force restart an iPad without a Home button, respectively press down and release the Volume Up and Volume Down buttons, then press the Top button until the Apple logo shows up.
Sometimes, something as simple as restarting the device can be enough to get it working as good as new again and thus allowing the update to be pushed through.
7. Re-sign in to Apple ID
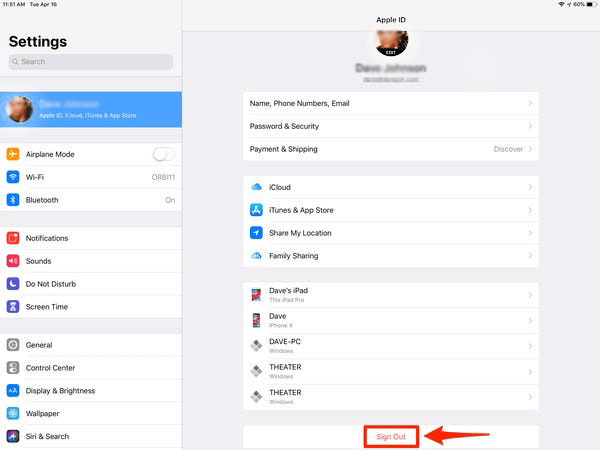
Another common solution is to simply log out of your Apple ID and start again. This is a common choice as it can be a good way to help re-establish your connection to the Apple servers and it works especially when you fail to go through the authentication process by getting an app. Try this out, head to Settings, click your name and click Sign Out. After that, repeat the process to sign in to your iPad.
8. Remove and Download Update Again
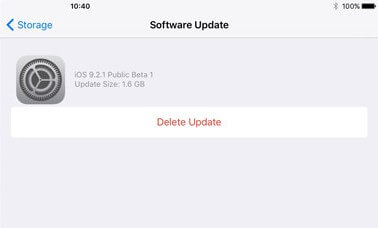
If your iPad still won't update, then the update files might have gotten corrupted during download, thus allowing them to be re-downloaded fresh. The best thing to do is to delete the update itself and start again.
Step 1. Go into Settings, choose General and Storage options.
Step 2. Locate the iOS update and click on it.
Step 3. Click Delete Update. Finally head to Software Update setting again to download the latest update.
Use Tools to Update your iPad
If after the above fixes, your iPad still will not update, then you can use the two methods to update your iPad. The tools are that you can download online.
1. Update your iPad with iTunes
The first choice is to start to use iTunes itself. To try to update iPad to the latest version with iTunes, you simply need to:
Step 1. Connect your device to your PC or laptop using a USB connection.
Step 2. Start iTunes on your desktop/laptop, and click your device on the top-left.
Step 3. Click Summary, and then click the Check for Update button.
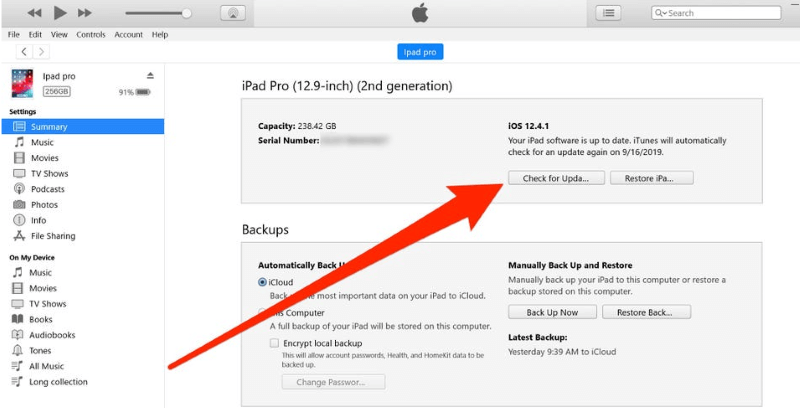
Step 4. This will check for the update and, if it can, install the update for you via iTunes.

2. Update your iPad with WooTechy iPhixer
The next best place to start is with third-party app iPhixer. This simple to use tool can quickly and easily update your iPad to ensure that it works as intended and therefore fix your issue that iPad won't update without data loss. This tool offers various solutions, including but not limited to:
What Can iPhixer Do to Update Your iPad?
- iPhixer works with different models of iPad, iPhone, iPod touch, Apple TV, etc.
- It is compatible with all iPadOS and iOS version including the latest iPadOS 16 and iOS 16.
- During updating your iPad, iPhixer can meanwhile fix potential issues on the device without data loss.
- Without using iTunes and bypassing iTunes errors, iPhixer can update your iPad with ease and with 100% security.
- It can be downloaded on both Windows and Mac computers.
Apart from above, you can also use iPhixer to enter/exit Recovery Mode with one click and reset your iPad device without issue.
To update your iPad using iPhixer, you simply need to:
Step 1. Connect your iPad to your computer or laptop, and then start up iPhixer. Choose the Standard Mode option on the main page of iPhixer.

Make sure your device is unlocked before doing anything else. If need be, put your device into Recovery Mode as instructed on-screen.
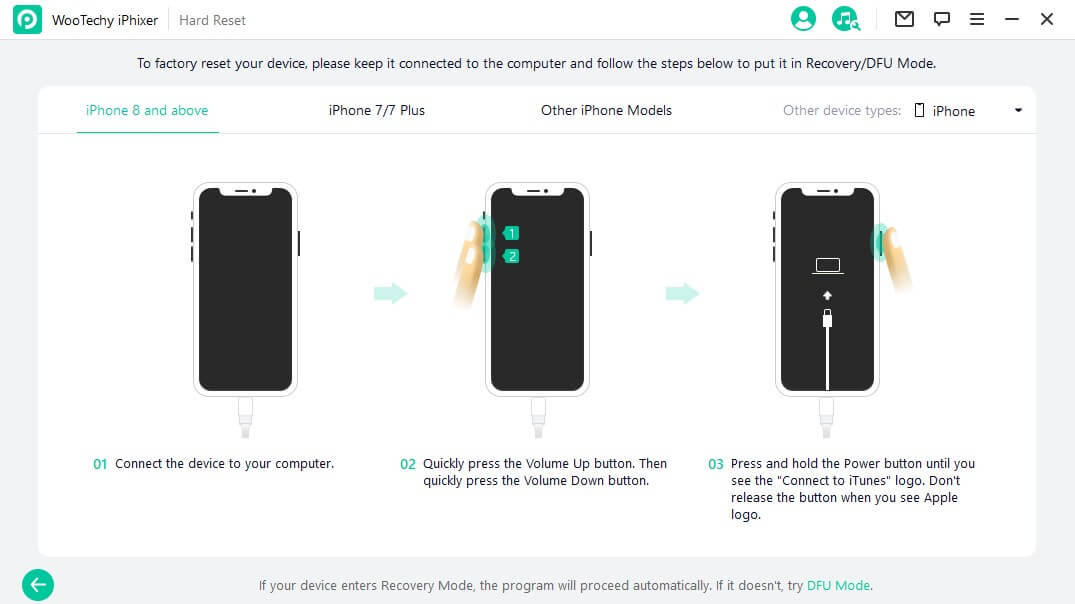
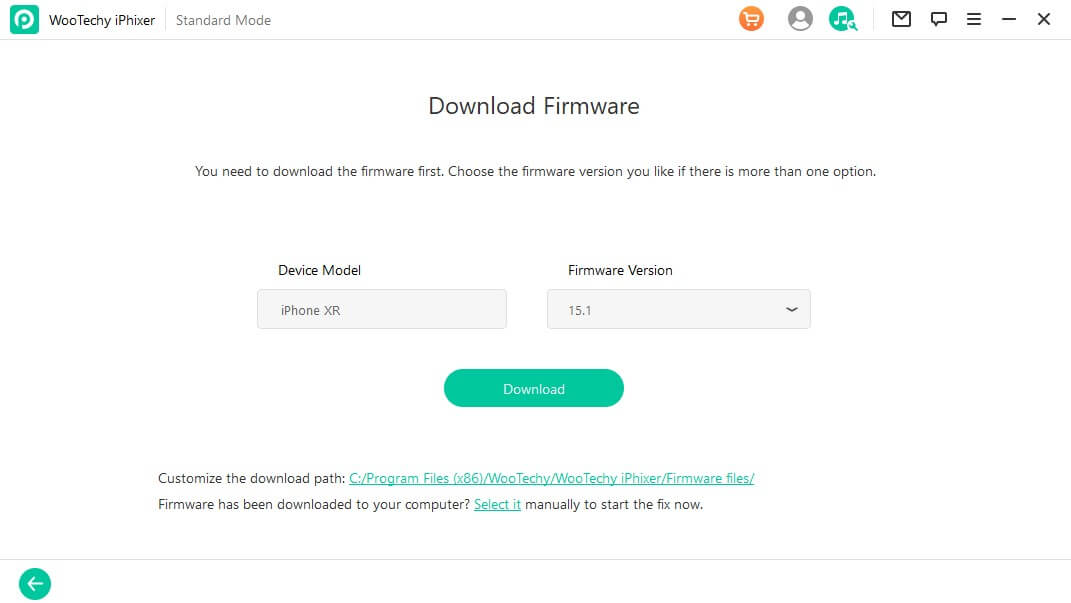
Step 2. Download the firmware update by choosing your version and clicking Download.
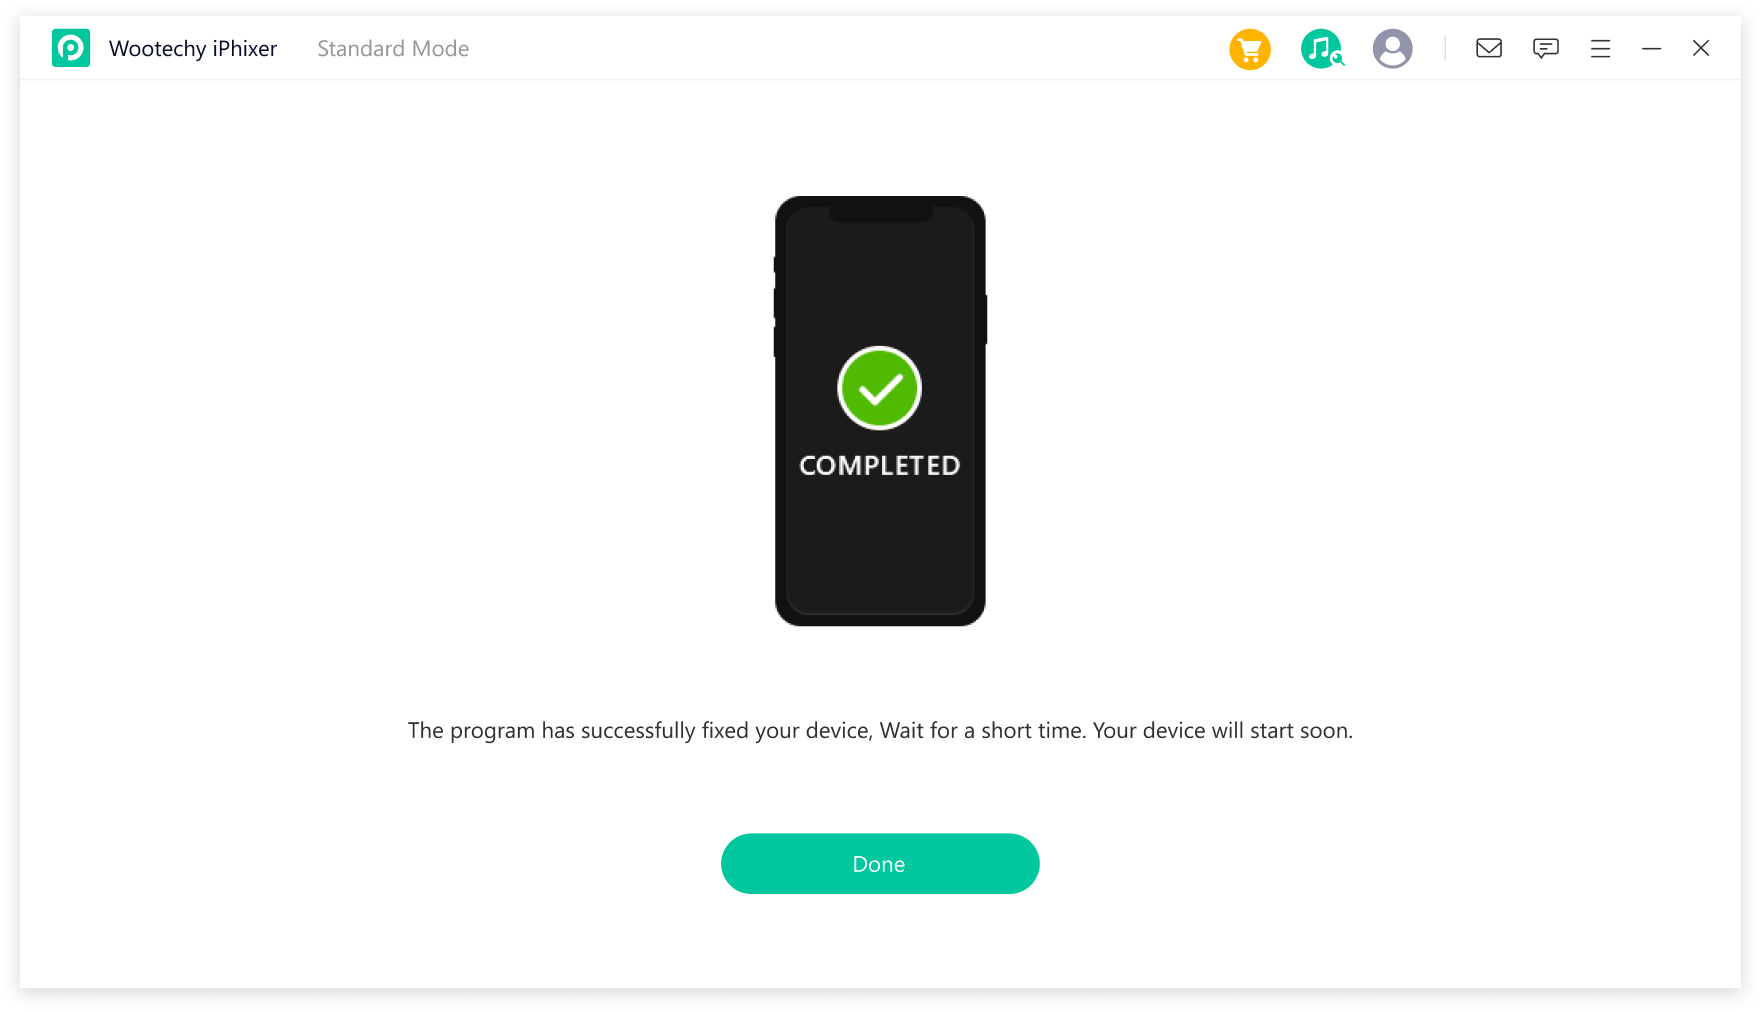
Step 3. Click the Start button, and wait for iPhixer to run through the update steps. After the process is complete, your iPad is successfully updated to the desired version.
Final Resorts to Try When Your iPad Will Not Update (Data Loss)
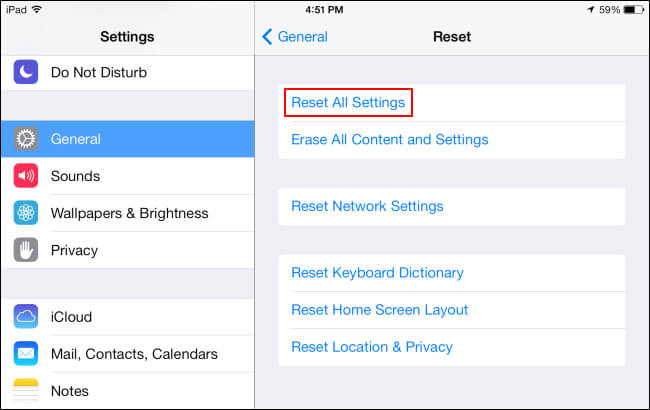
1. Reset All Settings
To do this simply head into the Settings section of your iPad and towards the bottom of the list you can find a Reset option. Use this to reset your iPad back to its factory settings, and begin again from scratch. Make sure you back-up your iPad beforehand.
2. DFU Restore iPad
Device Firmware Update mode can get your device back to full working order.
Step 1. Connect your iPad to your computer and launch iTunes.
Step 2. Put your iPad into DFU mode.
- iPad with a Home button, press the Power and Home buttons at the same time for 10 seconds until the screen goes black, then release the Power button while keep pressing the Home button until your iPad appears in iTunes.
- iPad without a Home button, press and release the Volume Up button then the Volume Down button. After that, hold down the Top button for at least ten seconds. Then, press the Volume Down button, and hold down the Top button at the same time for another five seconds. Let go of the Top button but keep your finger on the Volume Down button for ten seconds.
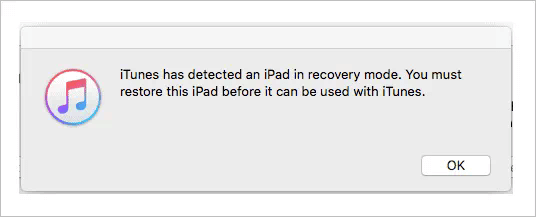
Step 3. After iPad is into DFU mode, click OK and Restore iPad options to proceed.
Conclusion
Dealing with an iPad can be a challenging issue, but the above solutions should make it easier for you to finally get your iPad up and running again. With the above, you can easily make sure that the update you intended to install can be installed without any of the headaches you might have worried about beforehand. Good luck, and enjoy updating your iPad!


