If the flashlight on your iPhone isn't functioning, rather than fumbling around in the dark trying to figure out what's wrong, try following these troubleshooting techniques instead. The majority of us make use of the flashlight app on our iPhones when we are in settings that are dimly lit or completely dark.
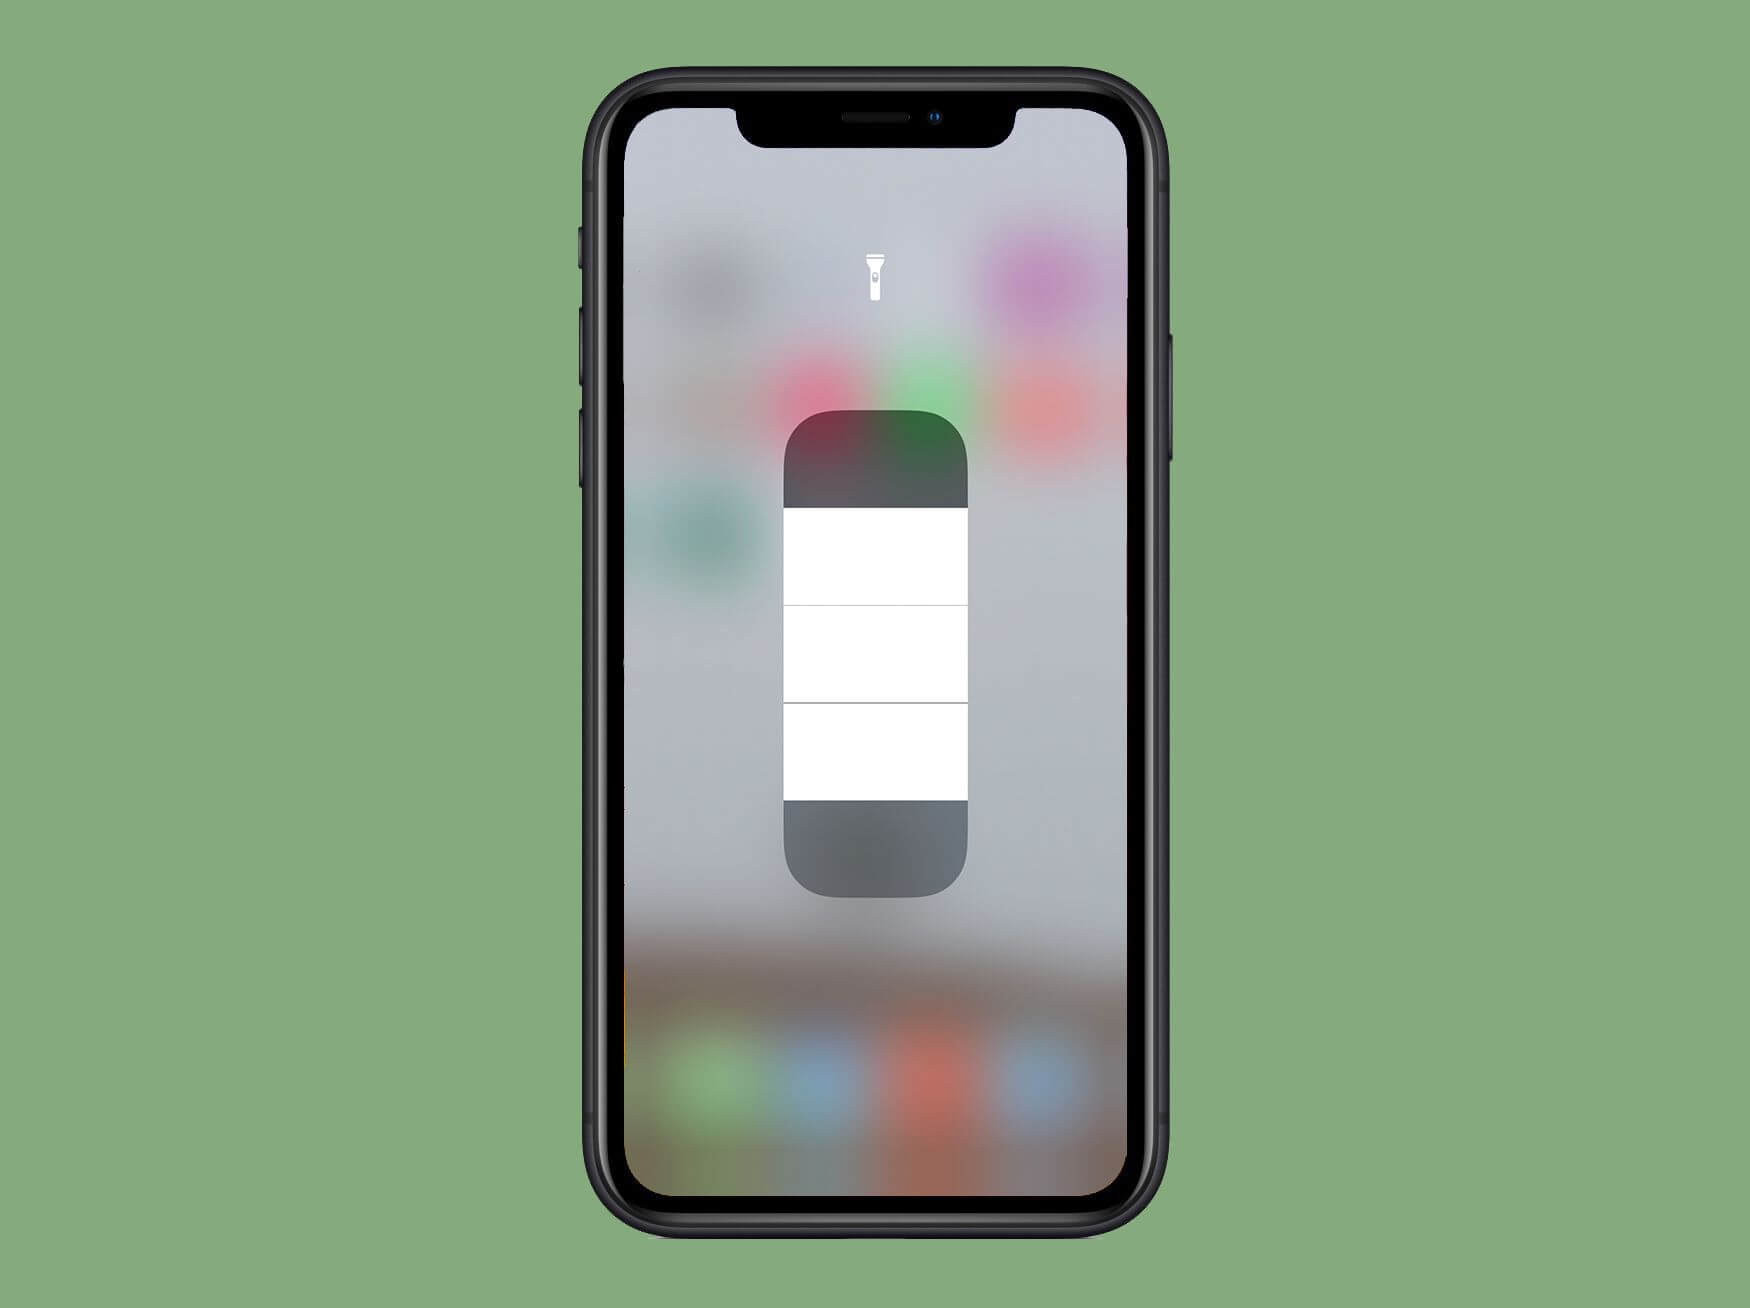
We turn on the flashlight whenever we are trying to locate anything or find our way, whether we are out in the wilderness or stumbling about in a dark apartment. Because of this, Apple has made it possible to access it directly from the lock screen of the iOS device, allowing you to quickly and easily put it into use.
Even though this handy feature is intended to function dependably, there is still a possibility that it might malfunction. However, you need not be concerned since we have compiled a list of solutions to repair the flashlight on your iPhone if it is malfunctioning.
What to do when Flashlight not working on iPhone?
The problem with the flashlight may be due to either the hardware or the software. If it's a random software bug, you could get rid of it by experimenting with several reliable software hacks. This will allow you to get rid of the problem.
If, on the other hand, the issue is caused by a malfunction in the device's hardware, you need to get in touch with Apple or an approved iPhone service facility. We have provided some potential remedies to the issue of the flashlight on your iPhone not functioning properly, keeping both of these considerations in mind while developing our recommendations.
1Ensure that the Camera application is closed before continuing
Because the flash on the camera and the flashlight both utilize the same bulb, it is best to keep the camera app inactive when turning on the flashlight to avoid any potential complications that might arise. Therefore, ensure that the camera app is forcibly shut if it is already running in the background.
You can access the app switcher by double-pressing the home button or by swiping up from the home bar. Once it has been brought up, you may terminate the app by swiping it up just on the app card.
2Take off any cases or screen protectors, if you have them
It's hard to believe, but various iPhone cases and covers, accessories, or even films tend to block the flash, preventing it from functioning as it typically would. First, take off any film or case you may have on your iPhone, and then give the flashlight a go. If it begins functioning again, the problem was the cover or film you had on your iPhone, not the iPhone itself.
3Restart the iPhone
If the torch on your iPhone isn't functioning, you might try giving it a simple restart to see if that fixes the problem. Depending on whether your iPhone has Touch ID or Face ID, the following instructions will show you how to restart your device.
Hold down the up/down button as well as the side button on an iPhone that does not have a Home button until the slider to turn off the power appears. After that, you need to shut off your smartphone by dragging the power off slider. After that, press and keep holding the button on the side of the device till the Apple logo shows.
If you have an iPhone with a home button, you can switch off your smartphone by pressing and holding the side/top button, and then drag the power off slider. After that, to restart your device, hold down the button on the top or side of it.
4Perform a Factory Reset on Your iPhone
When it came to troubleshooting peculiar iOS bugs, doing a hard reset, also known as a force restart, is somewhat more helpful than just restarting the device. As a result, you need to give this a go as well.
To increase the volume on an iPhone 8 or later, press and then let go of the volume-up key. After then, the button for the volume down should be pressed, and then rapidly released. After that, press & maintains pressure on the button located on the device's side till the Apple logo appears on the display.
To get the Apple logo to display on the screen of your iPhone 7 or iPhone 7 Plus, hold down the volume-down button while simultaneously pressing and holding the side button.
On an iPhone 6s or 6s Plus or an older model, press and hold both the side/top button as well as the home button simultaneously until the Apple logo appears on the screen.
5Utilizing the Flashlight Found Within the Control Center, Perform an LED Flash Test
Making use of the control center provides a speedy method for determining if or not any flashlight is operational. Additionally, the flashlight's brightness may be adjusted via the slider located on the side of the device.
To reach the control center on an iPhone equipped with Face ID, swipe down from the top left corner of the screen in the direction of the arrow.
To access the Control Center on an iPhone with a Home Button and Touch ID, swipe up from the bottom edge of the display in the direction of the top of the device.
Now that we've gotten everything out of the way, you should press the Flashlight symbol to see whether it's functioning correctly. In addition, tap and hold the icon to bring up the slider, and then make sure that brightness is set to the maximum setting possible.
6Put the LED Flash through its paces by Using the Camera
You also should check to see whether the flash bulb itself is functioning properly. One simple method to accomplish this is to utilize the camera app on your iPhone. Here is how to do that. 1.
Launch the Camera app on the iPhone, go to the 'Photo' option, and then press on the symbol that looks like an arrow to access further options.
Now, press on the flash symbol, and instead of choosing 'Auto' or 'Off,' choose 'On' from the menu that appears.
You may test the flash by clicking on a picture and seeing whether it goes off. If it does, then the problem is not with the LED flash that is built into the hardware but rather with a malfunction in the software.
7Reset All Settings
When dealing with troubles that do not go away, one approach that might be helpful is to restore the iPhone to its factory settings. It is recommended that you give it a go since it has historically served as a kind of default troubleshooter for resolving significant software-related difficulties.
If you are using iOS 15 or later, open the Settings app of your iPhone, go to General, choose Transfer or Reset iPhone, then tap Reset, and finally tap Reset All iPhone.
If you're using an iOS version older than 14, open the Settings app and go to General > Reset > Reset All Settings.
8Perform Software Upgrades
You should consider updating the software on your iPhone if the flashlight not working on iPhone. If the problem is caused by an extremely uncommon software flaw, the solution is to update the program.
On your iPhone, launch the Settings app, then go to General > Software Update. Now, let iOS check for available updates on its own.
When it indicates that the most recent update is available, download it & install it as you normally would.
9You may restore the iPhone to an earlier backup by doing so
This one has been a nuclear answer for iPhone for a very long time, particularly when confronted with a difficult problem. Therefore, if none of the solutions shown above were successful in addressing the problem with the iPhone that flashlight not working on iPhone, you could try restoring your iPhone from an earlier backup.
Keep in mind that this will completely delete everything on your iPhone, including everything and everything that was previously stored on it. As a result, you should not go further with it until you've completed a thorough backup of your device.
If you have the iCloud backup (located in the Settings app by going to the Apple ID banner, then selecting iCloud, and finally selecting iCloud Backup), you will be able to restore your iPhone without having to use Finder or iTunes. Navigate to the Settings app, then choose General, then Transfer or Reset iPhone, then Reset, and then select the option to Erase All Content & Settings.
When you are ready to set up your device once it has been successfully wiped, follow the instructions given by the setup assistant. You will be presented with the option to recover your iPhone from the iCloud backup at some point along the route.
If you have iOS 15 or later installed on your smartphone, you are eligible for free and unlimited iCloud backup, which will allow you to back up your iPhone to the cloud & then restore the data. If your iPhone is running the most recent version of iOS, you should be sure to make use of the free limitless storage that is available so that you may back up & restore the device.
You also have the option of using your computer, either one running Mac OS X or Windows, to restore the iPhone from an earlier backup.
You will need to use a USB cord to link your iPhone to the computer, and after that is done, start Finder and iTunes. Now, if you haven't already backed up your device, be sure to do so before continuing.
After that, choose the recent backup from the drop-down menu under Restore Backup, and then click the Restore button.
10Using iPhixer to fix the Flashlight not working on iPhone
If the problem with the flashlight is software-based, then we can use iPhixer for the solution of “flashlight not working on iPhone”. If your iPhone, iPad, iPod touch, or Apple TV is experiencing issues like being stuck on the Apple logo or in Recovery Mode, having a blank or white screen, being caught in a boot loop, refusing to come on, etc., iPhixer can help.
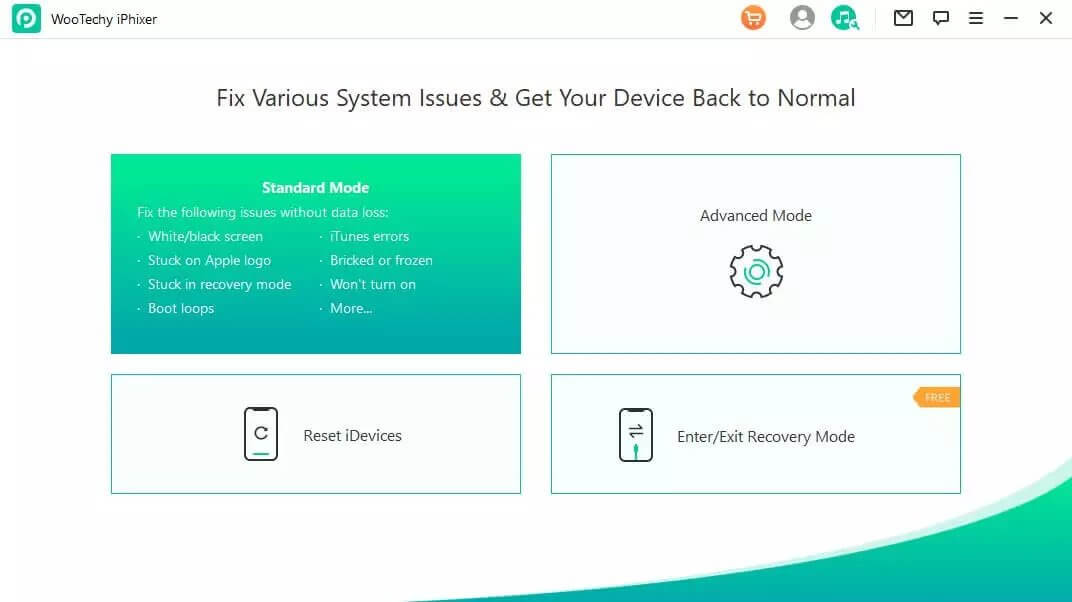
Step 1 Launch iPhixer and choose Standard Mode
After downloading and installing iPhixer into your PC, open it and select Standard Mode from the given options. Most difficulties with iOS, iPad OS, and tvOS may be fixed in Standard Mode without losing any data.
Step 2 Connect your Device
Connect your device to your Windows or Mac computer and launch iPhixer. Select Normal Operation by clicking the Next button.
Please note that if your device is locked, the program will not be able to identify it, and you will need to unlock it before proceeding.
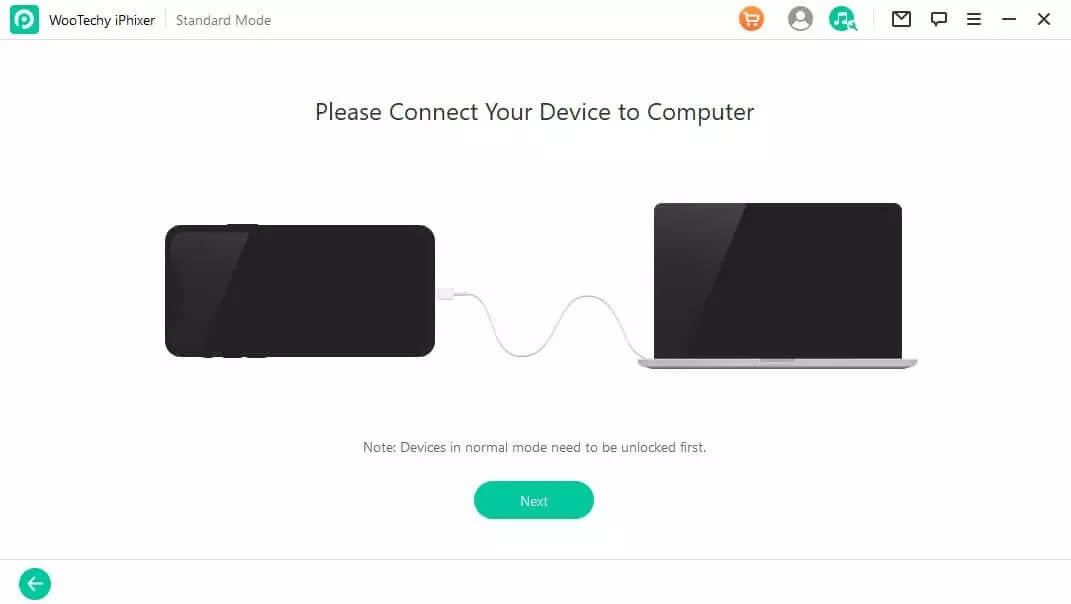
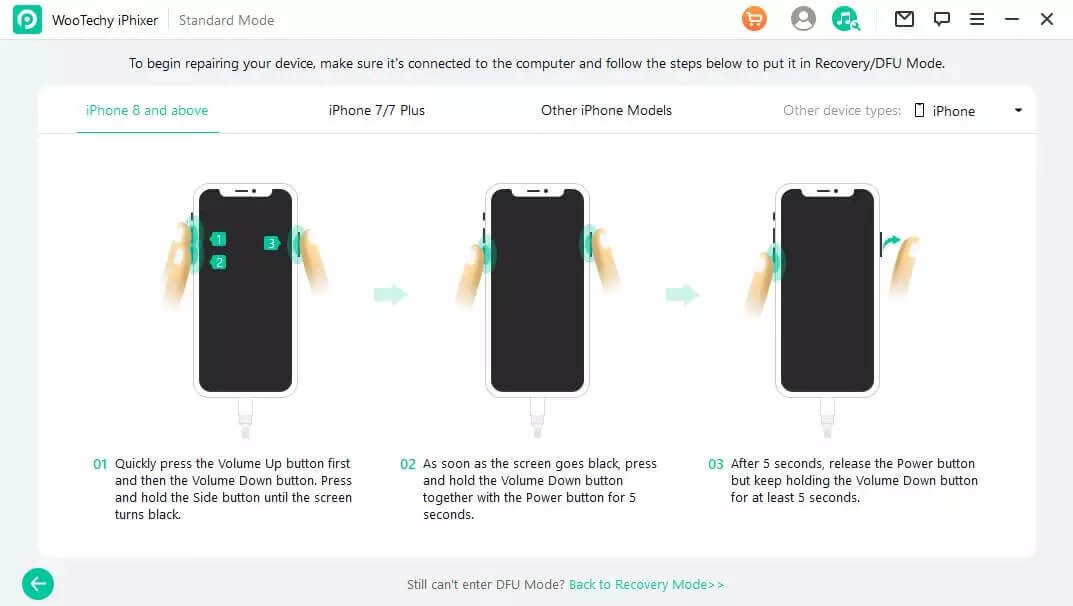
When your device is recognized, you'll be sent to further steps after selecting the Next button. In the event that your device is not detected, you will be prompted to enter Recovery Mode or DFU Mode. Just do what it says on the screen.
Activate Recovery Mode by doing one of the following:
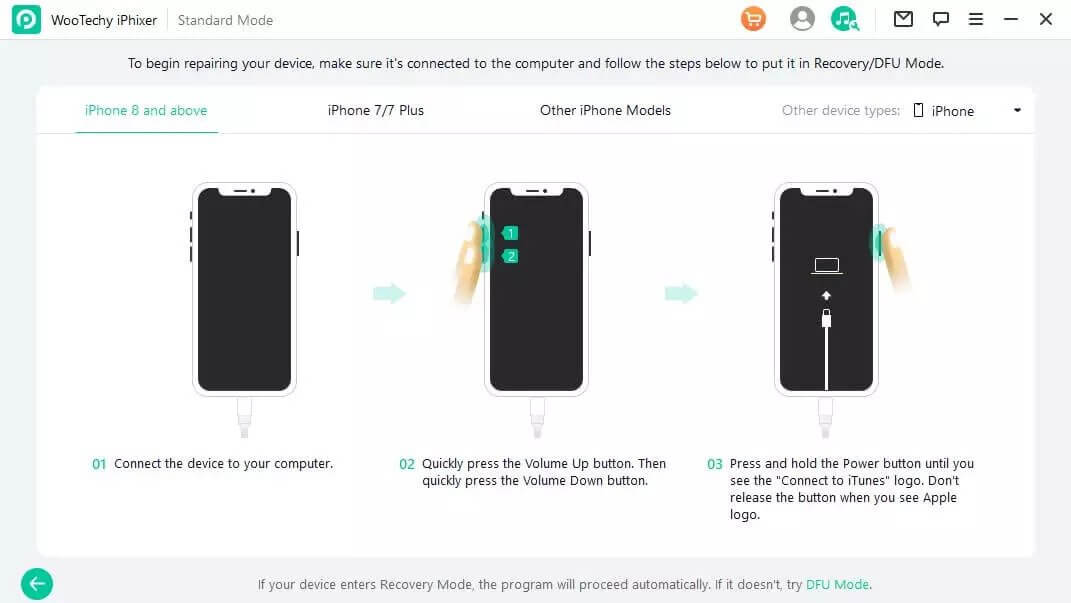
Put the device in DFU mode:
Step 3 Get the Software Update by Downloading the Firmware
Click the Download button now to begin downloading the firmware needed to fix your iOS device. Your device's supported firmware version will be shown automatically. Select the variant that best suits your needs.
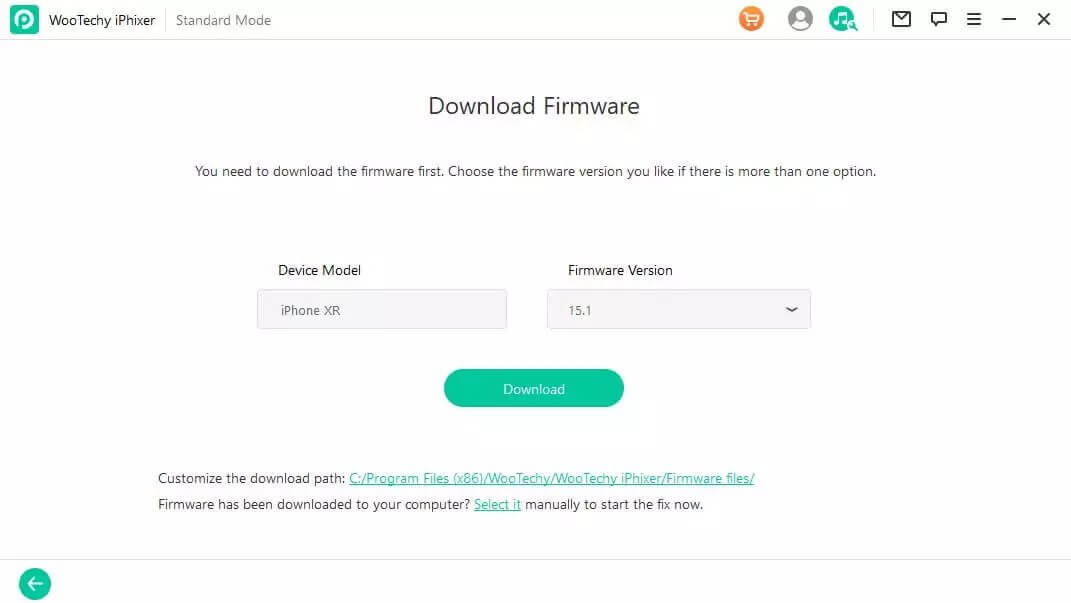
Assuming the download went well, it will check the firmware, extract the software, and then repair itself.
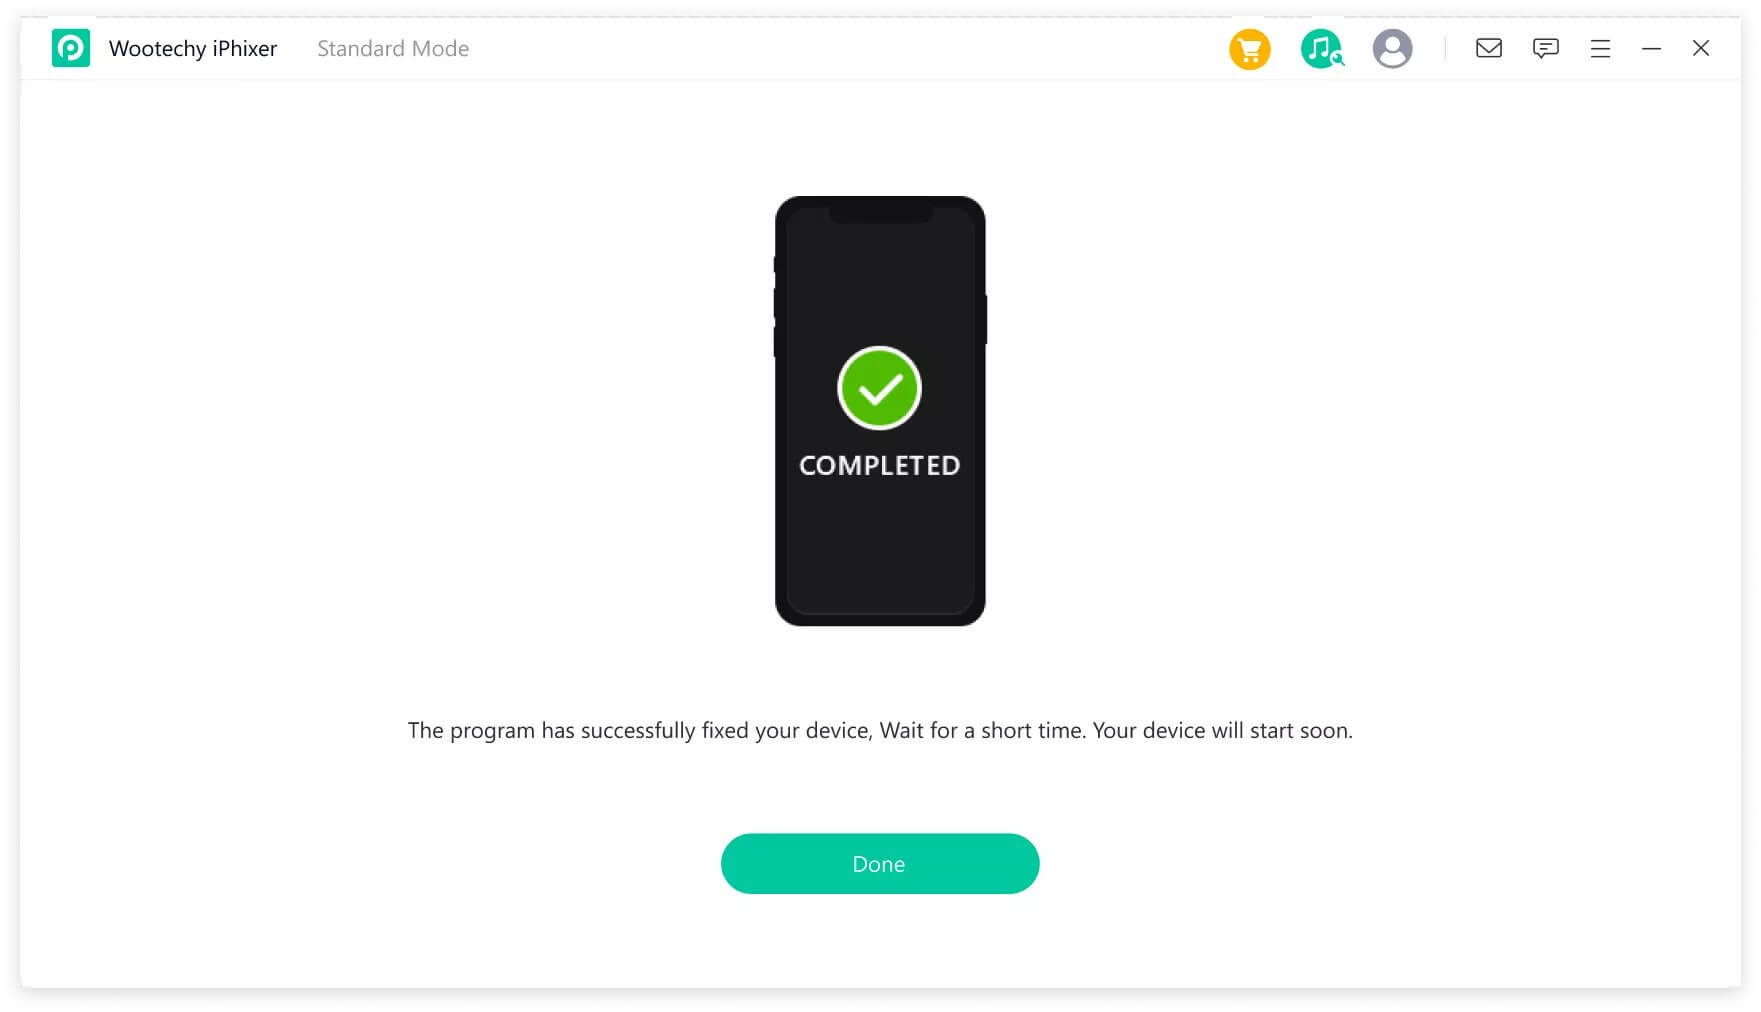
After it's done, your device may restart and function properly.
Conclusion
That wraps it up! We hope that the flashlight on your iPhone has returned to its usual functioning. As I said before, if the issue is caused by the program not operating properly, the problem may be resolved by doing a factory reset or downloading the latest version of the software. If, on the other hand, the issue is caused by a malfunction in the iPhone's hardware, the best course of action is to get in touch with a reputable iPhone repair shop. Hopefully, it will solve the problem of Flashlight not working on iPhone.
Key Features of iPhixer

75.000.000+
Downloads
- Resolve all iOS update problems such as iPhone stuck on preparing update, iPhone stuck on update requested and iPhone freezing during update without data loss.
- Support all models of iPhone/iPad/iPod touch/Apple TV and ios versions.
- With a high success rate, iPhixer brings your device back to normal via a few clicks.
Free Download
Secure Download


