
My iPhone won’t back up after downgrading from iOS 18 beta. When I try to restore my iPhone from iTunes, a pop-up message suggests “iTunes could not restore the iPhone because the back up was not compatible with the iPhone that is being restored.” What should I do then? I really need to get my backup back.
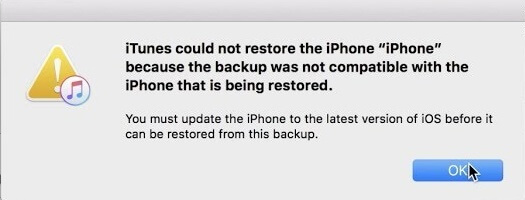
Have you ever felt the thrill of getting your hands on the latest iOS 18 update, only to realize it wasn't quite what you expected? Beta version is known for having a lot of bugs. If you cannot deal with it, downgrading to iOS 17 might seem like a tempting solution. But what if, like the user above, your iPhone gets stuck and couldn’t be restored after the downgrade process?
In such a case, here we have provided you with a comprehensive guide on how to fix the issue of "iPhone backup cannot be restored after downgrade" with ease.
Part 1. Why Can't My iPhone Restore After Downgrading from iOS 18?
1. Incompatible Backup
Apple has decided that if your iPhone is currently running iOS 17, it cannot be restored from a backup created using iOS 18.
Each iteration of iOS introduces new features and functionalities. A backup created with iOS 18 likely contains features or data structures that simply don't exist in iOS 17. This incompatibility creates a barrier, preventing the restoration process.
More importantly, Apple prioritizes forward compatibility, meaning backups created on newer versions should work flawlessly when restored on the same or newer versions of iOS. However, the reverse isn't always true.
2. Corrupted Backup
Having a corrupted backup is another reason why iPhone backup won’t restore after downgrade. How to determine whether the backup is corrupted? Well, when you try to restore your iPhone from a backup but fail, if you see iTunes or Finder display error messages like "corrupt backup" or "incompatible backup," and some data seems missing or inaccessible after the restore, then you might have a corrupted backup.
Part 2. How to Fix iPhone Backup Could Not Be Restored After Downgrade
After figuring out the reasons for a failed restoration, you are sure to be curious about the solutions. Fortunately, you have 4 dependable techniques at your disposal to restore the desired data from your backup onto your downgraded iPhone.
Many users recommended. One of the Best iPhone Recovery Software
Free Download
Secure Download
1Restore an iOS 17 Backup
If you cannot restore iPhone backup after downgrade, using an older backup, in this case, an iOS 17 backup, is an effective solution to restore your iPhone data after you downgrade from iOS 18 to iOS 17. Here's a quick look at the steps involved:
Initiate the setup process on your iPhone.
On the "Transfer Apps and Data" screen, opt for restoring from iCloud.
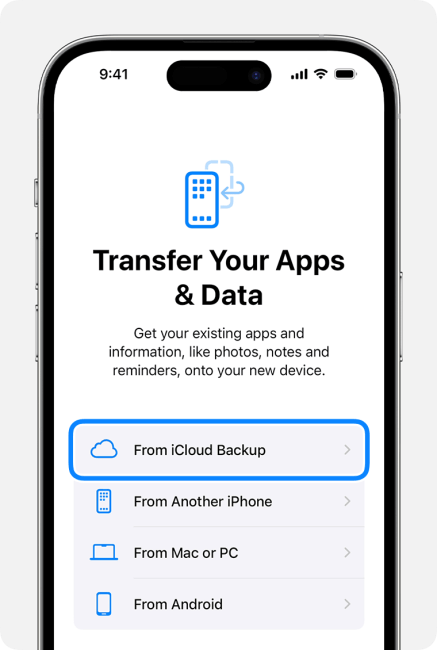
Sign in to your Apple ID.
Crucially, during this step, you should see multiple backup files. Select the one that predates your upgrade to iOS 18. This ensures you're restoring from a compatible backup.
2Update to iOS 18
The official release of iOS 18 is in 2 months. If you're comfortable using iOS 18 and have the option to upgrade back to it, you can restore your iOS 18 backup. Here's how to download iOS 18 and restore:
Access the "Settings" app and navigate to "General" > "Software Update."
Upon finding the iOS 18 update, tap "Download and Install."
After installation, reset your iPhone and restore the backup from scratch. To achieve this:
Go to "Settings" > "General" > "Transfer or Reset iPhone."
Select "Erase All Content and Settings."
Enter your passcode and confirm the reset.
During setup, choose to restore from iCloud and select the iOS 18 backup that you were unable to restore earlier.
3Modify the iOS 18 Backup
Modifying the backup file offers an efficient way to restore your entire backup to a downgraded iPhone in one go. However, it requires meticulous editing and hinges on compatible iOS version combinations. Lucky for you. Here is a step-by-step guide for your reference. Check it out below.
Find iTunes Backups folder on your computer. By default, this folder can be found in the following locations:
Mac: \Users\(username)/Library/MobileSync/Backup/
Windows: \Users\(username)\AppData\Roaming\Apple Computer\MobileSync\Backup\
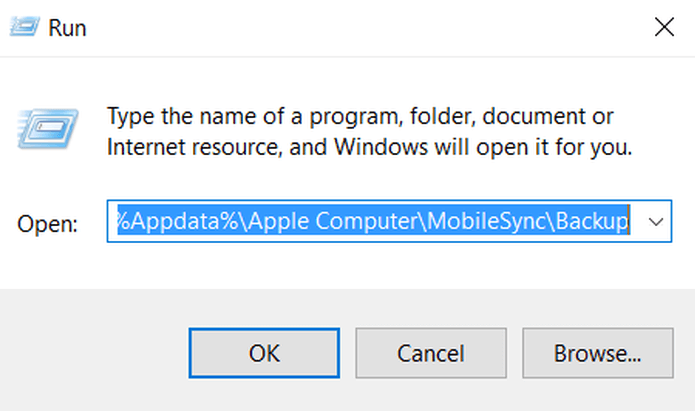
Select the specific backup you intend to modify.
Within the chosen backup folder, locate the file named "Info.plist". This file contains crucial information about the backup.
Launch the TextEdit for Mac or Notepad for Win and open the "Info.plist" file from your chosen backup folder.
Press the F key to locate the product version where you should find the number 18.0. This line should look like the following
<key>Product Version</key>
<string>18.0</string>
Change 18.0 into 17.5.1 and click Save.
Go to Finder/iTunes and tap on Manage Backups under the General page.
Find the backup file name that you modify earlier. Right-click on it and choose Show in Finder.
Find product version > 18.0 and change 18.0 into 17.5.1 and click Save.
Then go back and choose Restore backup and select the backup we just modified.
4Selectively Export The Data You Need
If the beta backup contains something important and you have to get it back, then you can use WooTechy iSeeker, a professional iOS data recovery software, to help you. With it, you can recover over 18 types of lost or deleted data on iPhone or iPad with ease. You can also preview the selected data you recover and then export them.
What Can iSeeker Do

100.000+
Downloads
- Restore specific data from iPhone backups and directly from iOS devices.
- Supports more than 18 data types, such as photos, videos, notes, and WhatsApp chat history.
- Features fast scanning and an easy, click-based interface.
- Includes a free trial that allows you to scan and preview backup files at no cost.
- Provides recovery for damaged files, photos, and videos that won't open.
- Compatible with both Windows and Mac, supporting most versions of Windows and macOS.
Free Download
Secure Download
Step-by-Step Guide to Recover Data with iSeeker
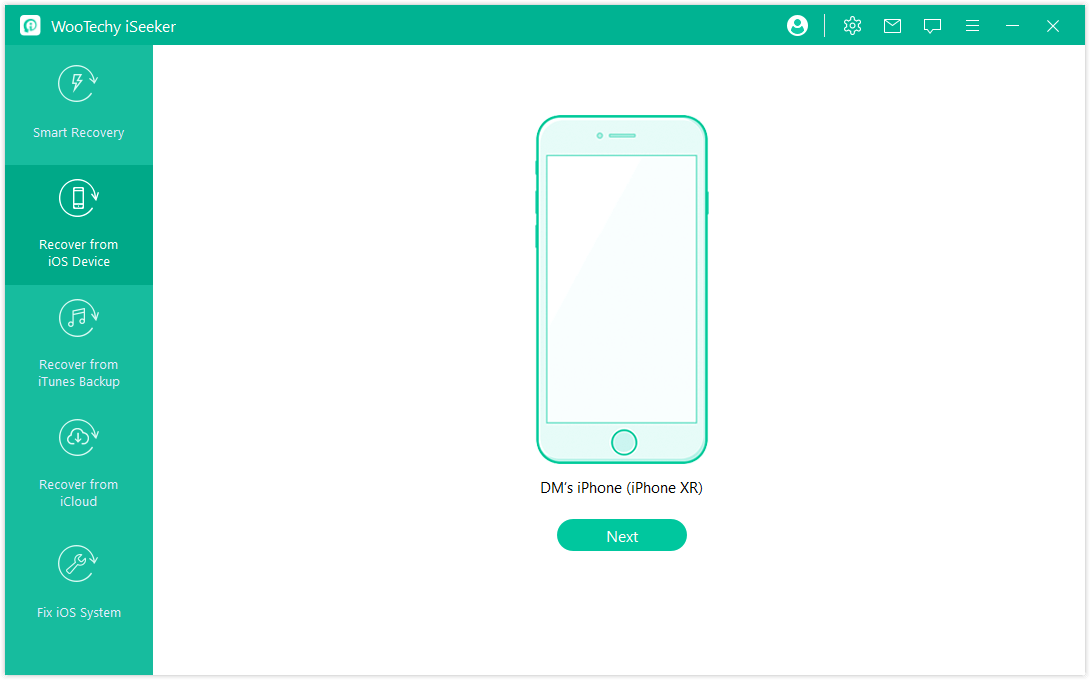
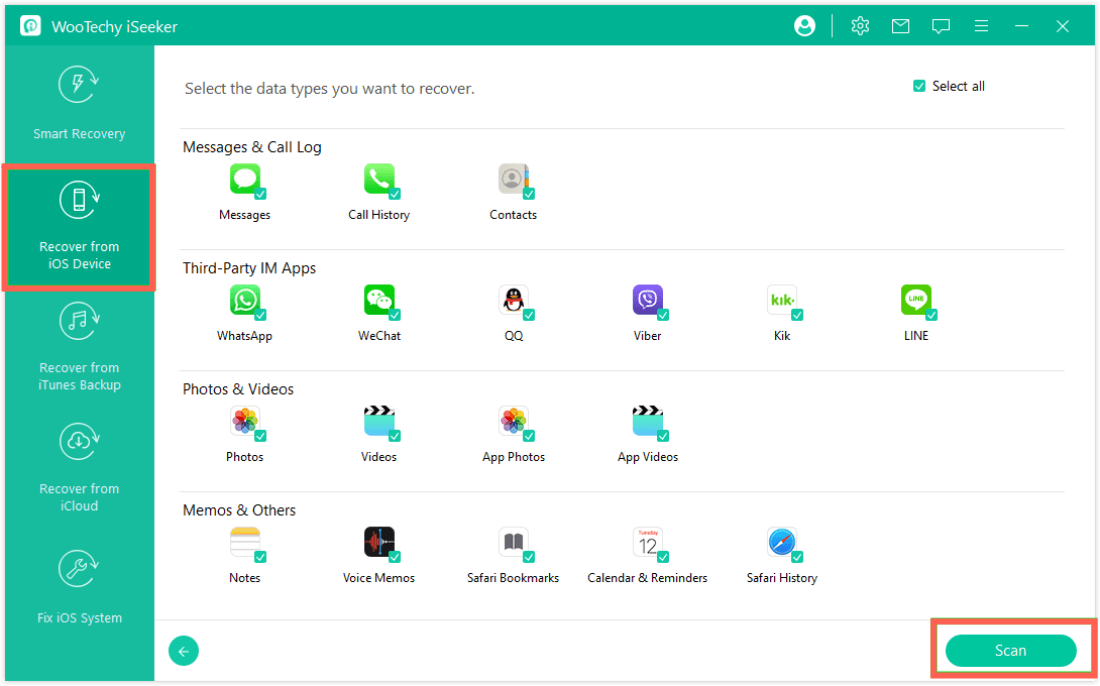
Step 1: Install and launch iSeeker on your computer. Select "Recover from iOS Device" from the main dashboard and connect your iPhone to the computer. Click "Next" to proceed.
Step 2: Choose the data types you wish to recover from your iPhone. Click "Scan" to initiate the scanning process.
Step 3: Once the scan is complete, preview the recoverable data and select the items you want to restore. Click "Recover" to retrieve the data to your computer.
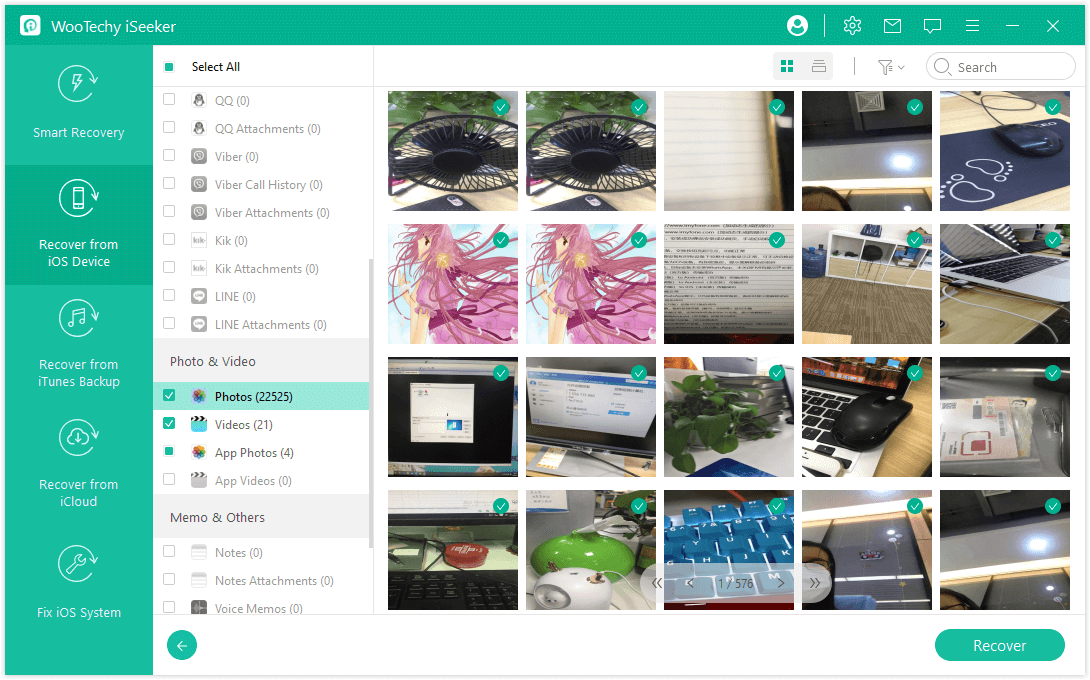
With iSeeker, you can effortlessly restore lost or deleted data from your iPhone to your computer. Additionally, you have the option to recover data from iCloud or iTunes backups based on your recovery needs.
Conclusion
Downgrading from iOS 18 can be a tricky process, and sometimes things can go wrong. However, don't panic! By following the troubleshooting steps outlined in this guide, you should be able to get your iPhone backup back and running.


