Try to downgrade Xcode but don't know how to do it? You've come to the right place! This latest guide will show you the 2 best ways and a step-by-step tutorial on how to downgrade Xcode. In addition, it will also share a quick and easy tip for you to downgrade iPhone & iPad! You can't miss it! Scroll down to read~
Part 1: What is Xcode?
Before getting to the guide on Xcode downgrade, let's see what exactly Xcode is.
Xcode is an Apple's Integrated Development Environment (IDE) that programmers can use to develop apps for iOS and macOS devices. It is called IDE because it comprises all the tools required to develop fully functional applications, including compilers, graphics debuggers, text editors, an integrated build system, to mention a few.
The tool used to be called Project Builder, but was renamed Xcode around the time Mac OS X 10.3 or 10.4 was introduced. In addition, it only runs on macOS, so you need a MacBook computer or iMac to use it.
Despite being Apple's IDE tool, however, Xcode sometimes has problems such as lagging interface, unresponsiveness, functional errors, etc. When Xcode has some problems, a common solution is - downgrade Xcode.
Part 2: How to Downgrade Xcode?
Method 1: Downgrade Xcode to Earlier Version
When you are facing frequent UI freezes, UI test failures, or other performance-related issues, reverting Xcode to previous version may help you resolve the problem. Note that you don’t have to uninstall Xcode before downgrading. All you need to do is install any earlier Xcode version of yours and it will automatically overwrite your current Xcode version.
Here is a step-by-step guide on how to downgrade Xcode to an earlier version:
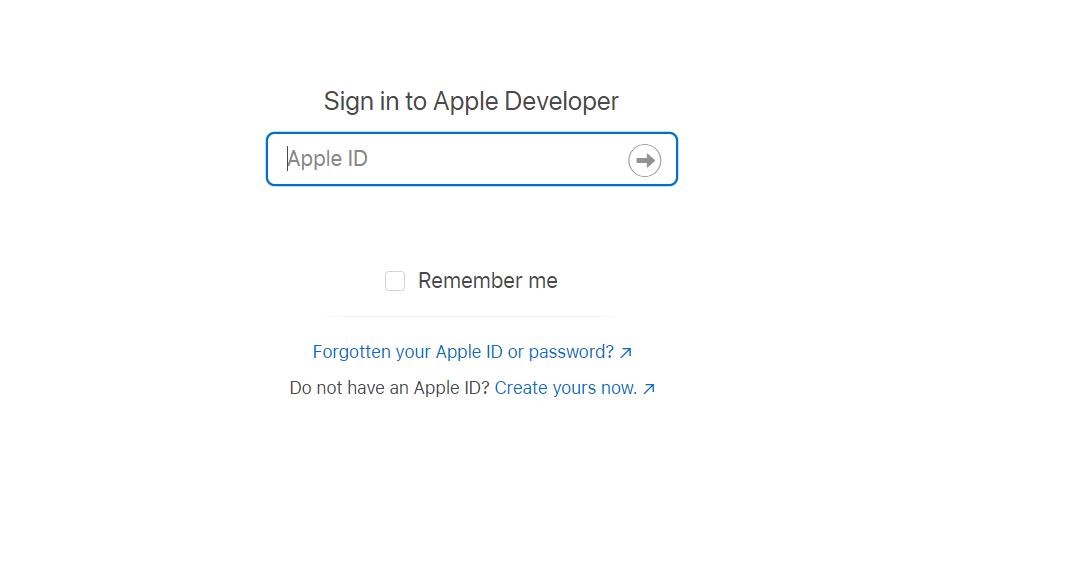
Step 1: Head over to this site. If you're not yet signed in to your developer's account, Apple will ask you to do so.
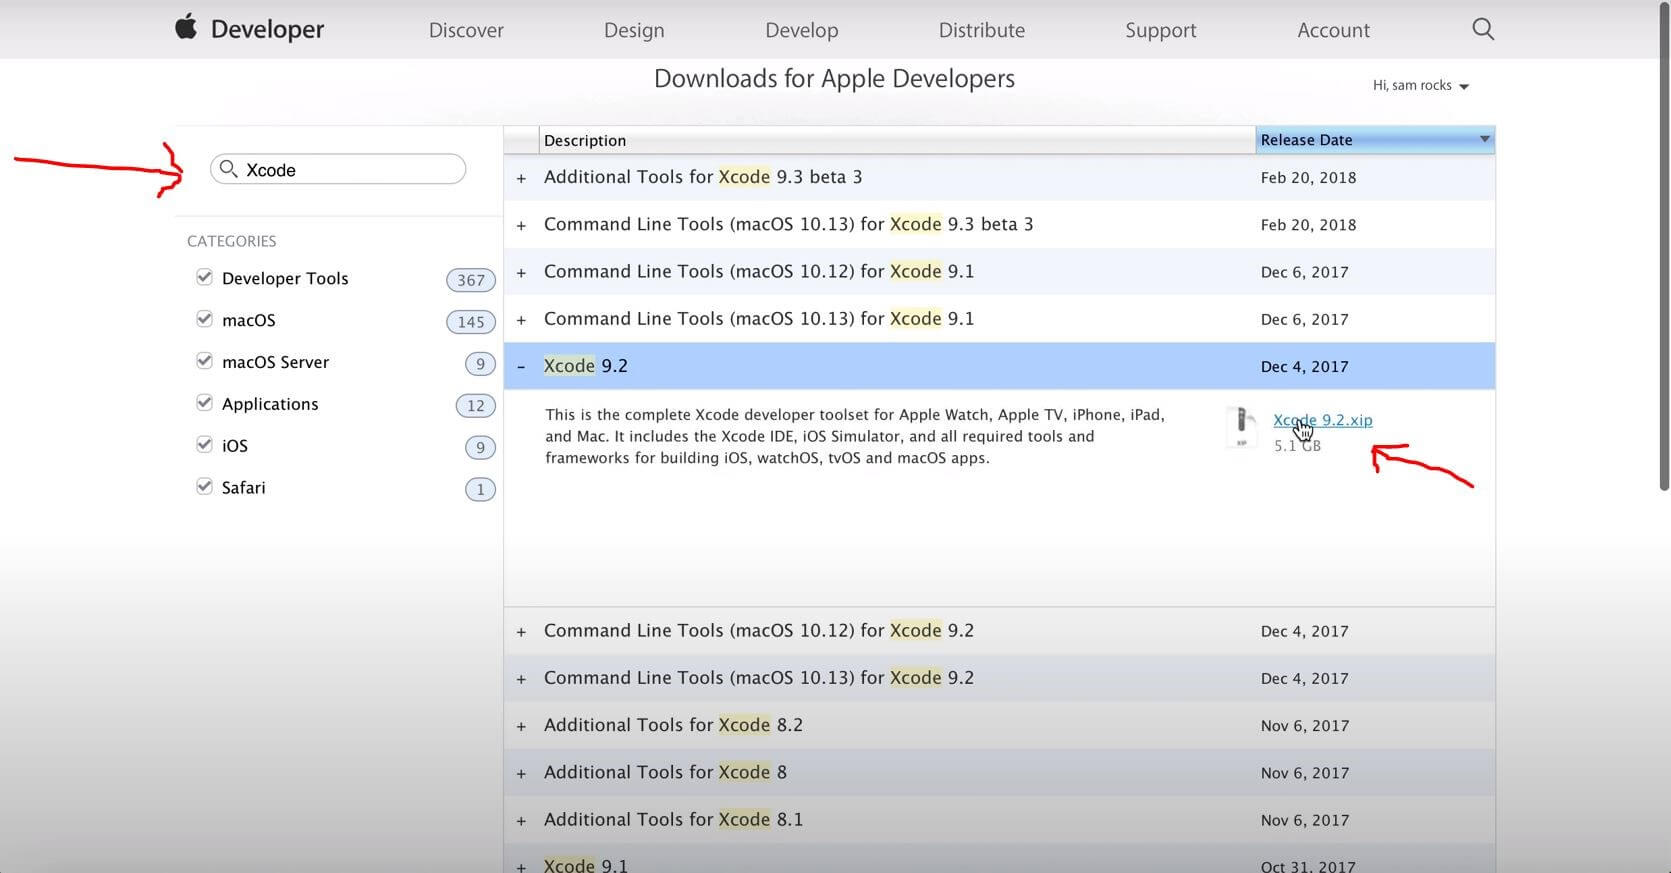
Step 2: When you're in, type Xcode into the search box found at the right side screen. Choose any previous Xcode version you want to move back to and download the .xip. In this case, we'll download Xcode version 9.2.
Step 3: After downloading the file, extract it using Archive Utility.
Step 4: After unarchiving Xcode, open it. You'll see an interface like the one below.
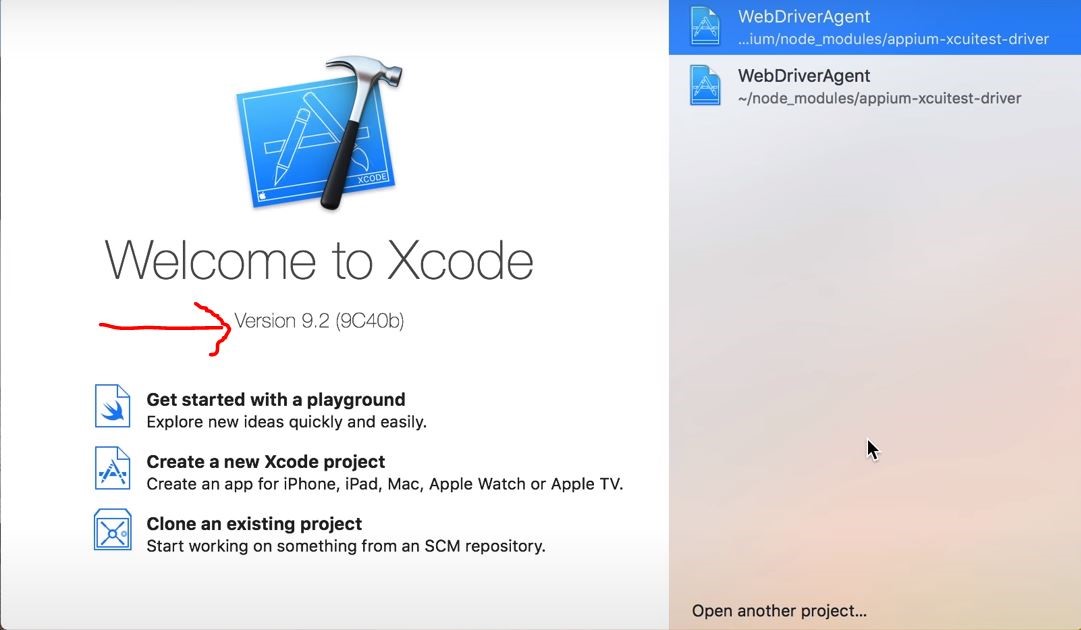
Step 5: Navigate Xcode Preferences from the main menu.
Step 6: Click the Locations.
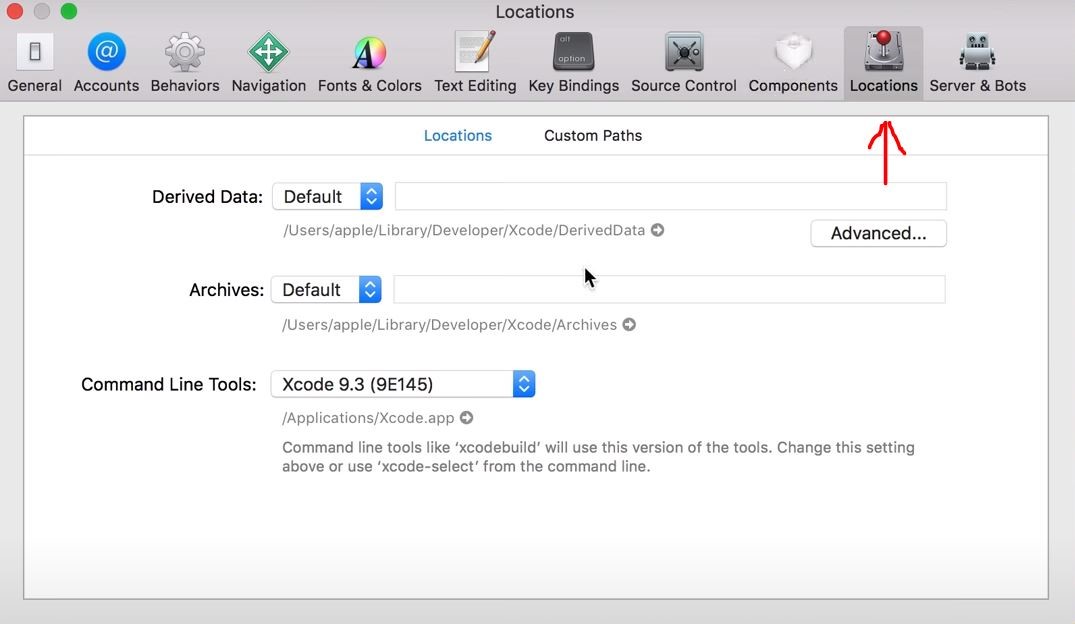
Step 7: Click on the option next to Command Line Tools and choose the new Xcode version you downloaded. As you can see from the image below, the current version is 9.3, and we're choosing the 9.2 version we just choose.
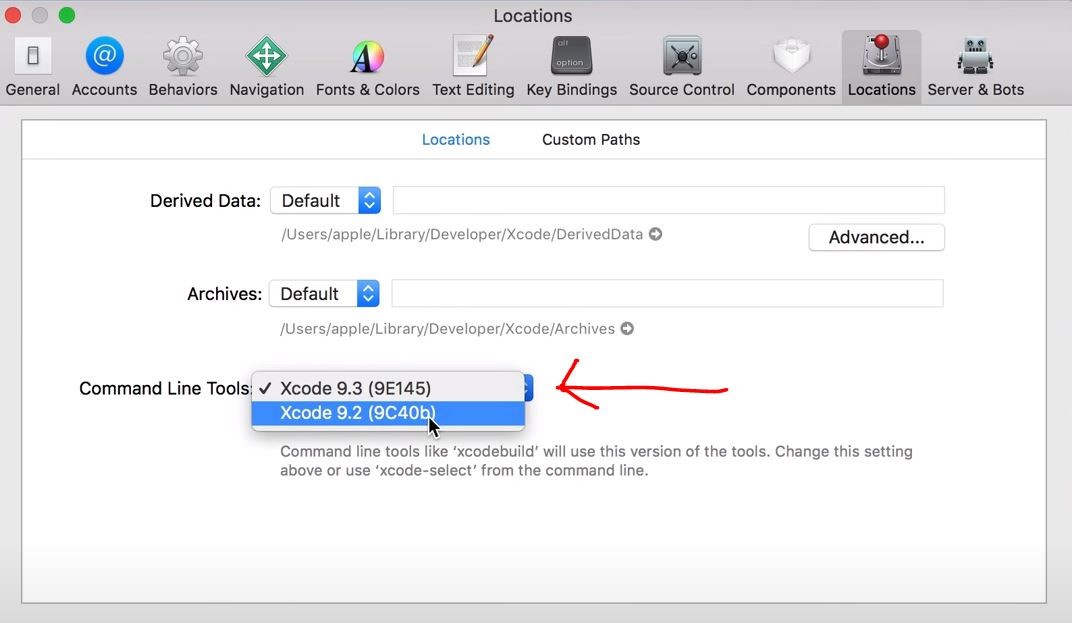
Step 8: To save the change, you'll need to enter your password. Henceforth, Xcode will remember your preference and will use the new chosen version.
Method 2: Downgrade Xcode by Uninstall & Reinstall
When you use Xcode, it constantly creates or generates a large number of temporary files called cache, which consume Mac system resources. Over time, these caches can lead to Xcode delays and Xcode unresponsiveness. If this is what you are experiencing, you can uninstall Xcode and reinstall it.
Here is the complete guide on Xcode removal:
Step 1: Go into your Mac Applications folder, locate the Xcode icon and drag it into the Trash.
Step 2: Empty the Trash bin. Some Mac users would generally believe they have completely uninstalled an app this way, but this is not true. Continue with the following steps to see how to completely remove the Xcode tool from your machine.
Step 3: Navigate Finder, then go to Folder.
Step 4: Type in ~/Library/Developer/ and press Enter.
Step 5: Locate the Developer folder and delete it. Let's say you have any of the earliest Xcode versions, remove its leave behind files by using the steps below.
Step 6: Open Terminal.
Step 7: Type or paste sudo/Developer/Library/uninstall-devtools --mode=all, and press Enter.
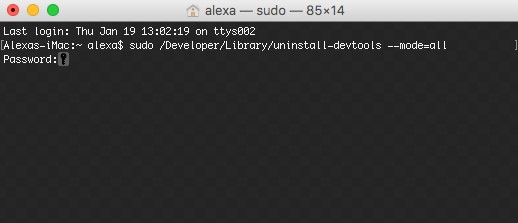
Step 8: Enter your administrative password to okay the process.
Step 9: Once the script is done running, quit Terminal.
Just to make sure no junk file is left unattended, use Finder to inspect the content of this directory: ~/Library/Caches/com.apple.dt.Xcode. Rid the folder of any files taking up a residence in it. After cleaning up your folder, follow the steps in part 2 to install a fresh older version of Xcode.
Part 3: The Easiest Way to Downgrade iOS
If your iPhone or iPad is not experiencing well on the current iOS, you can downgrade iOS and move back to the previous iOS version to improve the performance of your device. However, downgrading iOS often means data loss unless you use this iOS downgrade tool - WooTechy iMaster.
As the most popular professional iOS downgrade software in recent years, it can downgrade your iPhone, iPad to any supported iOS version quickly and without losing any data after downgrade. It also guarantees no error codes (which is often encountered when downgrading iOS on iTunes). Currently this tool has a large number of users from different countries, and many Apple users use it to switch and experience different iOS versions.
WooTechy iMaster – The Best iOS Downgrade Tool

75.000.000+
Download
- Supports all iOS devices and iOS versions, including the latest iOS 16 and the upcoming iOS 17
- User-friendly, no technical knowledge required, downgrade iOS version in just a few clicks
- Secure downgrade and upgrade process with no risk of data loss
- Free to backup all your iPhone/iPad data
- High success rate, easy and fast to use
Free Download
Secure Download
Free Download
Secure Download
How to Downgrade iOS by WooTechy iMaster?
Step 1: Download and install WooTechy iMaster on your computer. Launch it and connect your iOS device with USB cable. Choose Downgrade iOS.
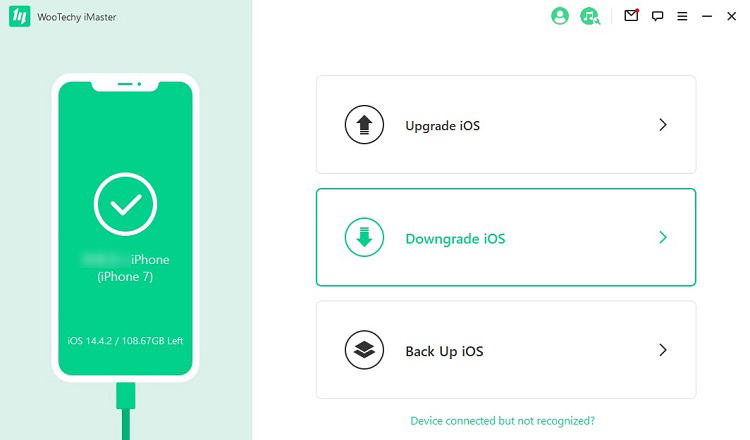
Step 2: Select the firmware version you want to downgrade, click Next to download it.
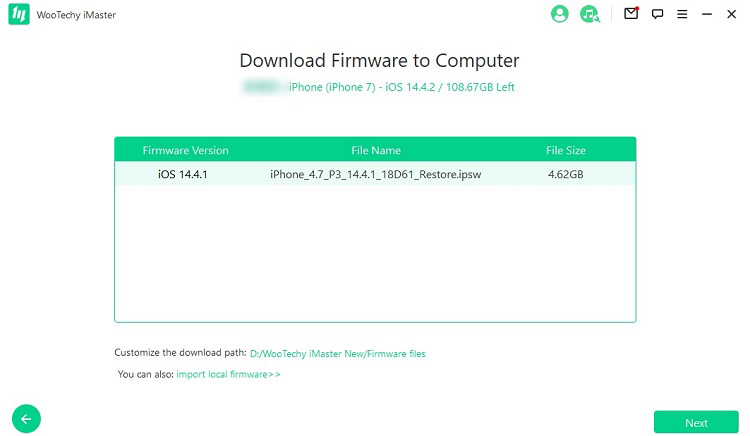
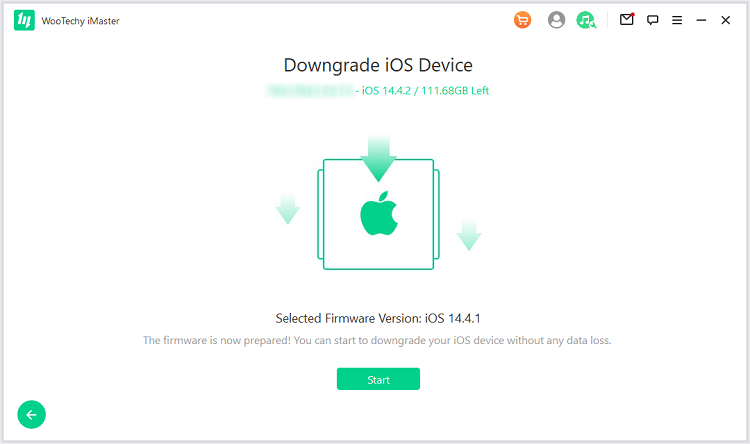
Step 3: Once the firmware is downloaded and verified, click Start to begin the downgrade process.
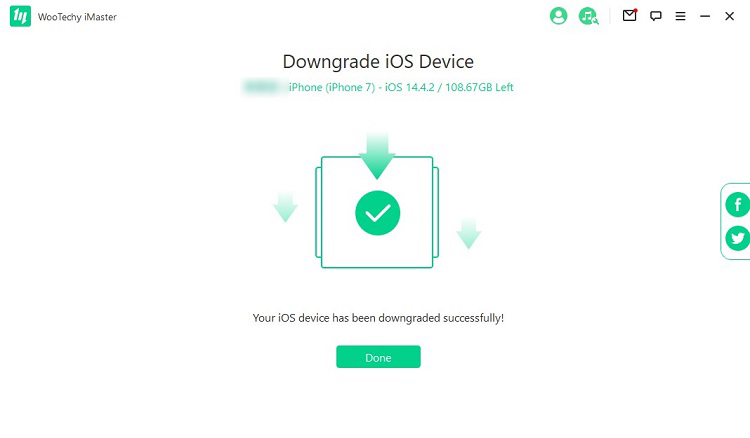
Step 4: When your iPhone has been downgraded successfully, click Done to finish the process.
Conclusion
Well, now you know how to downgrade Xcode to an earlier or previous version in 2 effective ways. It's worth mentioning that WWDC is coming soon and the brand new iOS 17 is about to meet us all! If you want to quickly downgrade to the original iOS version after upgrading iOS 17 beta, then you can't miss this iOS downgrade tool - WooTechy iMaster! It can quickly downgrade your iPhone without losing any data, which has become the most popular tool for many Apple users to experience different iOS versions. Download and try it out!
Free Download
Secure Download
Free Download
Secure Download


