User Question
Hi there. I just updated my iPhone to iOS 16 yesterday and found it not satisfying. So I followed the method online to downgrade it via iTunes. However, when I performed the operation, the message “The iPhone could not be restored. An unknown error occurred (3004)” popped up. What should I do now? I really need to go back to iOS 15 and all answers are welcome. Thanks!!!
Are you experiencing similar problems with Error 3004? No need to be anxious, you have come to the right place. This tutorial will show you 12 effective ways to restore iPhone Error 3004! Scroll down to read it!
- Part 1: What Is Error 3004?
- Part 2: What Causes Error 3004?
- Part 3: How to Restore iPhone Error 3004?
- Method 1. Check the USB Cable and Port
- Method 2. Update iTunes or Finder
- Method 3. Restart the Computer
- Method 4. Check the Computer's Date and Time
- Method 5. Disable the Antivirus Software
- Method 6. Edit the Hosts File on Your PC
- Method 7. Force Restart the iPhone
- Method 8. Clear Safari History and Website Data
- Method 9. Reset Network Settings
- Method 10. Reset All Settings
- Method 11. Update/Downgrade iOS
- Method 12. Restore iPhone via iTunes/Finder
Part 1: What Is Error 3004?
Error 3004 is one of the most common issues when updating or restoring an iOS device.
Apple users often get this report when they try to update their iPhone to the latest release of iOS such as iOS 17 Beta or when they try to downgrade from iOS 17 Beta to iOS 16 using an iPSW file.
Part 2: What Causes Error 3004?
The main causes of error 3004 are generally:
Part 3: How to Restore iPhone Error 3004?
1. Check the USB Cable and Port
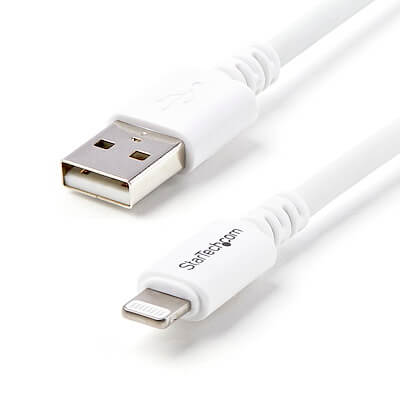
iTunes error 3004 can occur when there's an interruption in the USB connection. To solve this, check your USB cable and port for any disconnection. Then re-plug the USB to see whether this method has fixed the error.
2. Update iTunes
When the iTunes error 3004 pops up, the easiest and fastest way to fix it is by updating your iTunes to the latest version. Generally speaking, all apps will work better when updated to a higher version, the same works for your iTunes.
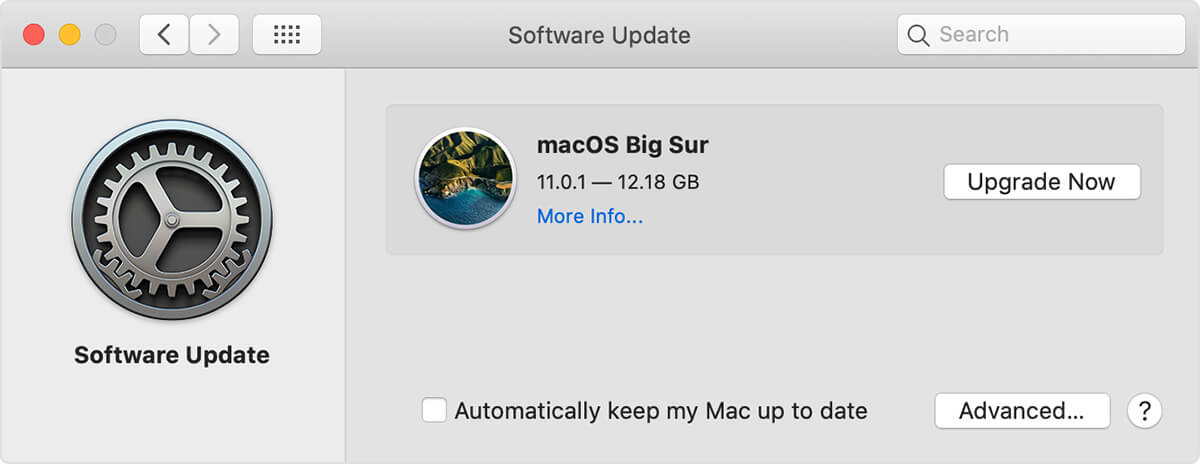
To update to the latest version of iTunes on your Mac:
- 1. Go to the Apple menu and select System Preference.
- 2. Select Software Update to check for the latest updates.
- 3. Click Update Now.
- 4. If you are using an older version, just go to App Store and check if there are any updates available.
To update to the latest version of iTunes on your Windows PC:
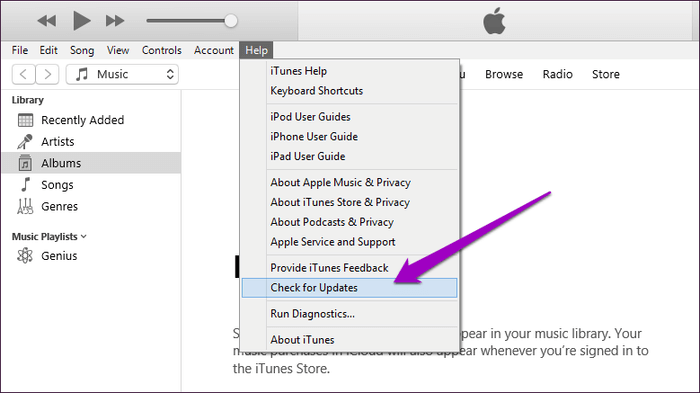
- 1. Select Help on the iTunes screen.
- 2. Select Check for Updates on the drop-down menu. iTunes will download and install the latest version.
3. Restart the Computer
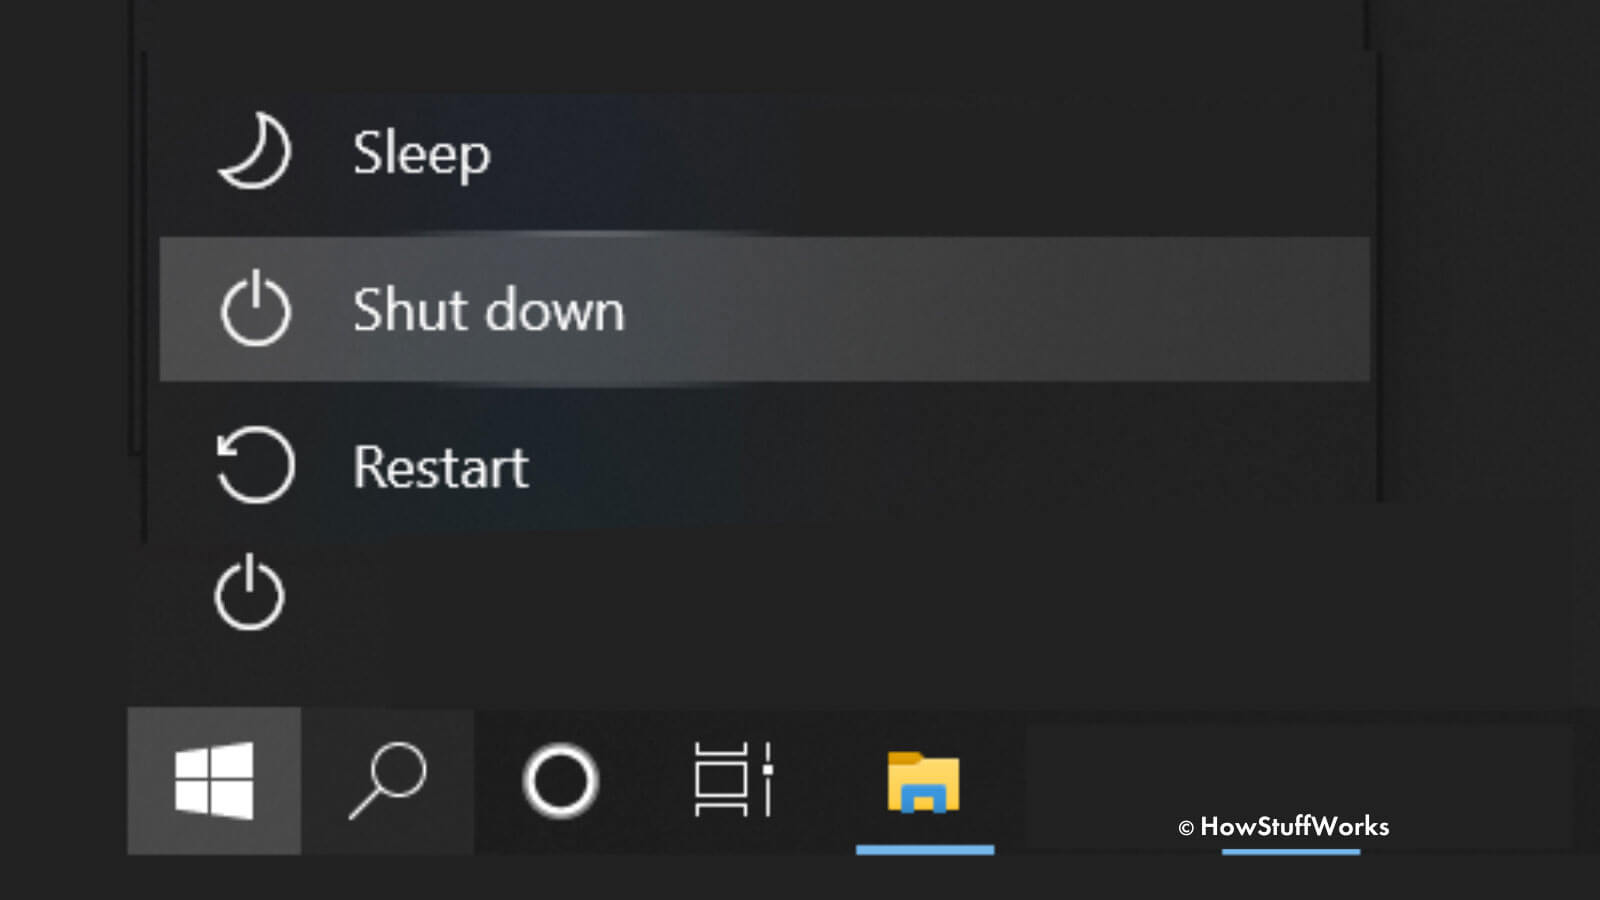
The next thing you need to do when an iPhone error 3004 occurs is to turn off the computer. Although it seems like a cliche, it really works! A reboot of computer will swipe all the temporary glitches away and thus your malfunctioning iTunes and connection with external devices will go back to normal.
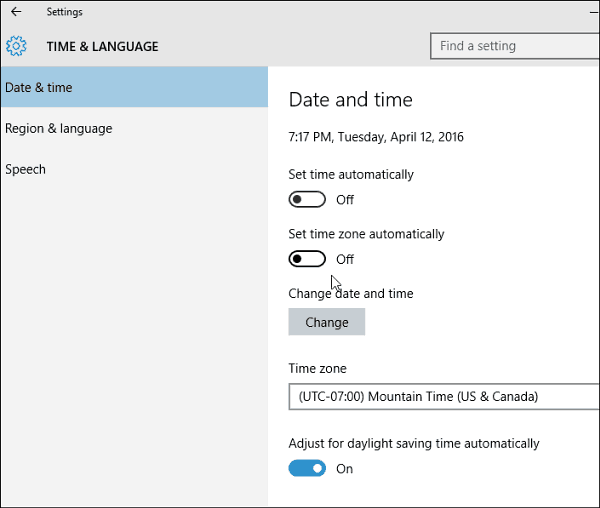
4. Check the Computer's Date and Time
You may feel it weird to check your computer's date and time when suffering this issue. However, the iTunes Error 3004 may occur if your computer's clock and time zone settings are wrong. So you need to make sure the date and time of your zone on the computer is accurate.
5. Disable the Antivirus Software
Another way to fix iTunes error 3004 is to disable the antivirus software on your computer. Antivirus sometimes interrupts the normal operation of your iTunes, and thus an iTunes error 3004 pops up.
6. Edit the Hosts Files on Your PC
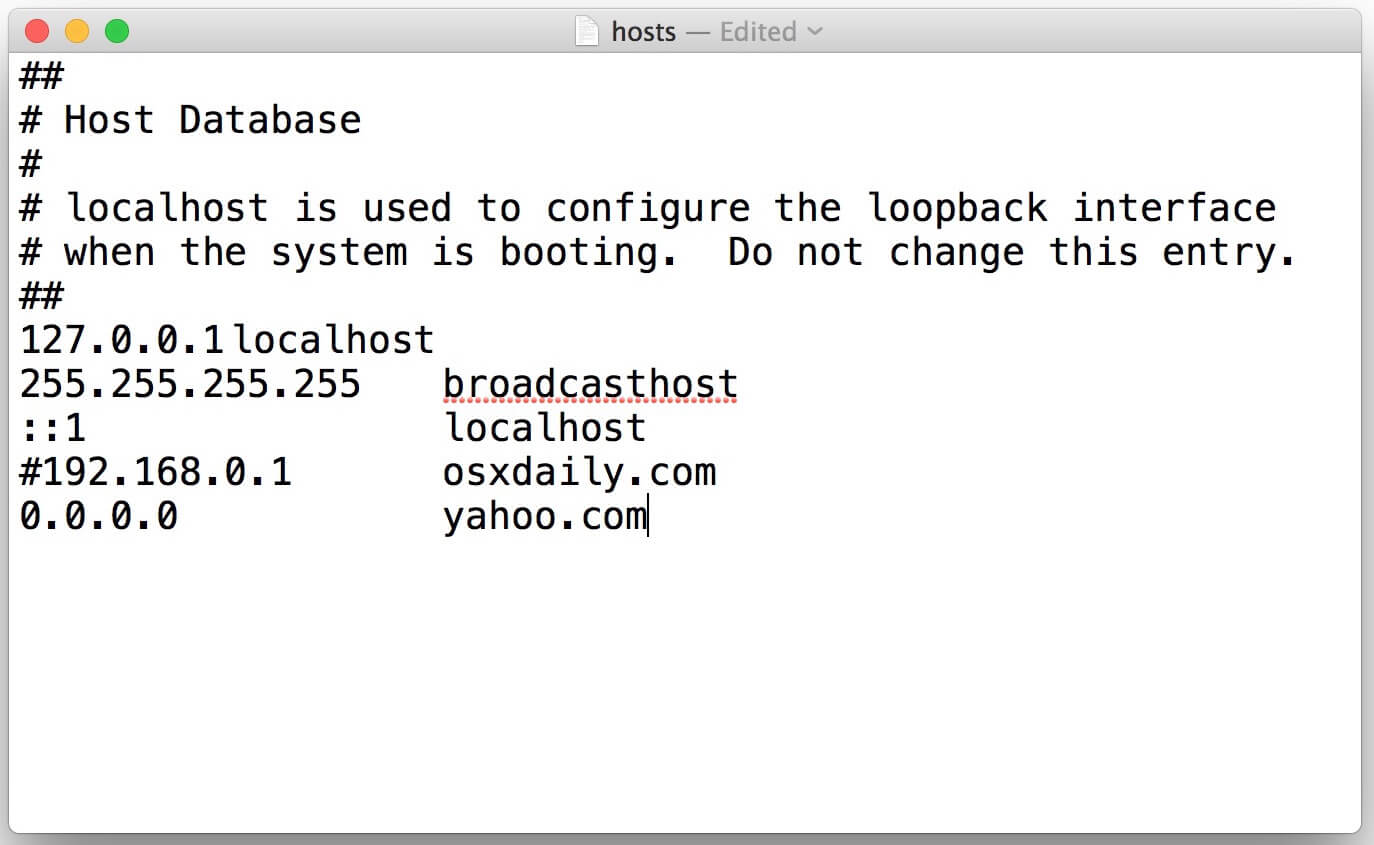
To fix iTunes error 3004, edit the host files on your PC. Your computer's host files might cause a problem in communication between Apple's servers and iTunes.
For Mac users:
- 1. Go to the Finder, then click Go and then Utilities.
- 2. Double-click Terminal to launch the Terminal window.
- 3. Enter the command: sudo nano /etc/hosts. Then enter your password and click on Return
- 4. Edit the host files by adding IP address and domain name. For example, 112.111.101.113 www.yourdomainname.com. Put a space between the IP and the URL.
- 5. Press Control+O, then press Enter to confirm the overwriting.
- 6. Press Control+X to exit the nano editor.
Windows users can go to the official guide of Microsoft to do it.
7. Force Restart the iPhone
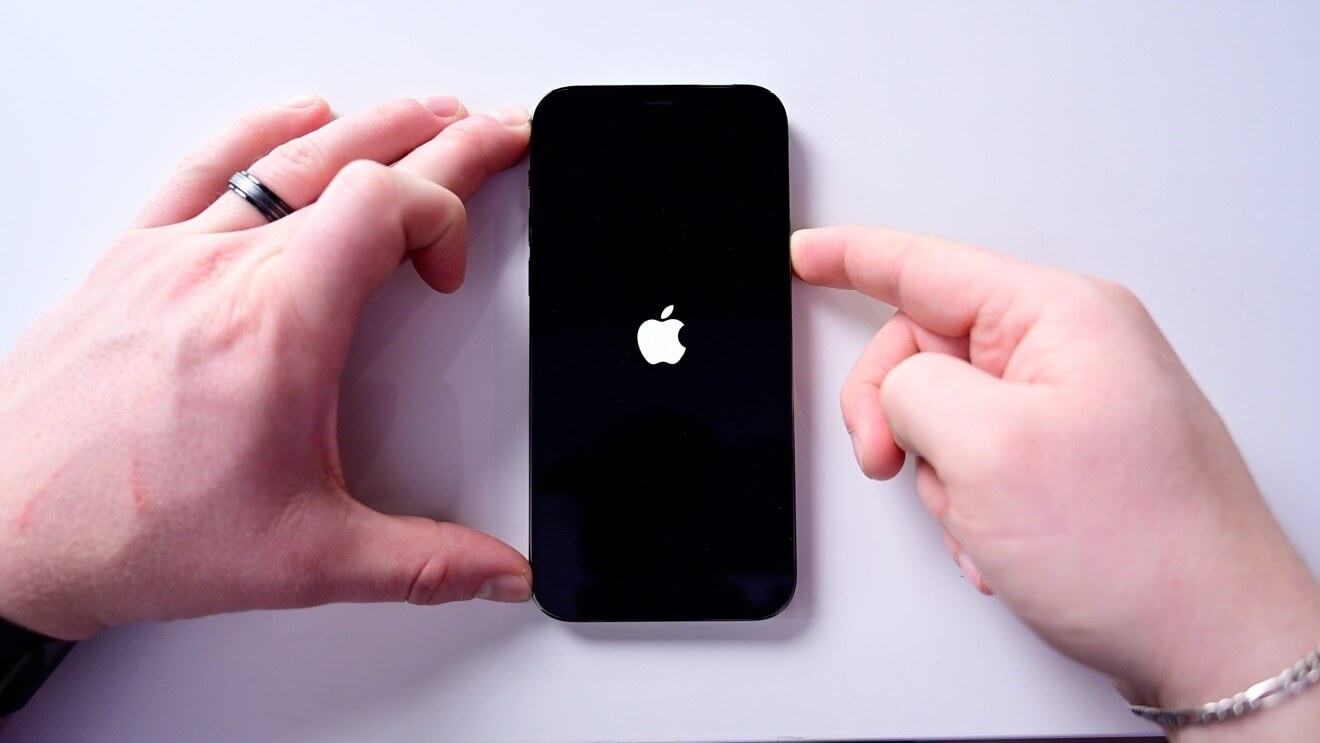
Force restarting your iPhone is a simple but effective method to fix iPhone error 3004. And the method varies between different iPhone models. Choose the one that suits your device version.
- iPhone 6 and earlier generations: Press and hold the Sleep/Wake button and the Home button simultaneously. Release both buttons when the Apple logo shows up.
- iPhone 7 plus and 7S: Press and hold the Volume Down button and the Sleep/Wake button simultaneously. Release both buttons when the Apple logo appears.
- iPhone 8 and later generations: Press and quickly release the Volume Up button, repeat the same process for the Volume Down button, then press and hold the Side button. Release the button when you see the Apple logo.
8. Clear Safari History and Website Data
Clearing Safari and website history can help fix iTunes error 3004 because it can wipe out the possible interruptions of some malicious websites. And this method will removes data of frequently visited sites, history of web pages, recent searches, and a list of downloaded files(not the downloaded files themselves). Try this method only if you don’t mind this.
- 1. Go to your Safari app or Search engine.
- 2. Select Settings > History/Privacy and security> Clear history/browsing data.
- 3. On the pop-up menu, select how far back you want your browsing history cleared and the type of data as well.

9. Reset Network Settings
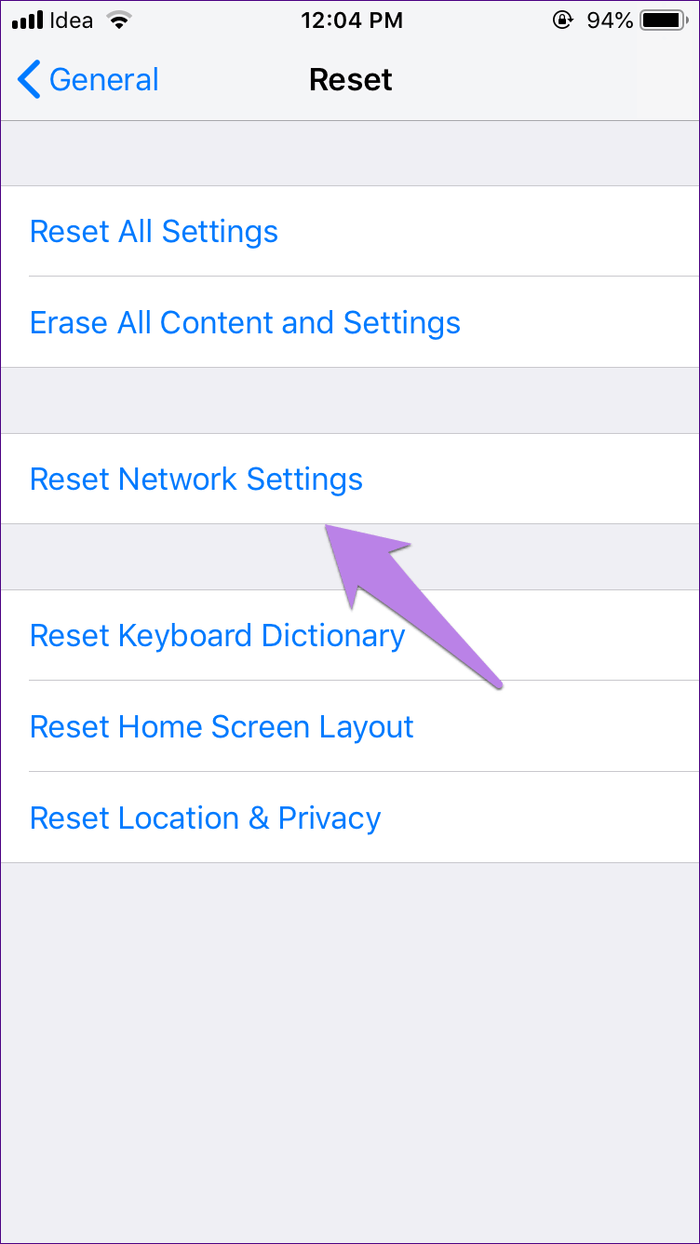
The faulty network connection may cause the iTunes not to update or restore your iPhone, reporting iTunes error 3004. If this is the case, you need to reset all network settings on your iPhone. To do it, simply go to Settings > General > Reset > Reset Network Settings.
10. Reset All Settings
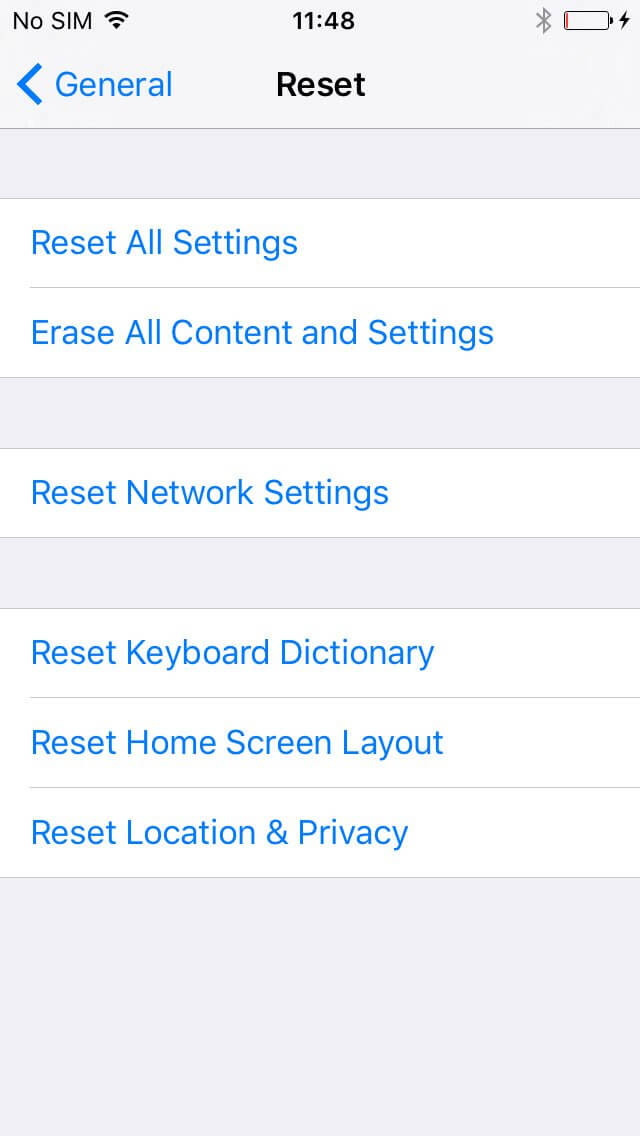
If the iTunes error 3004 persists after resetting network settings, you may need a more thorough solution, resetting all settings. It will adjust all the faulty settings that may cause errors and restore them to the factory settings. And you don’t need to worry about the data loss, as it only erases the personalized settings and won’t harm your data. To reset all settings on your iPhone, go to Settings > General > Reset > Reset All Settings.
11. Downgrade iOS
Error 3004 occurs most frequently after people update their iPhones to iOS 15. So downgrade iOS 15 to iOS 14 might be help to fix error 3004. One professional tool do good job on iOS downgrade without data loss is WooTechy iMaster.
This is an iOS management software designed for iPhone/iPad. It performs quite well in iOS upgrade, iOS downgrade and iOS backup and you can also use it to update iOS and back up iOS for free. As the most popular iOS downgrade tool in recent years, it can quickly downgrade iPhone/iPad to any supported iOS version with a few simple steps, making the iOS downgrade process super easy.
WooTechy iMaster - The Best Tool on iOS Downgrade

75,000,000+
Downloads
- iOS Downgrade: Easily downgrade iPhone/iPad to any supported iOS version without data lost
- iOS Upgrade: Quickly update iPhone/iPad to the latest iOS version
- iOS Backup: Backup all data on iPhone/iPad for free
- Support almost all iOS versions and latest iPhone/iPad models
- Easy steps, Fast speed, and Secure
Win: Free Download
Secure Download
Mac: Free Download
Secure Download
[Video Tutorial] How to Downgrade iOS?
How to Downgrade iOS with WooTechy iMaster?
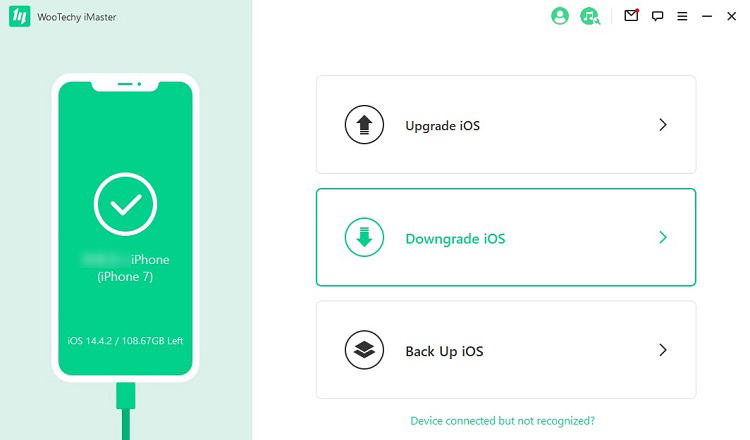
Step 1: Download and install WooTechy iMaster on your computer. Launch it and connect your iOS device with USB cable. Click Downgrade iOS.
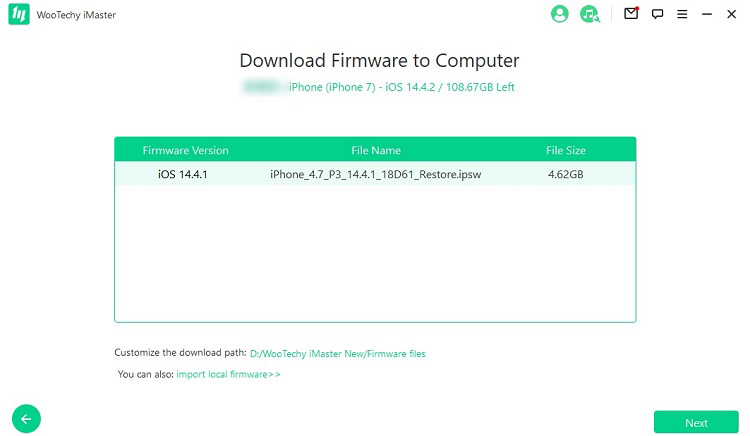
Step 2: Select the firmware version you want to downgrade to, click Next to download it.
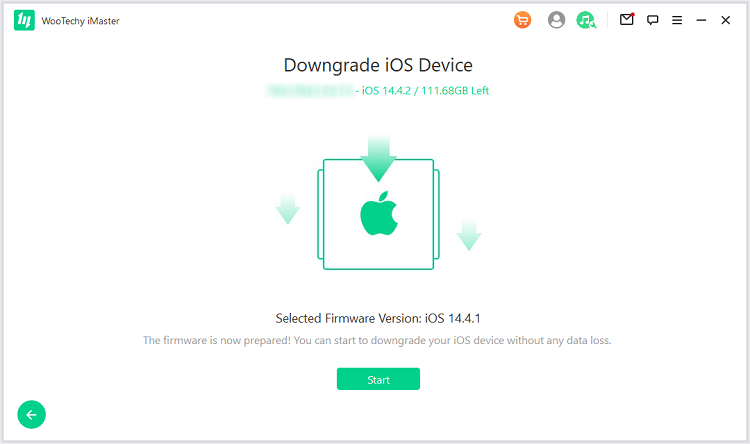
Step 3: Once the firmware is downloaded and verified, click Start to begin the downgrade process.
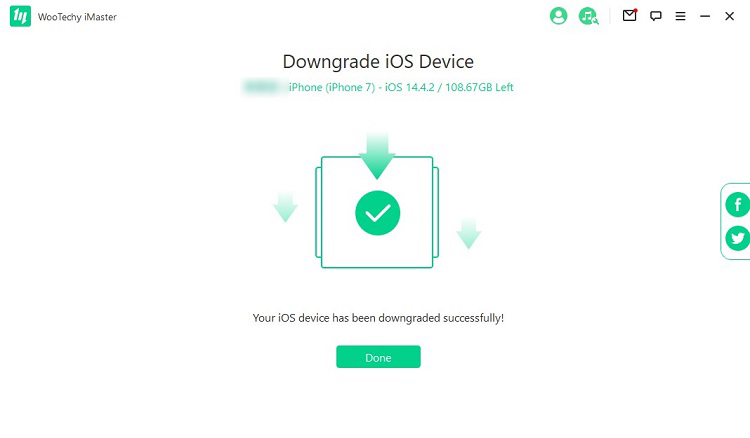
Step 4: When the downgrade is complete, click Done. Now your device has been downgraded successfully.

12. Restore iPhone With Recovery Mode
You may wonder why we let you restore the iPhone once again. Here you should know restoring iPhone with recovery mode is different from that with normal mode. And it has helped many users to solve this iTunes 3004 error. However, this should be the last resort for you as it will erase all your data.
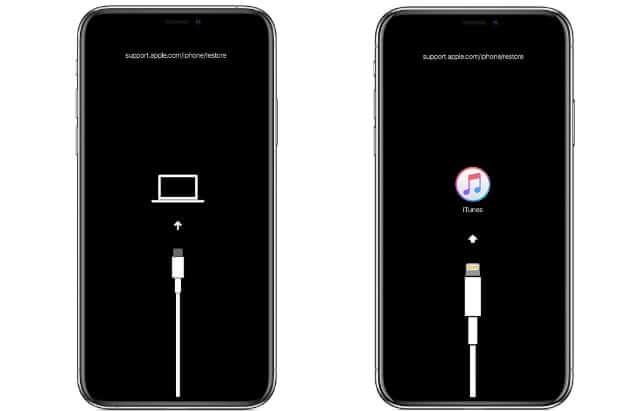
To do it, you need to put your iPhone in recovery mode first. The methods are almost the same as force restarting iPhone. The only difference is that you shouldn’t release when you see the apple logo, keep holding the button(s) until you see the recovery mode screen.
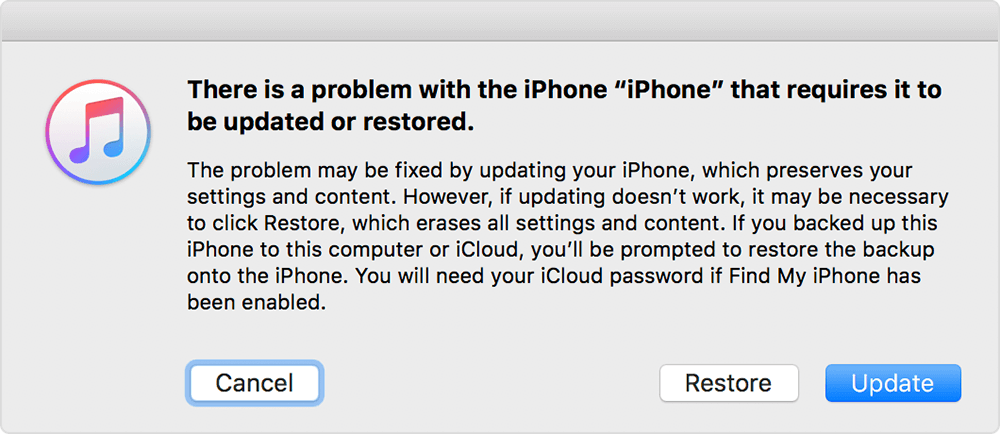
Then you can see a pop-up window with Update and Restore options. Choose Restore and confirm your action.
Conclusion
Next time when Error 3004 pops up on your screen, don't panic, just use any of the 12 tips above. If you have this issue after updating iPhone to iOS 15, the best way is to downgrade it to previous iOS 14 with WooTechy iMaster. Now this iPhone upgrade/downgrade software has also become the most popular tool for many Apple users to experience and switch iOS versions. Life is easier when you know what to do, so is handling your iPhone! Try it now!
Win: Free Download
Secure Download
Mac: Free Download
Secure Download


