Tired of the update you have on your Apple device and want to downgrade from iOS 13.3, then you came to the right place. Here we will go over some of the methods you can use to downgrade iOS 13.3.
(iOS 15 Included) Downgrade iOS 13.3 with WooTechy iMaster
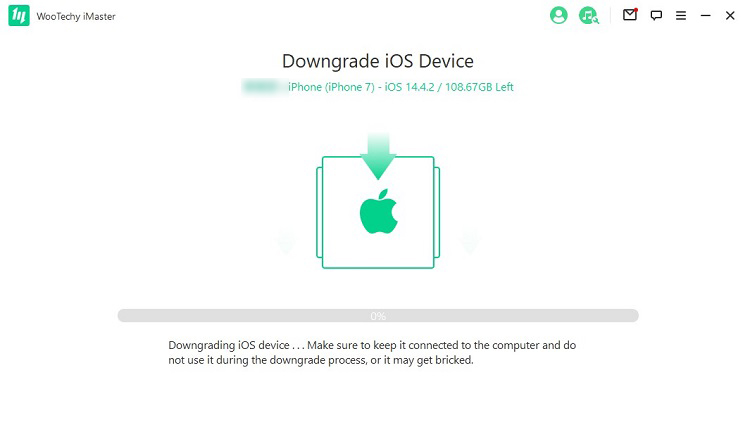
Afraid of losing data after downgrade? Puzzle about the steps to downgrade iOS with iTunes? Then WooTechy iMaster would be your cup of tea. Even you are Internet-illiteracy, you can still safely and easily to downgrade iOS without any risk of losing data.
Great Features of WooTechy iMaster
- A few clicks will downgrade your iOS 13.3.
- Capable of downgrading any iOS versions, even the newly released iOS 15.
- No need to paid for its backup feature.
- Easy to upgrade or downgrade multiple times.
- Reliable customer service.
Watch this video to learn how to downgrade iOS 13.3 smoothly.
Here are the steps to downgrade iOS:
Step 1: Download and launch WooTechy iMaster.
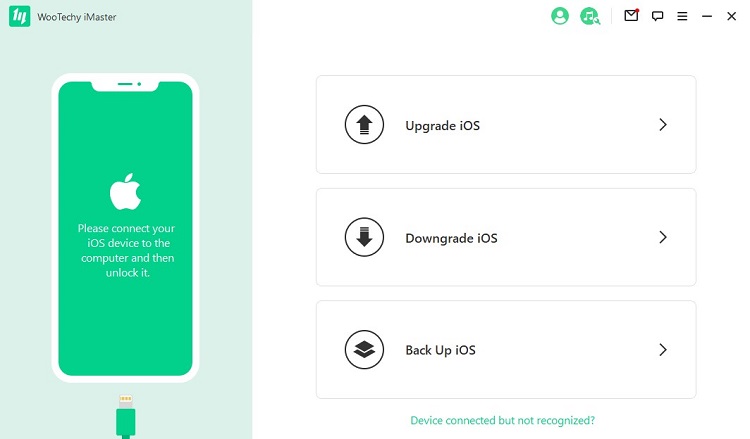
Step 2: Connect your iOS device to the computer and select "Downgrade iOS".
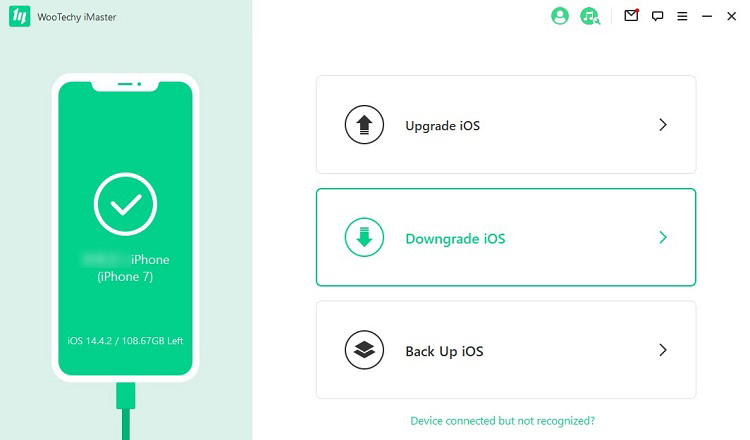
Step 3: iMaster will offer you some firmware version. Choose the one you need. Then Click on "Next" to continue.
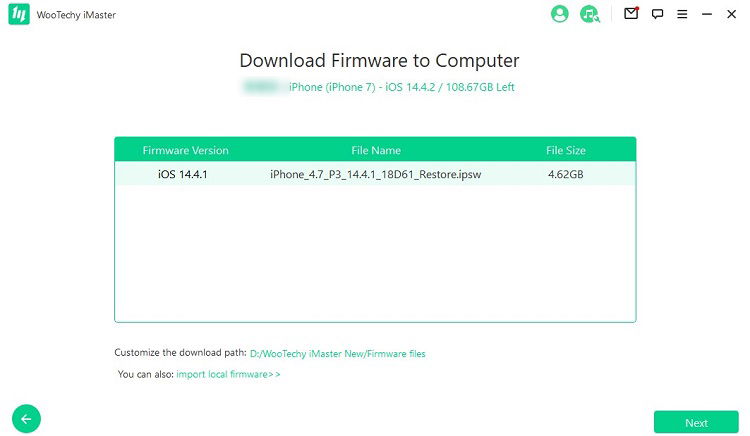
Step 4: After that, we can click "Start" to downgrade iOS device.
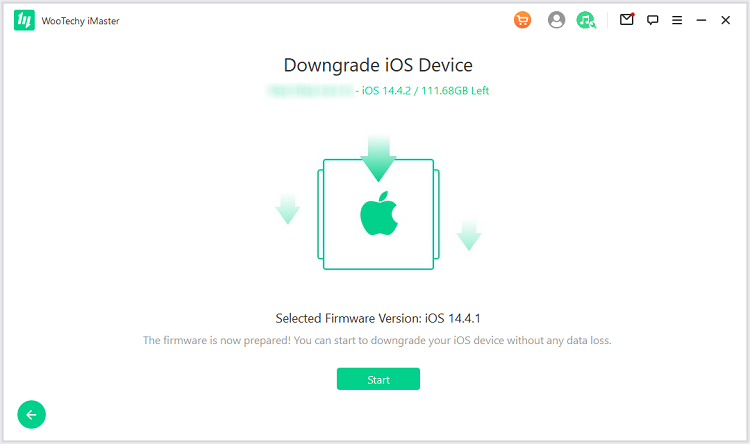
Step 5: Our iPhone will be in the downgrade process. Once the process finishes, we will see a prompt saying "Your device has been downgraded successfully". Click "Done" to finish it.
Downgrade iOS 13.3 with Finder or iTunes
To downgrade iOS 13 to 12, you will need to understand that to complete this, it will need to be signed by Apple. This means that Apple has to continue authenticating the firmware with their servers. However, if Apple stops signing the iOS update, you will not install it.
To downgrade iOS 13.3 with Finder or iTunes, follow these simple steps:
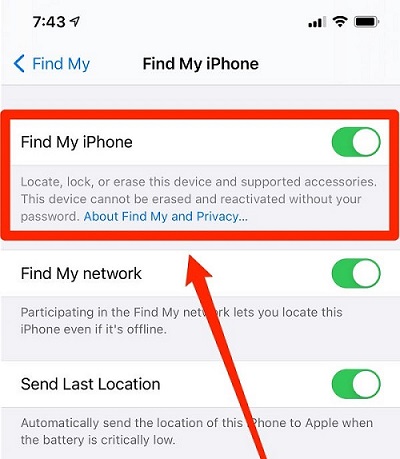
Step 1. Disable the Find My iPhone. Go to Settings, tab "Find My iPhone", and then turn off "Find My iPhone".
Step 2. Download the Restore Image.
Step 3. Connect the iPhone to the Computer.
Step 4. Unlock your phone.
Step 5. Decide if You Want to Use Finder or iTunes.
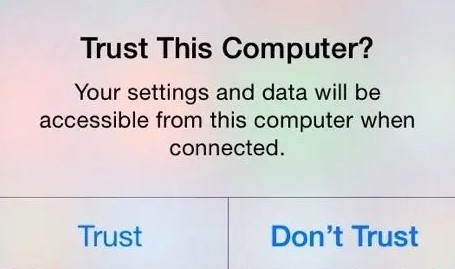
Step 6. Make sure you enable the "Trust" feature on your computer.
Step 7. Install the iOS Version You Want.

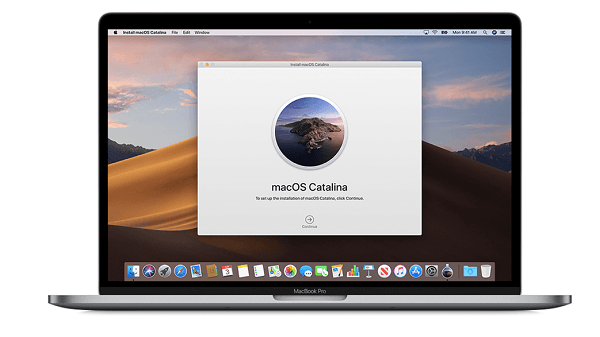
- Make sure your Computer is macOS Catalina or a later update.
- Open finder app on iPhone
- Click on your iPhones name
- Hold down the Options key on the Computer and click "Check for Update" or "Restore iPhone."
- After you choose from the two, a file will appear, and you will need to find the IPSW file you downloaded.
- Once founded, click open, and it will tell you that iOS 12 will be installed.

- Open iTunes
- Hold down the option key on Mac (If using Windows, hold down the Shift key)
- Choose between "Check for Update" or "Restore iPhone."
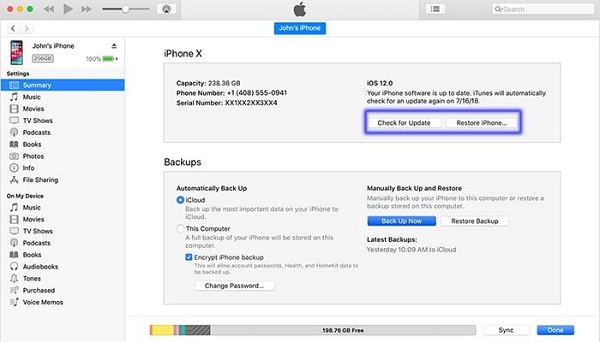
- Choose the IPSW file and open it
- After you open it, it will instruct you that your iPhone will be downgraded
Downgrade iOS 13.3 Using Recovery Mode
If iTunes and Finder didn't work for you, you could still use Recovery Mode. To do so:
Step 1. Download iOS 12 OS file from the Apple website to your device.
Step 2. Go on your PC and open iTunes.
Step 3. Connect Apple device to your Computer.
Step 4. Place your Apple device in recovery mode.
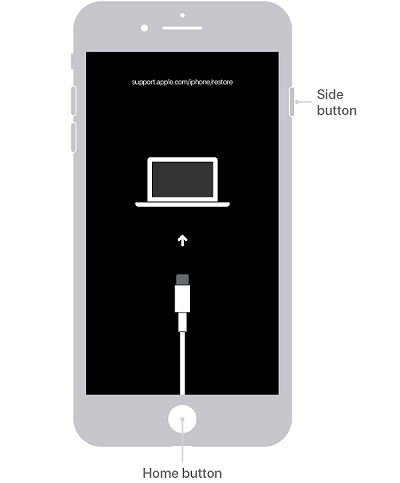
Step 5. On your Computer, it will prompt you to choose between "Restore" or "Update" your device.
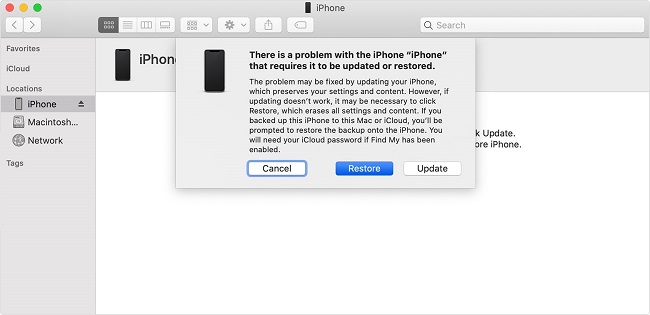
Step 6. Click on "Restore".
Step 7. The iOS 12 version should then install on your iPhone.
Restore iPhone from Backup with Finder or iTunes
Before embarking on your journey to downgrade iOS 13, you will need to back up your information, so it won't get lost.
When trying to downgrade using iTunes or Finder, it's best to use the "Restore iPhone" option because it has a higher chance of you not losing your information. Using the "Check for Update" option usually doesn't work.
For the most part, try only to use "Restore iPhone".
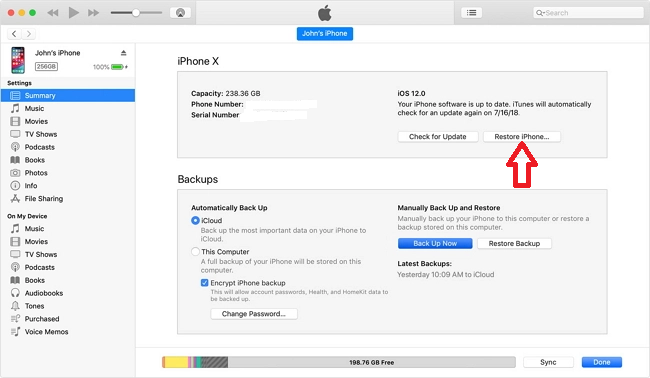
To restore your information, make sure you made either a Finder or iTunes backup for your current device.
Once you backup your phone before starting the downgrade when you choose the restore iPhone, it should back everything up.
iPhone Stuck on DFU When Downgrade iOS 13.3? Fix it with iTunes
If you have difficulty getting stuck on the DFU when downgrading, you will need to download iTunes onto your system or perhaps update it to the latest version.
When your iPhone is stuck on the DFU, and when you open iTunes, it will be able to detect it and give you the option to restore the phone. Be aware that if you do, then it will delete all data on the phone.
Only use iTunes to fix this problem as a last resort, but to do this, follow these steps:
Step 1. Launch iTunes or update it on your Computer.
Step 2. Connect your phone to the Computer.
Step 3. After you connect the phone, iTunes will prompt you to "Restore" or "Update" the phone.
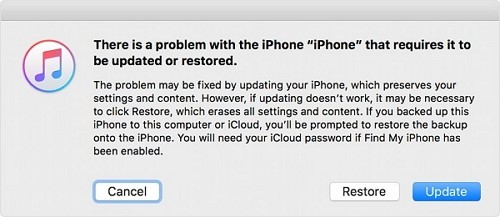
Step 4. When you are ready, you can go ahead and click the "Restore" option. It may take some time to restore your device.
Summary
Whether you don't like the new update, you prefer the older update, or you want to downgrade from iOS 13. By following these steps, you will have the iOS version that you know and love. If you are not Internet savvy, WooTechy iMaster is highly recommended, for it provides an one-stop backup and downgrade service. Then you can downgrade iOS 13.3 without any worry. What's more, it can downgrade the newest iOS 15 to previous iOS 14. So why not give this amazing tool a try?


