It is normal when Google asks for your phone number for verification when creating a new Google account as a two-factor authentication. It is a security measure implemented by Google to enhance the safety of user accounts. The process typically involves receiving a text message or a phone call with a confirmation code to link the provided phone number to the Google account.
However, the stringent phone verification process can be an obstacle. And it gets worse if you are stuck in verification loop. Don’t worry. We are here to help. We present a step-by-step solution that allows you to bypass Google phone verification while maintaining the integrity of your account. Read on!
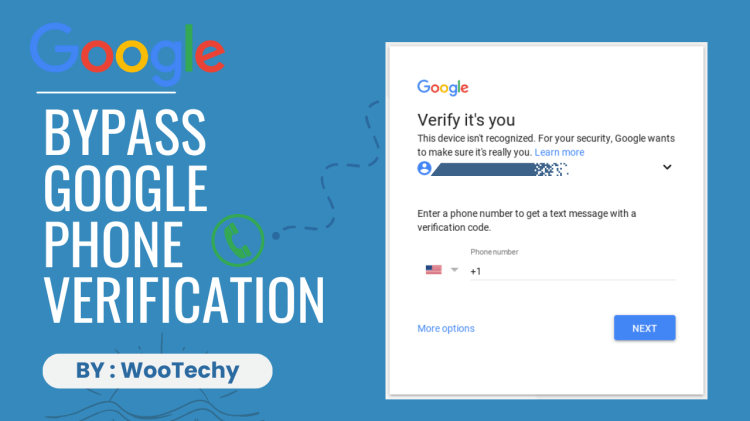
Table of Contents
Part 1. Why does Google Always Ask Me for Phone Verification?
Google may continuously prompt you for phone verification for security concerns. Google employs stringent security measures to protect accounts. If there are perceived risks or suspicious activities, it may request verification codes to ensure the account's safety and prevent unauthorized access.
In some cases, continuous verification requests may be linked to account recovery processes. Google uses various methods, including verification codes, to confirm the account owner's identity, especially if there are concerns about unauthorized access or a compromised account.
Part 2. Can I Verify a Google Account Without a Phone Number?
Yes, it is possible to bypass Gmail phone verification and verify a Google account without phone number through various methods. These methods may be used in situations where users encounter difficulties with phone verification such as losing access to your phone or prefer not to disclose their phone numbers. In the following, we would discuss how to bypass Google phone verification exactly step by step.
Part 3. How Can I Bypass Google Phone Verification?
1Bypass Google Phone Verification via Chrome Settings
If you want to bypass Gmail phone verification securely, there is an authentic and widely-used method - using Google Chrome's unique features. This approach allows you to create a Google account without phone number, providing a legitimate alternative for users who prefer not to disclose this information. Follow the step-by-step guide outlined below to seamlessly bypass Google phone verification using Chrome browser:
Begin by opening the Google Chrome browser on your PC or laptop and ensure you are logged out of any existing Google accounts.
Navigate to Chrome Settings, where you can find the Sign in to Chrome option, either within the settings or on the main interface.
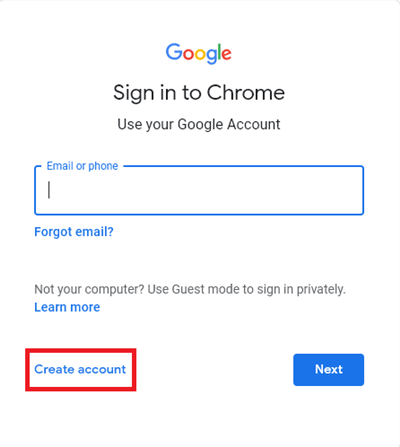
Click on Sign in, which will redirect you to the next page. On this page, choose the Create account option to initiate the account creation process.
Follow the on-screen instructions to input your details. Notably, this method exempts you from providing a phone number during the registration process. If, for any reason, you encounter a page prompting for a phone number, simply click Skip.
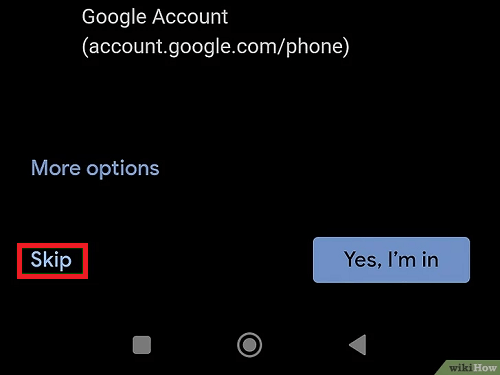
Successfully complete the registration by clicking Agree with terms & conditions.
Note
While this method proves effective for many users, it's essential to acknowledge that its success may vary. If it didn’t work out, try the next method.
2Bypass Google Phone Verification via Virtual Phone Number
There is also another effective way to bypass Google phone verification - utilizing a virtual phone number, which stands out as a strategic and privacy-centric method. This approach involves the use of temporary or disposable phone numbers, providing users with the flexibility to register a Google account without revealing their personal phone number.
However, there are also some things that you should acknowledge before getting onto it:- Certain virtual phone number providers may have associated fees; therefore, check their pricing structure.
- The availability of virtual phone numbers may vary based on your geographical location.
- Google might identify virtual numbers as temporary and could request additional verification.
If you find these acceptable, then follow the step-by-step guide below to seamlessly bypass Google phone verification using a virtual phone number:
Begin by choosing a reliable virtual phone number provider, such as Google Voice, TextNow, or Burner.
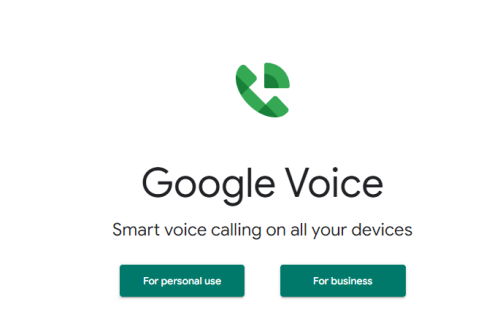
Register an account on the selected virtual phone number provider's website.
Select a virtual phone number from the options available on the provider's platform.
Follow the provider's instructions to complete the verification process for the chosen virtual number. This may involve receiving a verification code via SMS or a phone call.
Proceed to create a Gmail account, and during the phone verification step, input the virtual number obtained from the provider.
After entering the virtual number, follow the remaining steps to finalize the Gmail account registration process.
Part 4. How to Bypass Google Account Verification?
Normally, after a factory reset, you need to verify your phone number and enter your Google account credentials to regain access to your phone, otherwise, you may trigger FRP(Factory Reset Protection) lock. But in many cases, users tend to forget their account passwords or not having the phone they used to register nearby. If you are experiencing such a dilemma, you need to bypass Google account verification. iDelock(Android) can help you with that.
With iDelock(Android), you can remove the FRP lock on your Samsung, Xiaomi, and Redmi device, thus bypassing Google account verification. What’s more, it can also remove all kinds of screen locks like PIN, pattern, password, fingerprint, and facial recognition.
.png)
Highlights of WooTechy iDelock (Android)
- Remove previous Google account without phone verification;
- Bypass Google FRP lock or account verification when locked out;
- Remove Samsung screen lock without losing data;
- Promise the highest success rate among all the competitors;
- Compatible with 6000+ Android models and support Android 13 or lower versions;
- Offer easy navigation for non-tech users.
Free Download
Secure Download
Coming Soon
Secure Download
How to bypass Google account verification with iDelock(Android)?
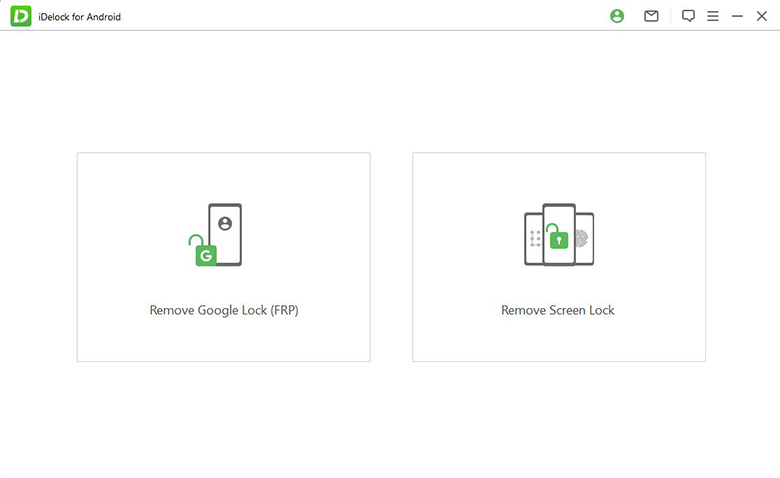
Step 1. Upon successfully downloading and installing iDelock (Android) on your computer, opt for the "Remove Google Lock (FRP)" feature.
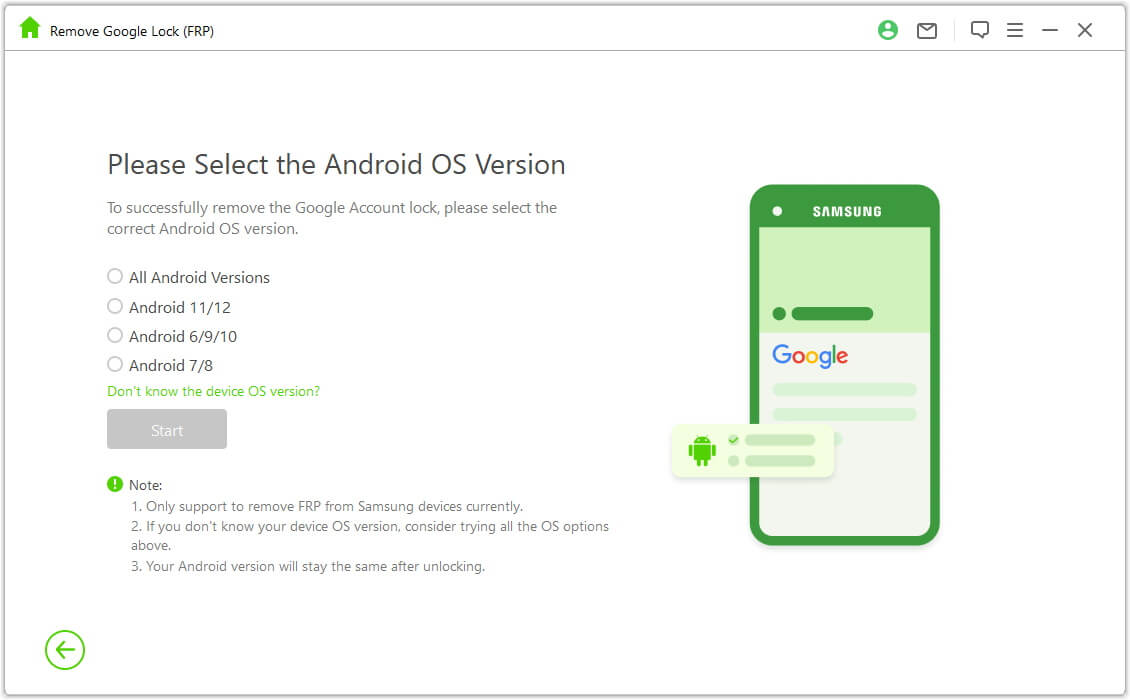
Step 2. Before commencing the process, select your system version and click "Start." Ensure that your phone is connected to the computer via a USB cable.
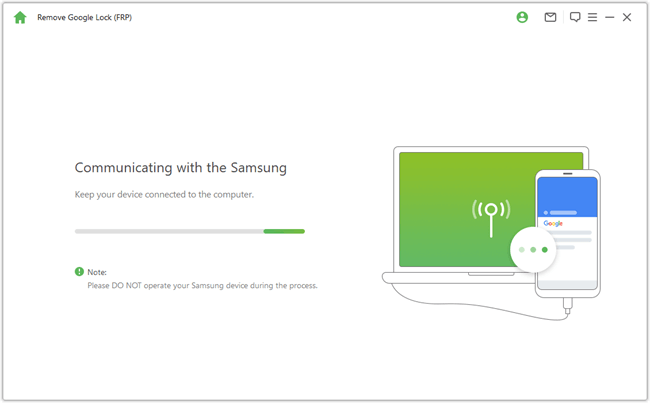
Step 3. Connect your device to the computer using a USB cable, then click "Confirm." Ensure that your device allows USB debugging.
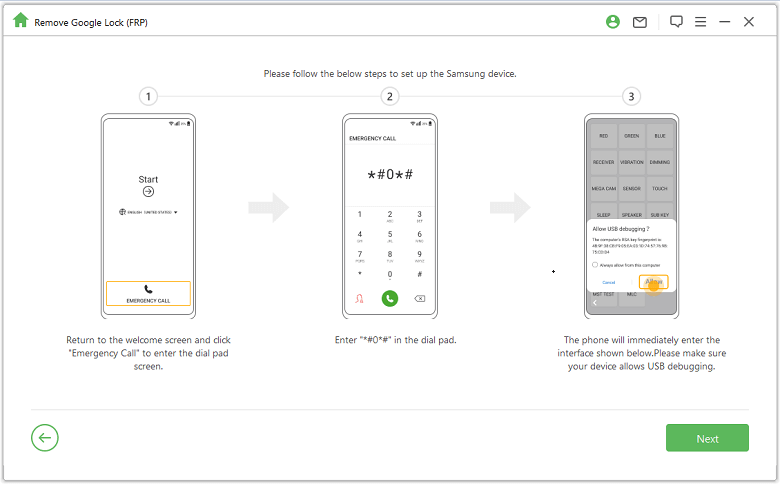
Step 4. Follow the on-screen instructions to allow USB debugging on your device.
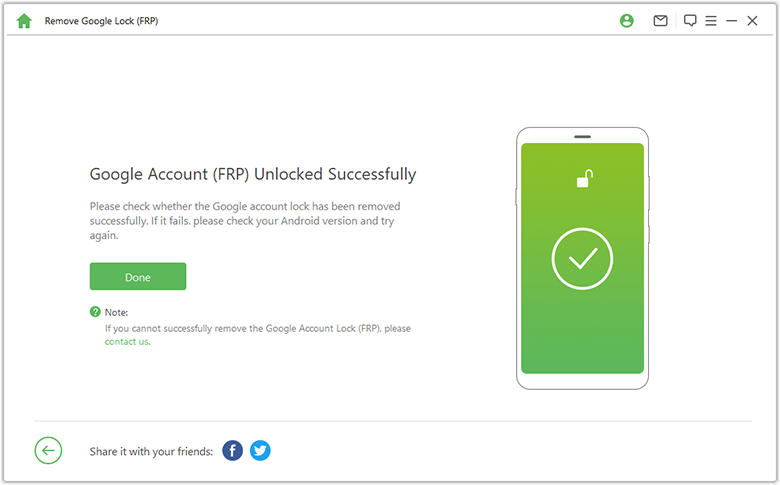
Step 5. Once the unlocking process is complete, seamlessly use your device by signing in with a new Google account. Therefore, you have bypassed the Google phone verification.
FAQs about Google Phone Verification
Q1. How do I get Gmail to stop asking me to verify my phone?
To stop Gmail from asking you to verify your phone, you can turn off 2-Step Verification. Follow these steps:
Open your device's Settings app.
Navigate to Google and then Google Account.
In the Account section, find and select "Security."
Look for the "2-Step Verification" option and toggle it off.
This will disable the 2-Step Verification process, and Gmail should stop prompting you to verify your phone.
If you're specifically receiving prompts through “Google prompts,” you can manage your devices by going to Manage your Google account > Security > Devices. Choose the device you want to stop getting prompts on.
Q2. Can I turn off Google verification?
If you want to turn off Google verification on your computer, here is what you do:
Open the page for your Google Account.
Navigate to the Security section and select "2-Step Verification."
Follow the provided instructions to turn off 2-Step Verification for your Google account.
Additionally, if you're an administrator managing users in a Google Workspace environment, you can turn off 2-Step Verification for specific users through the Admin Console.
Q3. Why won t Google accept my phone number for verification?
Google may not accept your phone number due to the following reasons:
Your phone is lost or stolen.
The phone number has been used on multiple Google accounts.
You're unable to receive verification prompts on your phone because of poor network connectivity.
You're using a temporary or online-generated phone number.
Q4. How many times can you use the same phone number for Gmail?
Google has not officially disclosed the specific limit on how many Gmail accounts can be set up using the same phone number. It is said that you can have 4 different Gmail accounts linked to the same phone number.
Conclusion
While account verification is designed for our protection, it's essential to have solutions like iDelock(Android) for seamless Google phone verification bypassing and handling other Android-related issues. Choose wisely and prioritize your online safety. Download iDelock(Android) for a one-stop solution to Gmail phone verification and more.
Many users recommended. Bypass Google account verification in a few clicks


