Factory Reset Protection is a very useful feature that protects your device from being accessed by unauthorized users. However, if you forget to disable FRP before resetting it, you will see the “this device was reset to continue sign in” message. This screen isn’t an issue if you know the credentials to your Google account. However, what to do when you don’t know them?
In this piece, we will go through every possible solution to this infuriating message. As you will discover, it is easy to bypass the “this phone was reset to continue sign in” message with the right tools.
- Part 1. How to Bypass "This Device Was Reset to Continue Sign in" Prompt
- 1. Bypass "This Device Was Reset to Continue Sign in" Using WooTechy iDelock (Android)
- 2. Bypass "This Device Was Reset to Continue Sign in" via OEM Unlocking Feature
- 3. Ask for Account Credentials (Second-hand Device)
- Part 2. How to Avoid "This Device Was Reset to Continue Sign in" Prompt in the Future
How to Bypass “This Device Was Reset to Continue Sign in” Prompt
1. Bypass “This Device Was Reset to Continue Sign in” Using WooTechy iDelock (Android)
If you’re looking for a fast, reliable, and hassle-free way to bypass “this device was reset to continue sign in” message, which is to bypass FRP lock, WooTechy iDelock (Android) is the ultimate solution. This cutting-edge tool is designed to unlock your device effortlessly, even if you’re not tech-savvy.
.png)
Highlights of WooTechy iDelock (Android)
- All-in-One Solution: Instantly bypass FRP (Google account verification) and other screen locks on Android devices, such as pattern, PIN, face recognition, and fingerprints.
- Wide Compatibility: Works with a large range of Android devices and OS versions, including popular brands like Samsung, Huawei, and LG.
- No Data Loss: Remove Samsung screen lock without data loss.
- Impressive Success Rate: Proven to work on thousands of Android devices and versions, giving you peace of mind.
- User-Friendly Design: A clean, modern interface ensures a smooth experience from start to finish.
Free Download
Secure Download
Coming Soon
Secure Download
You can bypass the “this phone was reset to continue sign in” prompt with WooTechy iDelock (Android) by following these steps:
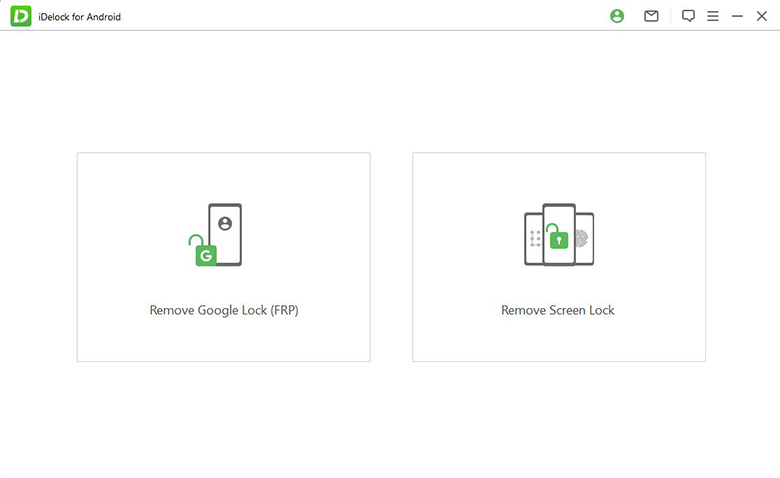
Step 1. Download WooTechy iDelock (Android) from the official website. Launch the software and on the main page click the Remove Google Lock (FRP) feature. Moreover, connect your Android device to your computer via any USB cable.
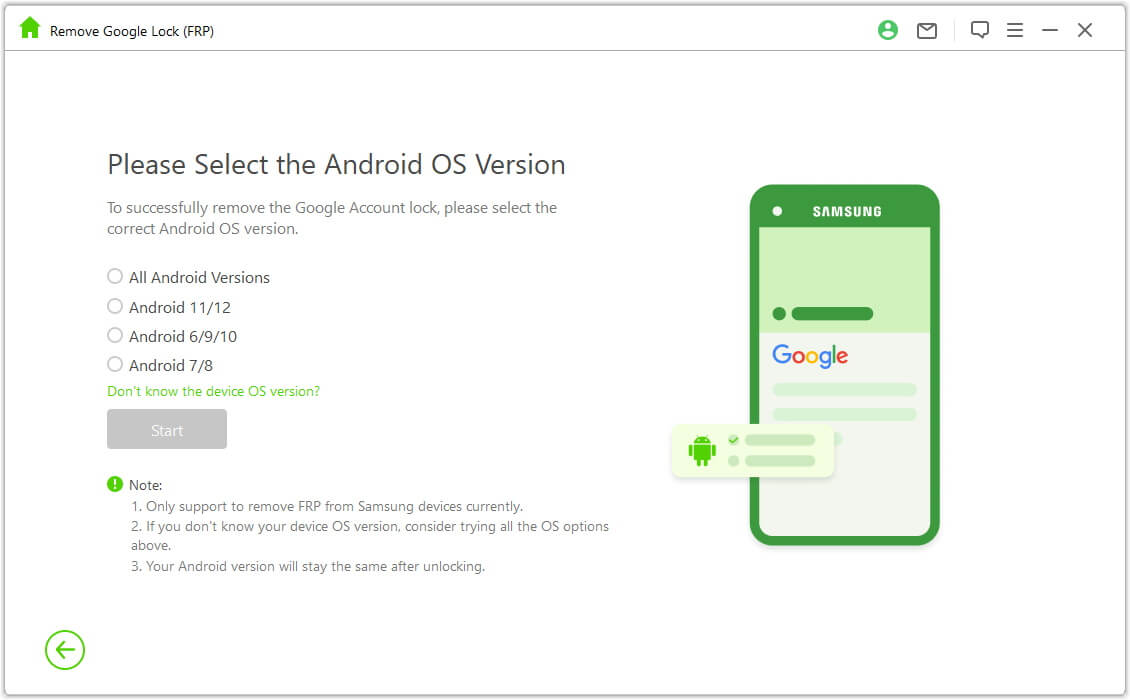
Step 2. Then, the software will ask you to select your device’s info. Check the validity of the selected information.
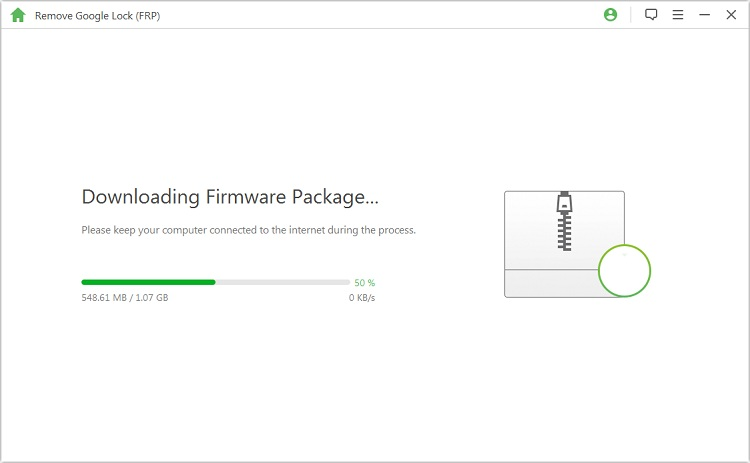
Step 3. Then iDelock for Android will provide the appropriate data and firmware package for your device. Click the Download button to proceed. After that, you must extract the downloaded package.
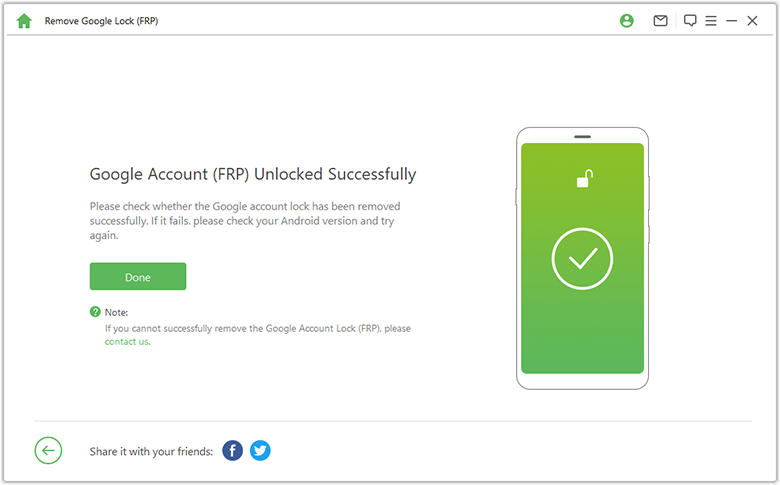
Step 4. It will take a few minutes. After that, you can set up your device without the “this phone was reset to continue sign in” prompt.
2. Bypass “This Device Was Reset to Continue Sign in” via OEM Unlocking feature
The next method to bypass this message is to try the OEM unlocking feature. At this point, it is important to note that this way of removing the “this device was reset to continue sign in” isn’t that effective. If you want to try it though, the steps are the following:
Long-press the @ button. Then tap the Settings on the Google keyboard.
Locate the three dots and tap on them. Then, tap the Help & Feedback option. Long-press on any word you want to copy it. When you do that, a web search icon will appear at the top of the screen. Tap on that and then type Settings on the search bar.
Now, you will be transferred to your device’s Settings. Go to Developer Options > OEM Unlocking.
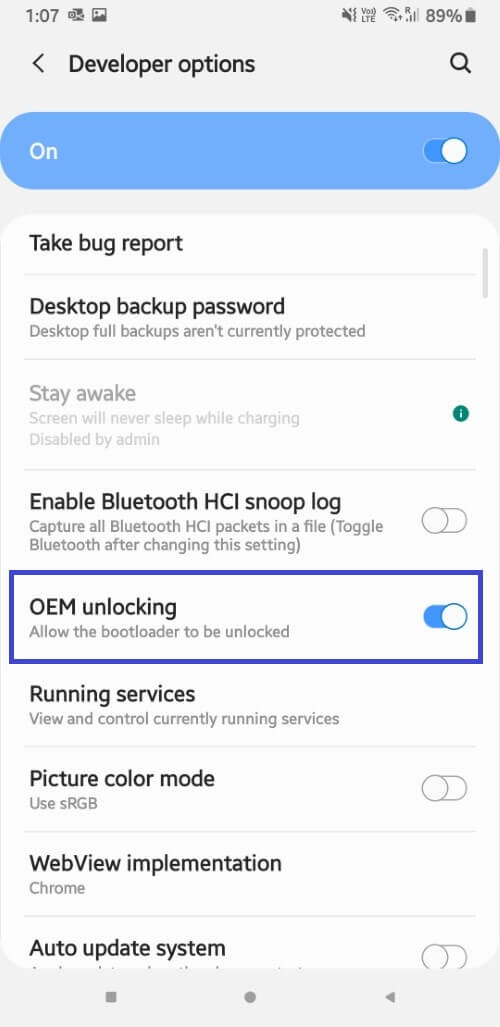
Press continuously the Power button and wait for your device to reboot. If everything goes smoothly, set your device up like you normally do.
3. Ask for Account Credentials (Second-hand Device)
If your device is second-hand, the “This device was reset. To continue, sign in with a Google account” message might appear because the previous owner left Factory Reset Protection (FRP) enabled. In this case, the easiest and most direct solution is to contact the previous owner and request their Google account credentials.
If you cannot reach the previous owner or they are unwilling to share the credentials, then it is time that you consider professional unlocking services or tools like WooTechy iDelock (Android) to help you remove the lock.
How to Avoid “This Device Was Reset to Continue Sign in” Prompt in the Future
As we have already explained, the “this phone was reset to continue sign in” bypass is not a challenging process, especially if you are using WooTechy iDelock (Android). However, preventing the FRP lock prompt is simple with a few proactive steps. By taking these measures, you can ensure that you won’t encounter this issue after resetting your device.
1. Disable FRP Before Performing a Factory Reset
Factory Reset Protection (FRP) is tied to the Google account on your device. To avoid the prompt, remove the Google account before resetting your device:
Open the Settings app on your Android device.
Navigate to Accounts or Users & Accounts.
Select your Google account and choose Remove Account.
Proceed with the factory reset once the account is removed.
2. Keep Google Account Credentials Secure
If you plan to keep FRP enabled for added security, ensure you have your Google account details readily available:
Write down or securely store your Google email and password.
Regularly update and manage passwords using a trusted password manager.
3. Use the “Backup and Restore” Feature
Before resetting your device, use the backup feature to save important data. This way, you can restore everything quickly after resetting without losing your information or reconfiguring apps manually.
The Bottom Line
The “this device was reset to continue sign in” message is a problem when you don’t know the credentials of the Google account. Nevertheless, WooTechy iDelock (Android) gives you the chance to bypass it in just a few simple steps. Just download and give it a try!
Download Now
Secure Download
Coming Soon
Secure Download


