iCloud is a powerful tool for backing up and synchronizing data across Apple devices. However, there are situations where you might need to remove iCloud from an iPhone, such as when selling the device, switching to a new iCloud account, or resolving technical issues. In this guide, we'll walk you through the steps for how to remove iCloud from iPhone, covering everything from logging out to completely removing the account.
Part 1. How to Remove iCloud from iPhone with Password?
Removing iCloud from an iPhone is a straightforward process, and the simplest way is to sign out of your iCloud account. This method is quick and easy, but it doesn't permanently delete your iCloud account; it simply removes it from your device.
Open the Settings app on your iPhone.
Tap on your Apple ID name at the top of the screen.
Scroll down and select Sign Out.
Enter your Apple ID password to disable Find My iPhone if it’s turned on.
Choose what data you want to keep on your iPhone (such as contacts or calendar information).
Tap Sign Out again to confirm.
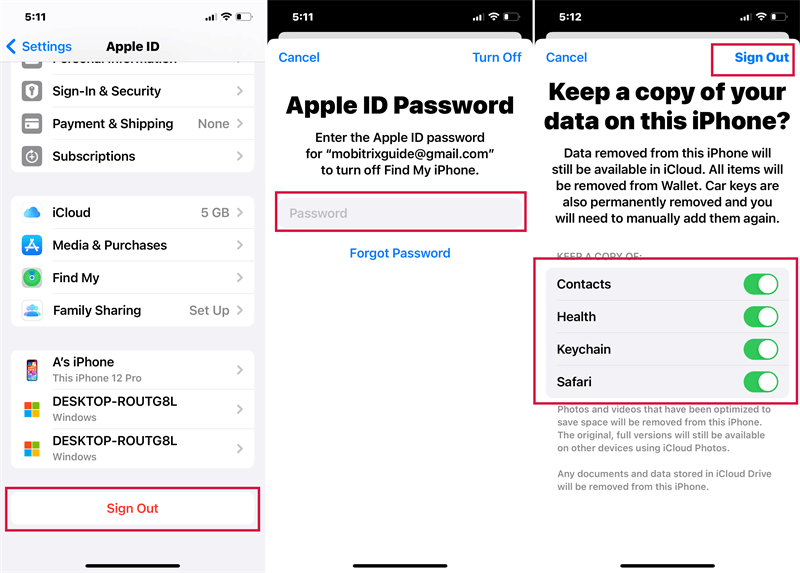
Once these steps are completed, your iCloud account will be removed from the iPhone. This process will log you out of all iCloud services like iCloud Photos, iCloud Drive, and more.
Part 2. How to Remove an iCloud Account from iPhone Without Password?
If you forgot Apple ID password, removing an iCloud account from an iPhone can be tricky, especially with Apple’s strong security measures. However, it can be done through a few methods. Here’s a step-by-step guide on the options available to help you remove an iCloud account from an iPhone without a password.
1Reset Your Apple ID Password
The easiest and safest way to remove iCloud account without password is to reset your Apple ID password. You can do this directly from your iPhone if you have access to the device, or through Apple’s website. Here are the steps to reset Apple ID password on iPhone:
Go to Settings and tap on [Your Name].
Select Sign-In & Security, which is below your name and contact information.
Tap on "Change Password". You may be asked to enter your device passcode.
Enter the new Apple ID password and confirm it. Tap on "Change."
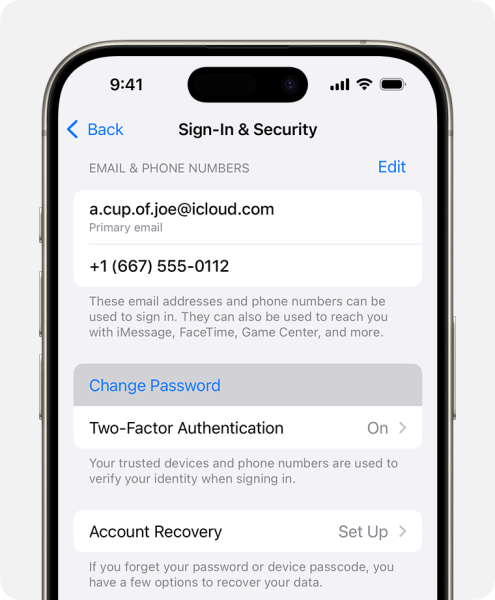
Once you set a new password, use it to sign out of iCloud by going back to Settings > [Your Name] and select Sign Out.
If you don’t have access to the iPhone but know the Apple ID email, you can reset the password using Apple’s website. Here’s a step-by-step guide to help you through the process:
Open a web browser on your computer or another device and visit account.apple.com.
Below the sign-in fields, you’ll find a link that says "Forgot Apple ID or password?". Click on it to start the password recovery process.
You’ll be prompted to enter the Apple ID email associated with the iCloud account you wish to reset. Enter the email address and click Continue.
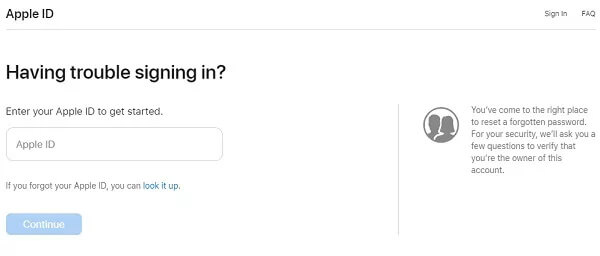
Apple will give you several options to verify your identity. Typically, these include:
Receiving a verification code.
Answering security questions if set up previously.
Choose the method that is most convenient for you and follow the prompts to verify your identity.
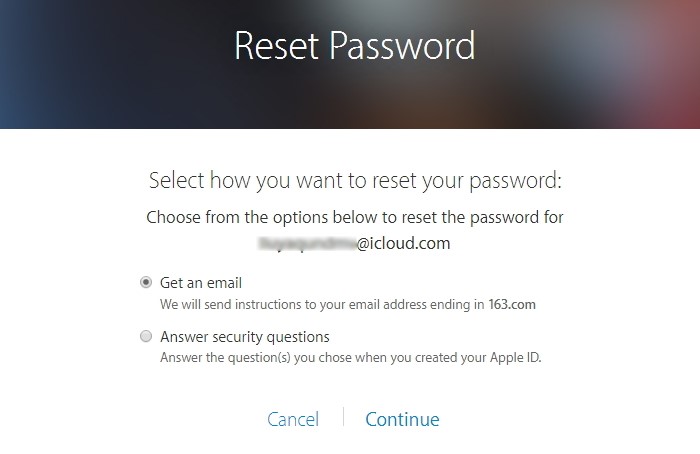
Once you have successfully verified your identity, you’ll be given the option to create a new password.
Now that you have a new password, go back to the iPhone from which you want to remove the iCloud account.
2Use WooTechy iDelock to Remove iCloud Account
If you cannot reset your Apple ID password or access the account through official means, a third-party tool like WooTechy iDelock can be an effective solution for bypassing the iCloud account on your iPhone.
iDelock isn't just another software; it's a powerhouse designed to tackle various iOS lock challenges, including the dreaded Apple ID removal. Whether you've forgotten your Apple ID password completely or simply want a faster solution, iDelock works its magic in just a few clicks.
Key Features of WooTechy iDelock

75.000.000+
Downloads
- User-Friendly: The software offers a simple interface with clear instructions, making it accessible even for users without technical knowledge.
- Quick Process: Compared to other methods, WooTechy iDelock can often complete the unlock process in a short amount of time, eveneven when "Find My iPhone" is enabled, or when you've forgotten both your password and email address .
- Versatile Functionality: Beyond removing Apple IDs, iDelock can also remove screen passcodes, Screen Time restrictions, and MDM supervision.
- Wide Compatibility: It works with iPhone, iPad, and iPod Touch devices running most iOS versions, including the latest iOS 18.
-
Download Now
Secure Download
How to Use WooTechy iDelock to Remove iCloud from iPhone?
Open WooTechy iDelock on your PC and select the "Unlock Apple ID" option. Connect your iPhone to your PC using a USB cable.
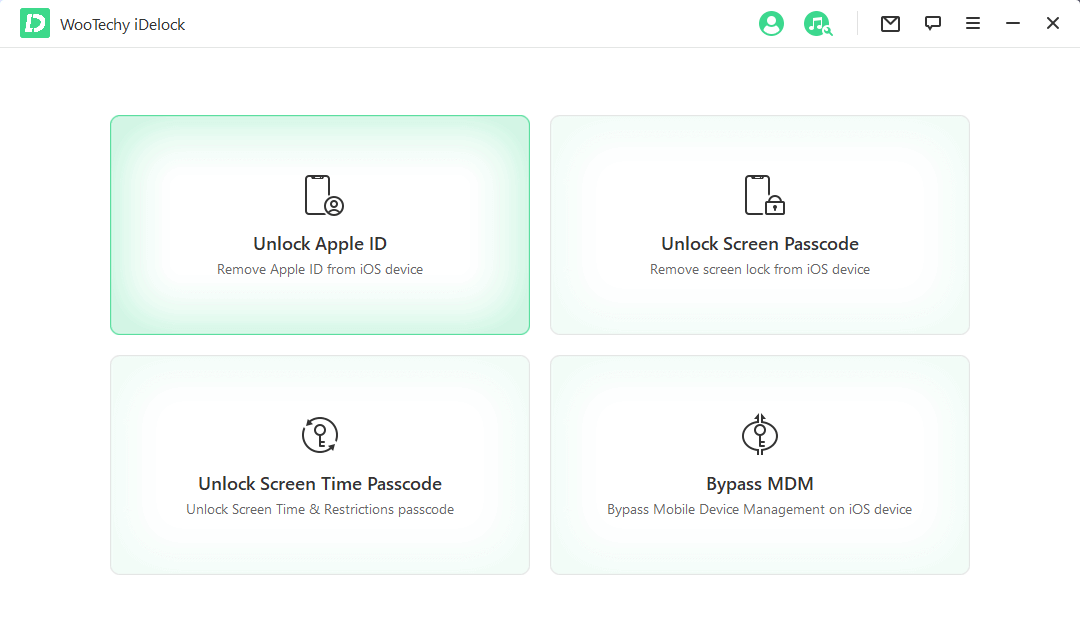
Click "Start" to begin the iCloud removal process.
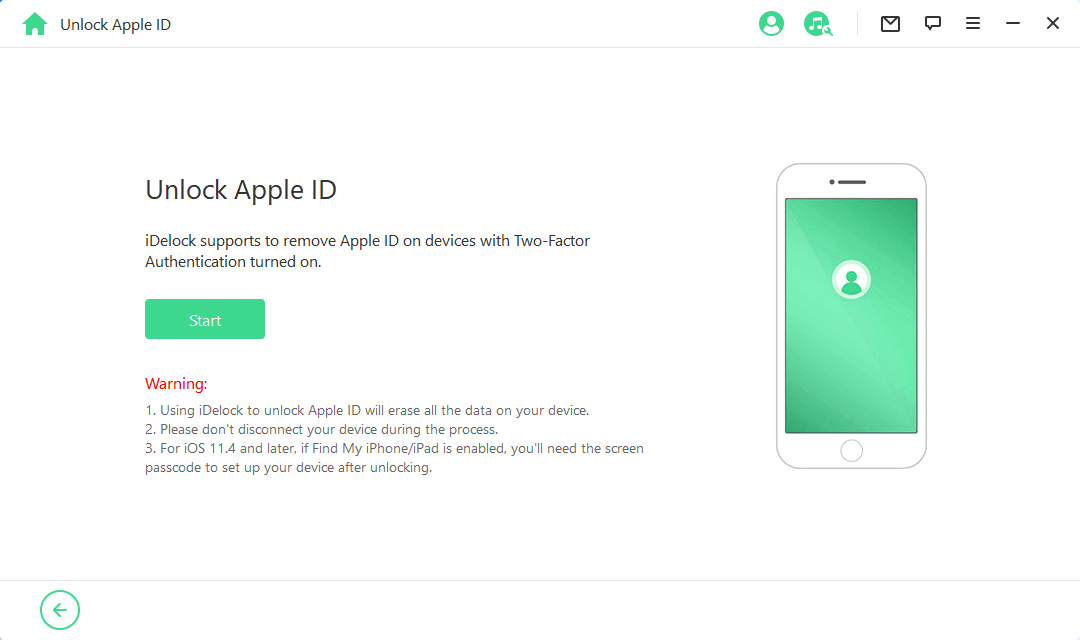
Situation 1: If Find My iPhone is disabled, you can proceed by clicking "Start Unlock."
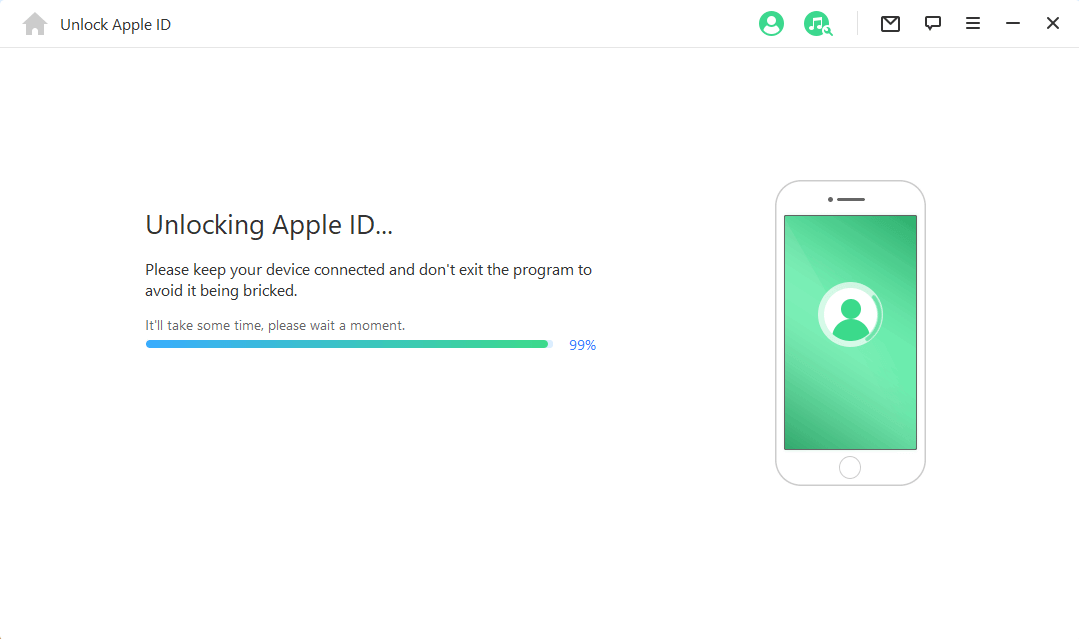
Situation 2: If Find My iPhone is enabled, Go to Settings > General > Reset > Reset All Settings on your iPhone. After the reset, return to the iDelock software and click "Start Unlock."
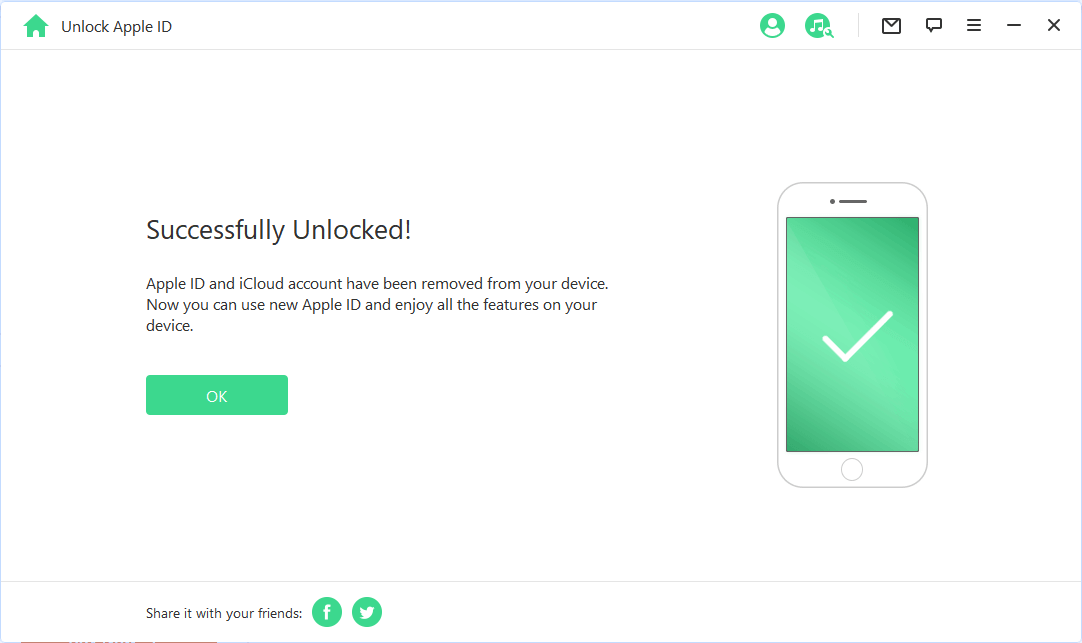
Patiently wait while iDelock works to unlock your Apple ID. The process may take a few minutes.
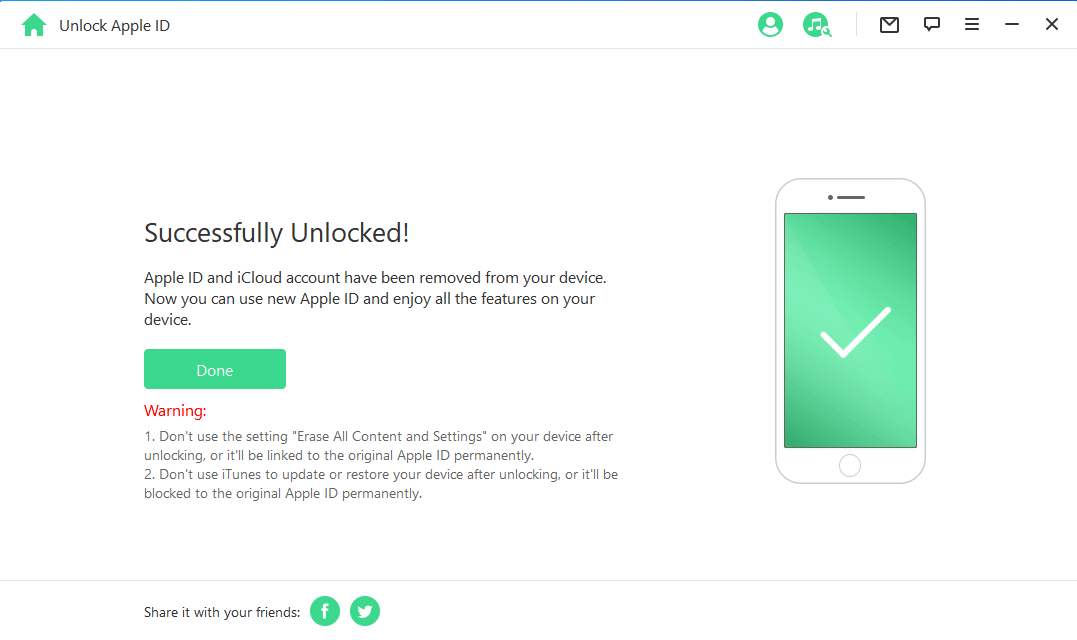
Once the unlocking process is complete, your iPhone will restart with no Apple ID on it. And then you can go on removing iCloud from iPhone freely.
Part 3. How to Remove an iPhone from an iCloud Account Remotely?
If you don’t have physical access to your iPhone, such as when you’ve sold or given it away, you can still remove the iPhone from your iCloud account remotely using iCloud.com. This process ensures that the new owner cannot access your data and can set up the device with their own Apple ID. Here’s a step-by-step guide to removing an iPhone from an iCloud account remotely:
Visit iCloud.com and log in with your Apple ID credentials.
Click on Find iPhone.
At the top of the screen, select All Devices and find the iPhone you want to remove.
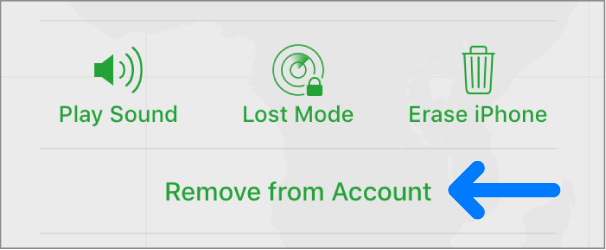
Click on the device name and then choose Remove from Account.
Part 4. How to Remove iCloud Photos from iPhone?
If you want to remove iCloud photos from your iPhone without deleting them from iCloud itself, or if you need to free up space on your iPhone by removing photos stored in iCloud, there are specific steps to follow.
Method 1: Turn Off iCloud Photos on iPhone
This method will stop your iPhone from syncing photos with iCloud. It allows you to remove photos from your device without deleting them from iCloud storage. This is ideal if you want to save space on your iPhone but keep the photos accessible in iCloud.
Open the Settings app on your iPhone.
Scroll down and tap on Photos.
Toggle off iCloud Photos.
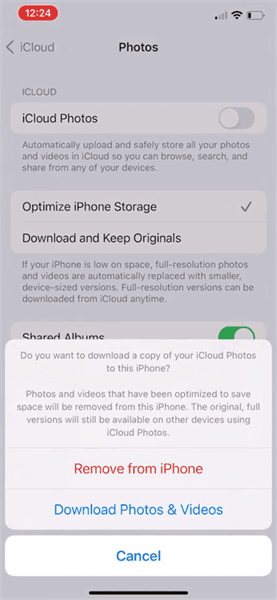
When prompted, choose "Remove from iPhone" to delete the photos from your iPhone. This will remove the photos and videos from your device but keep them stored safely in iCloud.
Note
After turning off iCloud Photos, new photos you take with your iPhone will no longer be uploaded to iCloud automatically.
Method 2: Manually Delete Photos from iPhone While Keeping Them in iCloud
If you want to manually choose which photos to remove from your iPhone without deleting them from iCloud, follow these steps. This is useful if you only want to remove selected photos to free up space.
Open the Photos app on your iPhone.
Find and select the photos you want to remove by tapping on them.
Tap the trash icon and choose "Remove from iPhone" when prompted.
Note
This method will only work properly if you have previously disabled Optimize iPhone Storage in the Photos settings. Otherwise, deleting photos this way may also remove them from iCloud.
Conclusion
Removing iCloud from your iPhone can be done quickly through a few different methods, depending on your needs. Whether you want to remove an iCloud account from iPhone completely or just log out temporarily, following the right steps ensures that your data remains secure.
If you don’t have any credential to remove iCloud from iPhone, then you can always turn to WooTechy iDelock for help for it does not require any passcode and technical skills to perform the iCloud removal.
Many users recommended. Remove iCloud Account without Password [No security risks]
Free Download
For Win


