Is your Mac constantly blocking app downloads, restricting website access, or limiting customization options? If this sounds familiar, your Mac might be under Mobile Device Management (MDM) control. While MDM offers security benefits for organizations, it can feel restrictive for personal use.
This guide focuses on how to remove MDM from Mac, empowering you to take back control of your device. Let’s explore it together.
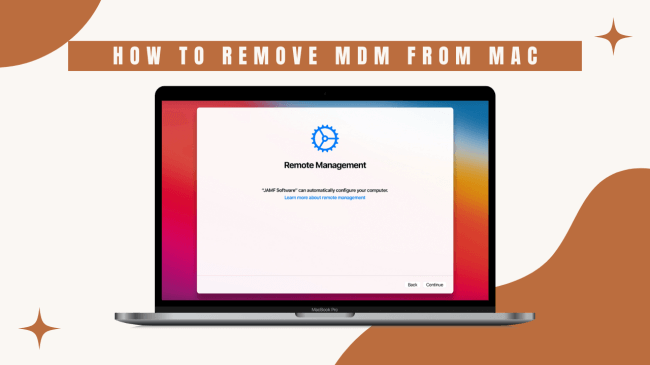
Part 1. What is MDM on Mac?
MDM stands for Mobile Device Management. It's a software solution that allows organizations to control, configure, and secure employee or student devices. Imagine it as a digital leash, enabling IT departments to enforce security policies, manage app installations, and even remotely wipe lost devices.
For organizations, MDM translates to enhanced security, streamlined device management, and improved data protection. But for users, it can mean limitations on app downloads, restricted access to certain websites, and an overall feeling of less control.
Part 2. How to Tell If My Mac is Supervised?
Ever tried to download an app and got hit with a mysterious error message? This could be a sign your Mac is under MDM control. MDM allows organizations to enforce security policies and manage devices. For instance, restricted app downloads might be in place to prevent malware or ensure only approved software is used. Similarly, blocked websites could be to minimize distractions or maintain work focus.
To determine if your MacBook has MDM installed definitively, follow these steps:
Open the MacOS Settings and navigate to the "Profiles" section. If you see an entry labeled "MDM Profile" or "Mobile Device Management," your MacBook has MDM installed.
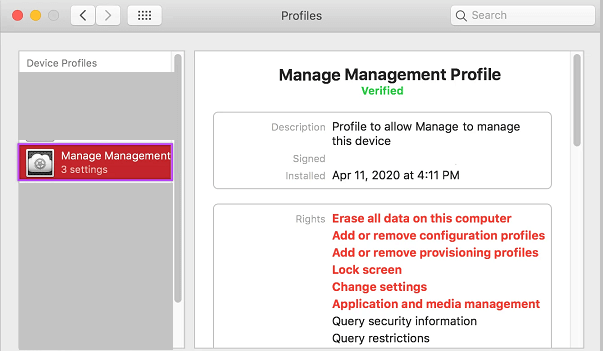
If no profiles are visible, yet you suspect MDM might still be active, open Activity Monitor and look for the "mdmclient" process. If this process is consistently running, it likely indicates the presence of MDM.
Regular notifications prompting you to "Install MDM Profile for XXXCompany Inc." every 10 minutes or so indicates MDM’s presence.
Feeling frustrated by restrictions on your Mac? Don’t be discouraged! Now that you can identify the signs of MDM control, let's explore two methods for removing it from your Macbook or Macbook Pro.
Many users recommended. Remove MDM Profile on iPhone/iPad without Passwords
Free Download
For Win
Part 3. Remove MDM from Mac Using System Preferences
The recommended method for most users to remove MDM from Macbook is through System Preferences. This built-in macOS function is straightforward and minimizes risks. What’s better is that it doesn't require any technical expertise at all. Here's a step-by-step guide:
Step 1: Start by clicking the Apple menu located at the top-left corner of your screen, then choose "System Preferences."
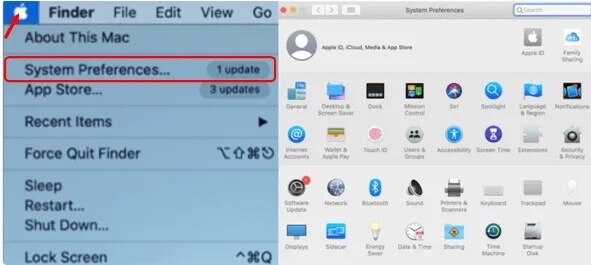
Step 2: Inside the System Preferences window, select "Profiles." Locate the MDM profile you wish to delete and click on it.
Step 3: Press the "-" button found at the bottom of the Profiles window to initiate the removal of the selected MDM profile.
Step 4: A confirmation pop-up will appear. Click "Remove" to finalize the deletion of the MDM profile.
Note
This method only works if the MDM administrator hasn't disabled profile removal through System Preferences. If you can't find the "Profiles" section or encounter disabled options, proceed to the next method.
Part 4. Remove MDM from Mac Using Terminal (For Advanced Users)
The method outlined above is suitable for most users. However, in certain situations, using System Preferences might not be possible. For instance, the MDM profile might be configured to restrict access to System Preferences itself. This way, Terminal becomes the only way to remove MDM through commands. Terminal, also referred to as command line interface, is a program on your computer that allows you to interact with the operating system using text commands.
Here's how to remove MDM using Terminal (use with caution):
Step 1: Navigate to the "Applications" folder, open "Utilities," and start the "Terminal" application.
Step 2: Enter the command “sudo profiles -R -p com.your-mdm-provider.profile” into Terminal, replacing “com.your-mdm-provider.profile” with the actual identifier of the MDM profile you want to remove, and press "Enter."
Step 3: If prompted, enter your administrator password and hit "Enter" to proceed.

Step 4: Once the command executes, Terminal will confirm that the MDM profile has been successfully removed.
Part 5. [Bonus] Remove MDM from iPhone/iPad without Passwords
We have discussed different ways to remove MDM from Mac step by step. But what if the MDM is set on iPhone or iPad and you don’t have the passwords? Is there any way to remove it then? Well, it’s possible as long as you have the right tool for it - a professional MDM removal tool that helps you bypass all the device management restrictions without passwords. WooTechy iDelock is one such tool.
You choose iDelock because it:

75.000.000+
Downloads
- Makes no alerts are sent to administrators regarding the changes and requires no accounts or passwords for MDM;
- Works whether you are locked out of MDM or your device is being managed and supervised by other organizations;
- Is compatible with both iPhone and iPad, including iOS 17;
- Is capable of removing MDM, screen locks, Apple ID locks, and Screen Time restrictions without passwords;
- Protects your data, safeguarding your information.
-
Free Download
Secure Download
How to Remove MDM from iPhone and iPad Using iDelock?
Step 1: Download and install iDelock on your desktop or laptop computer. Once installed, select the "Bypass MDM" option. Connect your device to your computer using a USB cable.
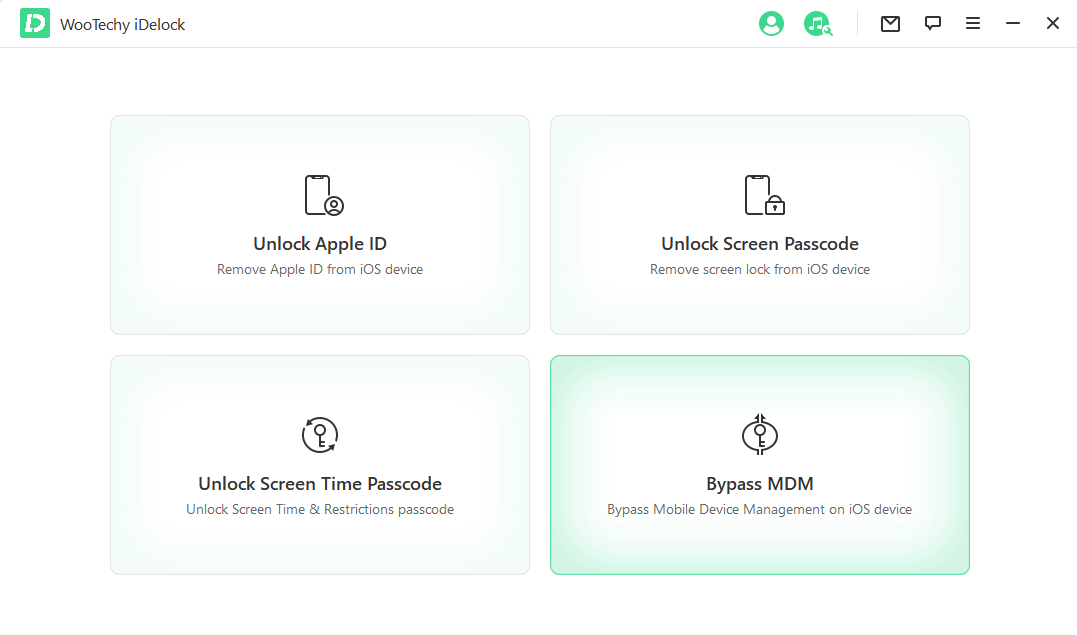
Step 2: Depending on your current situation, you will have two options to choose from.
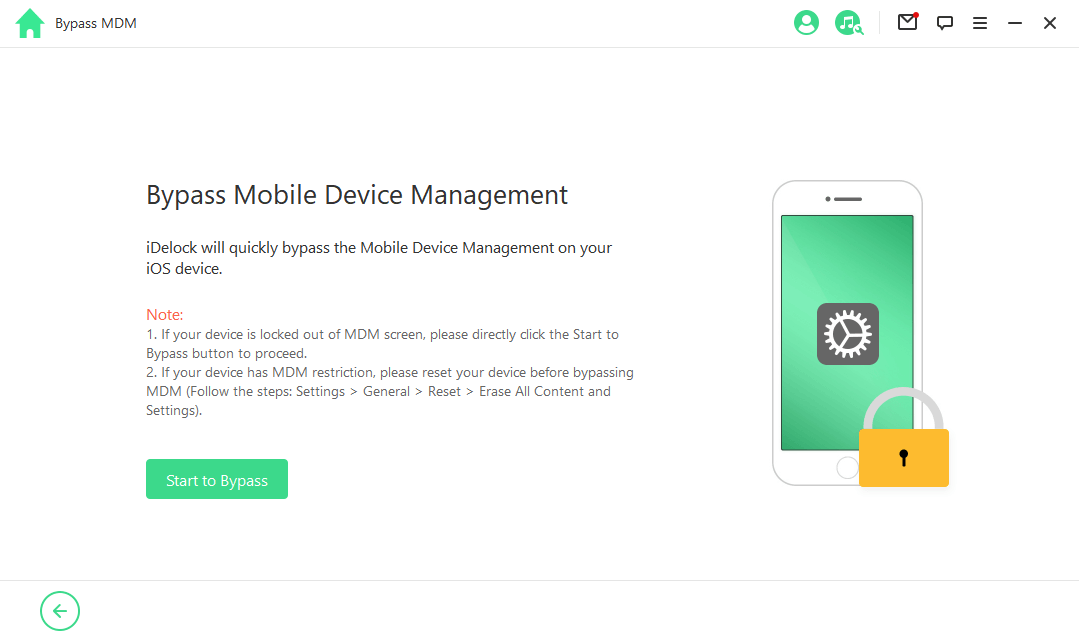
If your device is currently locked on the MDM screen, select "Bypass MDM."
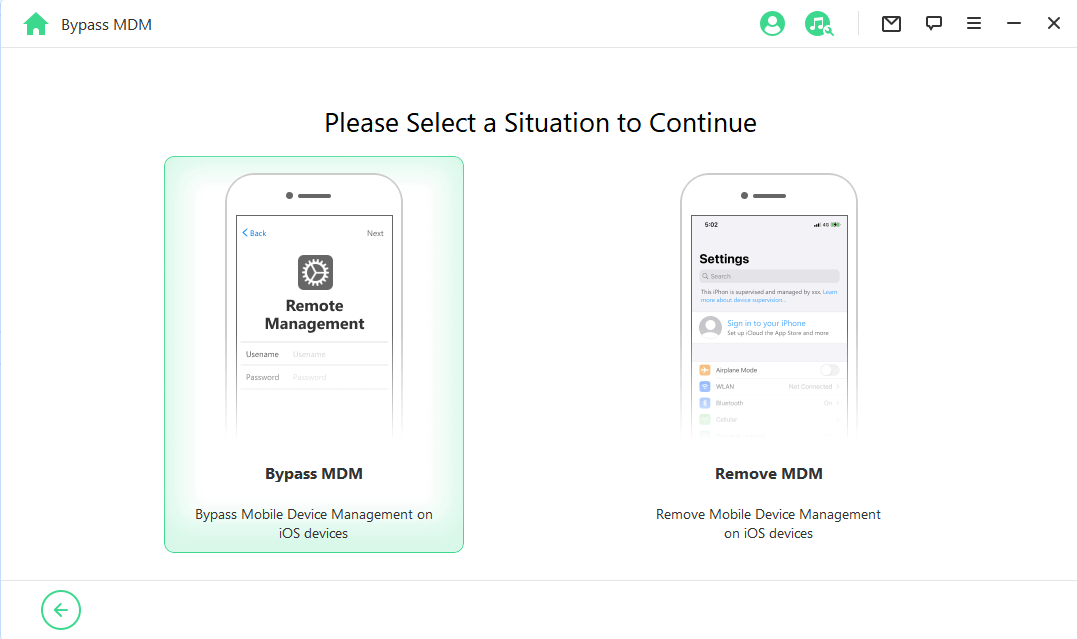
Then click "Start to Bypass." iDelock will complete the bypass within a few minutes, and a success message will appear on the screen.
If your device is actively managed and supervised by an organization, choose "Remove MDM."
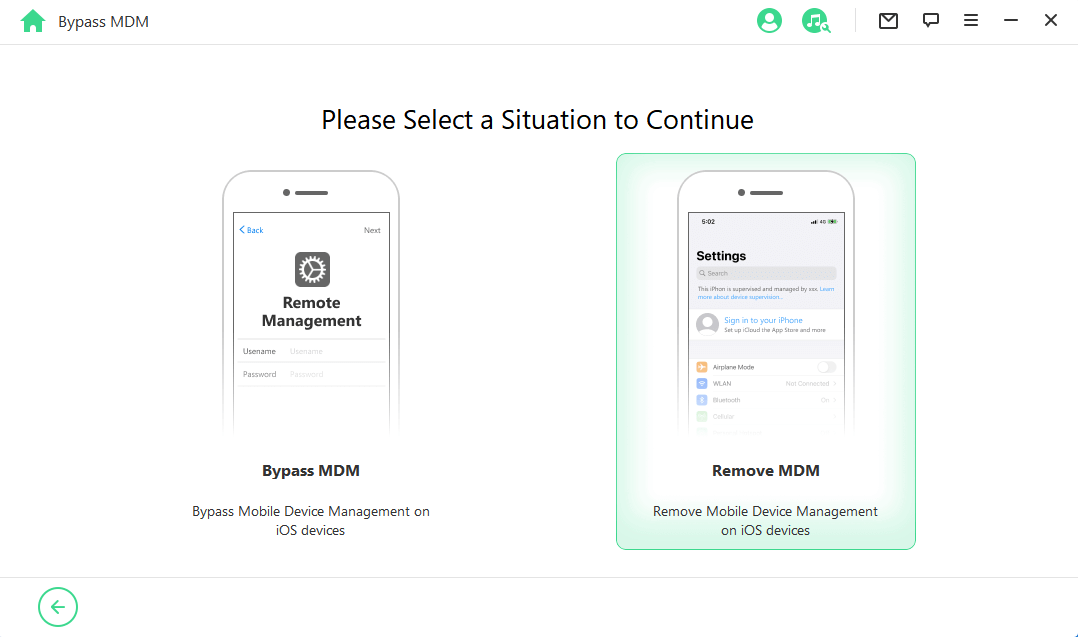
Click "Start," and iDelock will initiate the removal of the MDM immediately.
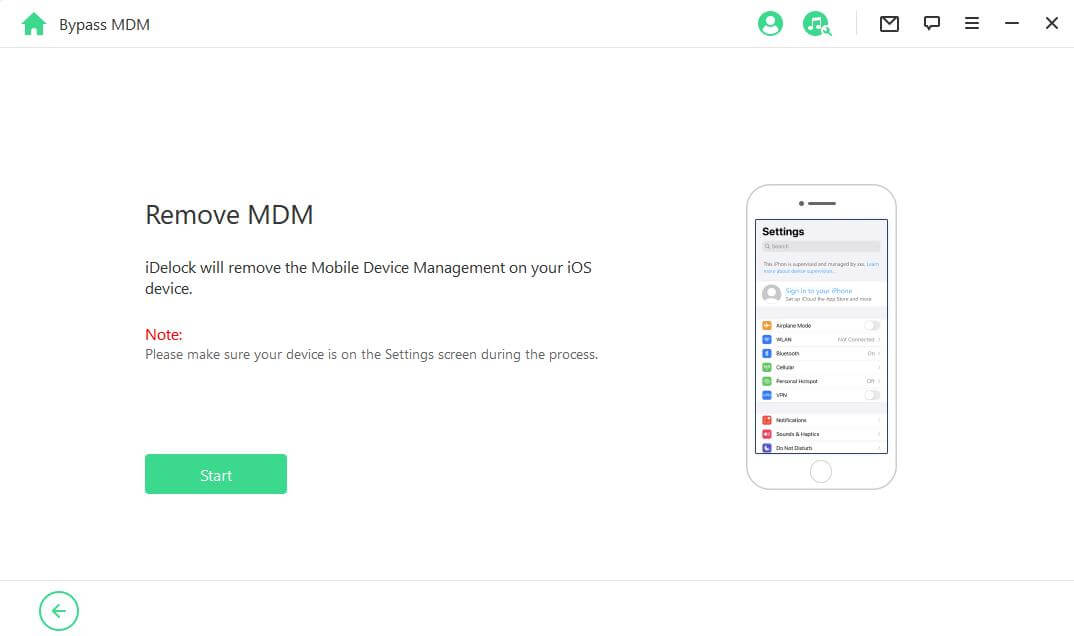
The process should be completed in about 10 minutes, after which your device will no longer be under MDM restrictions.
Conclusion
MDM can restrict your Mac, but you have options! This guide explained MDM and offered methods to remove it from Mac thoroughly, giving you back the freedom to personalize and use your device as you see fit. If you are experiencing MDM on your iPhone or iPad as well, WooTechy iDelock can be your lifesaver. I assure you, it's worth every penny.
Free Download
Secure Download


