Apple ID serves as a crucial gateway to various Apple services and products, allowing users to access the App Store, iCloud, iTunes, and more. However, there are situations where user may encounter “Apple ID verification failed” problem appeared on the screen. And they have no clue what to do next.
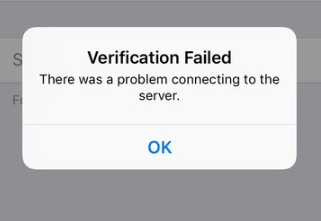
But do not worry. In this article, we will explore the reasons behind Apple ID verification failures and provide you with solutions to resolve the Apple ID verification issue.
- Part 1. Why Does Apple ID Verification Fail?
- Part 2. How to Verify My Apple ID?
- Part 3. 1-Stop Solution for Apple ID Verification Failed: Try iDelock to Unlock Apple ID Easily [No Passcode Needed]
- Part 4. Things to Check Before Fixing Apple ID Verification Failed
- Part 5. 6 Common Ways to Fix Apple ID Verification Failed
- 1. Update Time & Date
- 2. Update iOS Version
- 3. Sign Out/In of Apple ID
- 4. Reset Network Settings
- 5. Use Verification Code
- 6. Change Apple ID Password
- FAQs about Apple ID Verification
Part 1: Why Does Apple ID Verification Fail?
Apple ID verification failed may occur due to several reasons. Let's check out the common causes in detail:
Incorrect Login Credentials:
One of the most common reasons for “Apple ID verification failed” situation is entering incorrect login credentials. If you recently changed your password and forgot to update it on your device, verification will fail.
Account Security Concerns:
If Apple detects any suspicious activity or unauthorized access attempts, they may temporarily disable your Apple ID verification. This can occur if you enter the wrong password multiple times or if someone tries to access your account without authorization.
Network or Connectivity Issues:
A stable internet connection is necessary for Apple ID verification. If you have poor Wi-Fi signal or intermittent internet connectivity, it can lead to verification failures.
Server or System-related Problems:
At times, Apple's servers or systems may experience technical difficulties, leading to temporary verification failures.
Part 2: How to Verify My Apple ID?
There are several methods to verify your Apple ID, including two-factor authentication and email verification. Depending on your situation, you can choose the most suitable option.
Use Two-Factor Authentication to Verify Apple ID
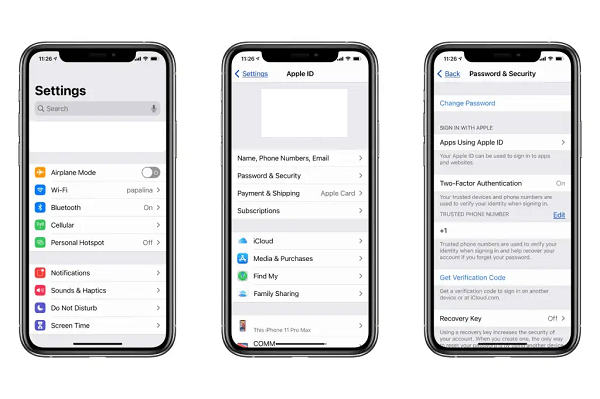
Two-factor authentication adds an extra layer of security to your Apple ID. Follow these steps to verify your Apple ID using two-factor authentication:
Ensure that two-factor authentication is enabled for your Apple ID. If not, you can enable it by going to Settings > [your name] > Password & Security > Two-Factor Authentication on your iOS device or through the Apple ID website.
When signing in to your Apple ID, a verification code will be sent to your trusted device. Enter this code to complete the sign-in process.
Use Email Verification to Verify Apple ID
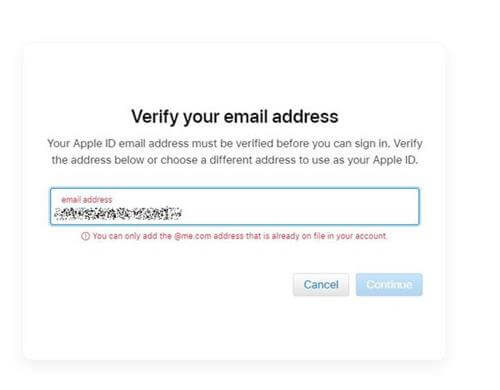
If you prefer email verification, you can follow these steps:Access the Apple ID website and sign in using your Apple ID credentials.
In the "Security" section of your Apple ID web page, locate the verification code sent to your email address.
Enter the verification code on the Apple ID website to complete the verification process.
Part 3: 1-Stop Solution for Apple ID Verification Failed: Try iDelock to Unlock Apple ID Easily [No Passcode Needed]
iDelock is a powerful iOS unlocking software tool specifically developed to bypass Apple ID and unlock iDevices. Whether you've forgotten your Apple ID password, encountered continuous Apple ID verification prompts, or purchased a second-hand iPhone, iDelock offers a user-friendly and efficient way to overcome these obstacles and regain access to your Apple ID and device.
Key Features of WooTechy iDelock:
iDelock offers a powerful feature to unlock Apple ID without passcode.
In addition to Apple ID verification, iDelock also provides a solution for removing screen lock like passcode, Touch ID or Face ID. If you have purchased and want to unlock a second-hand iPhone or iPad, iDelock can assist in removing screen lock helping regain access.
iDelock boasts a user-friendly interface that makes the unlocking process easy and accessible for users of all technical backgrounds.
iDelock offers a speedy unlocking process, saving you time and frustration.
iDelock is compatible with various Apple devices, including iPhone, iPad, iPod Touch, and Apple Watch. It supports devices running on iOS versions to the latest iOS 16.
Your information remains protected, and iDelock does not store any user data, providing you with peace of mind.
How to Use iDelock to Fix Apple ID Verification Failed?
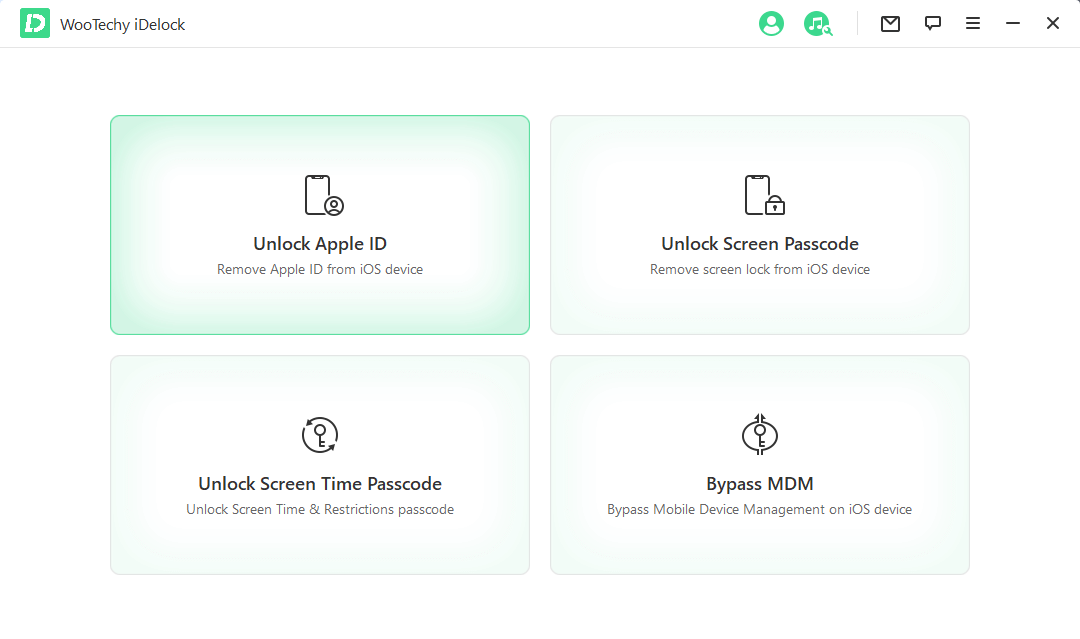
Step 1: Begin by downloading and launching iDelock on your computer. Once opened, select the "Unlock Apple ID" mode from the main interface.
Step 2: Connect your locked iPhone to the computer using a USB cable. When prompted on your iPhone screen, choose the "Trust" option to grant access to your device.
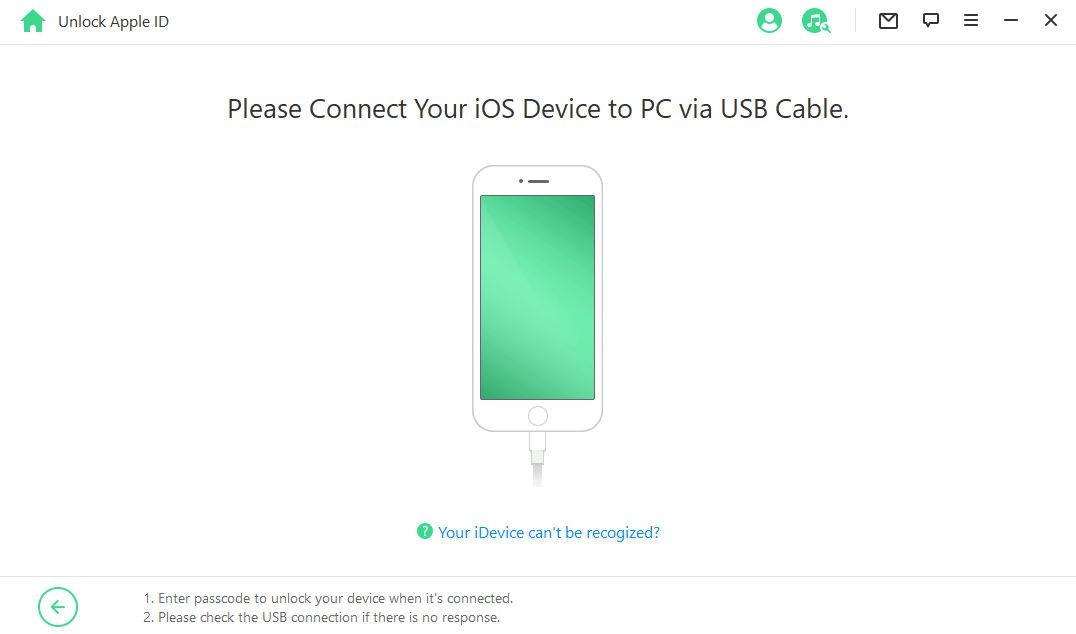
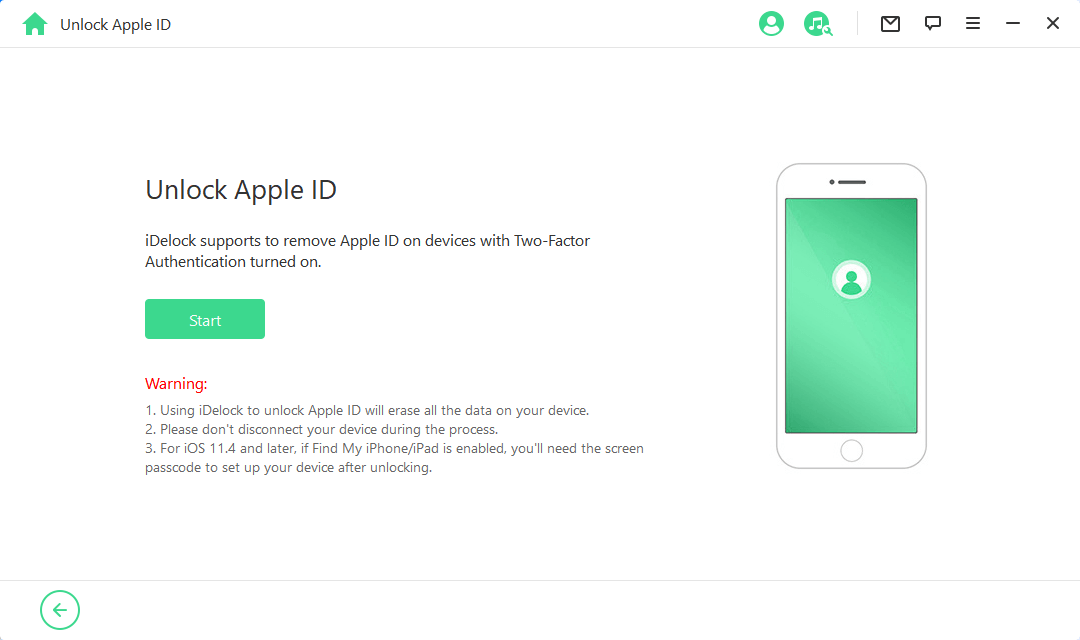
Step 3: If Find My iPhone is already disabled on your iPhone, click the "Start" button in iDelock to initiate the Apple ID removal process. iDelock will begin unlocking the Apple ID from your iPhone.
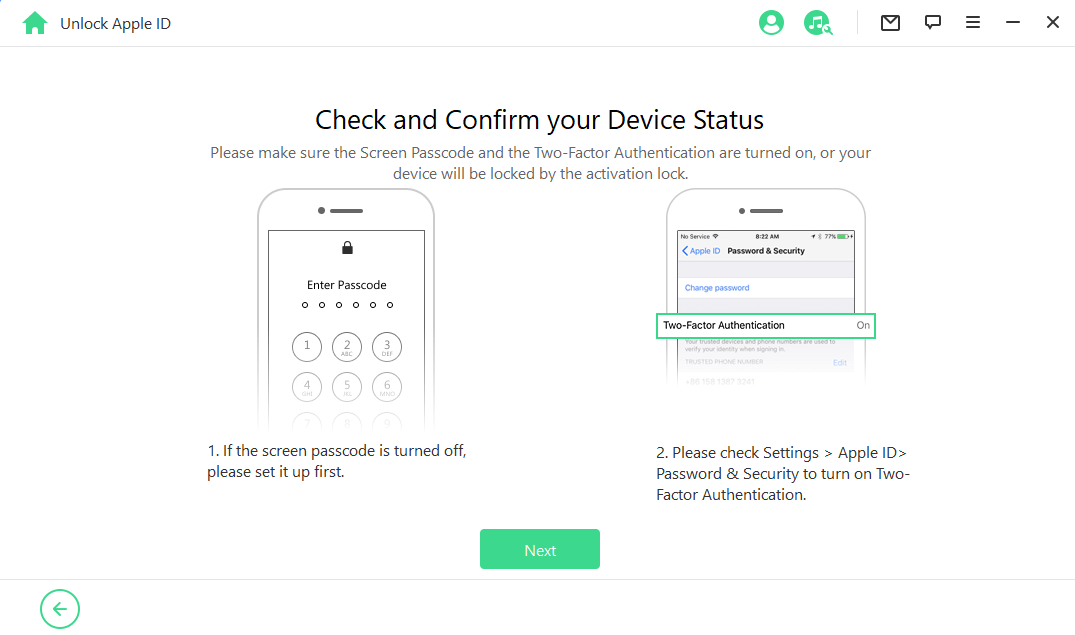
Step 4: If you have enabled Two-Factor Authentication, a verification step will be required. Click "Next" and ensure that you have set up a screen lock passcode on your device.
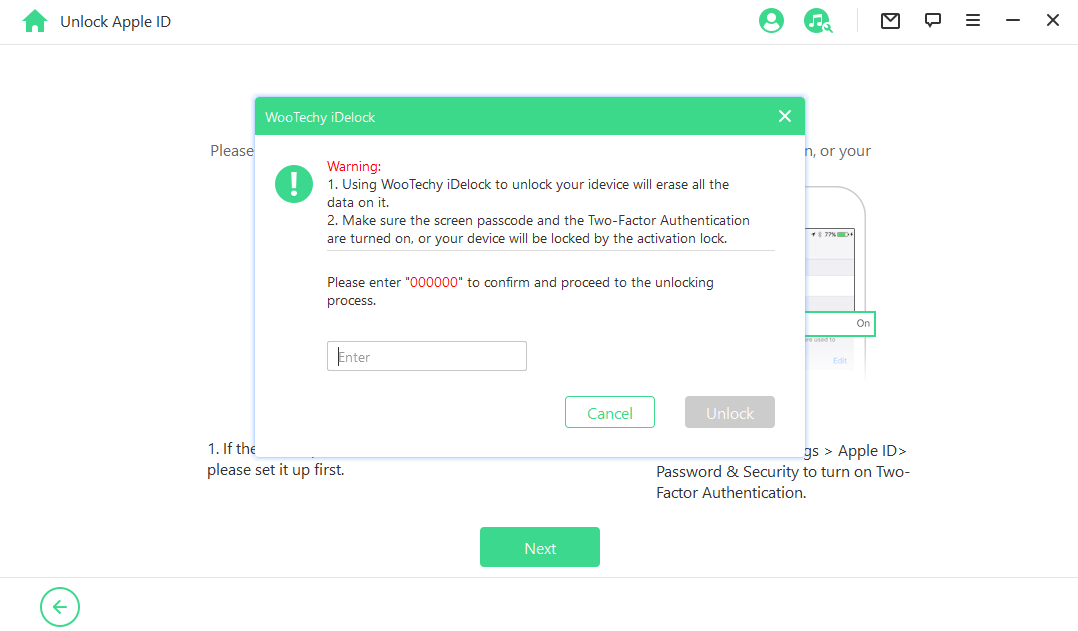
Step 5: A pop-up window will appear, asking you to enter the code "000000" to confirm the unlocking process. After entering the code, click "Unlock" and allow iDelock to handle the remaining steps.
Step 6: Exercise patience for a few minutes while iDelock removes the Apple ID from your device. Once the process is complete, a success message will appear on your screen.
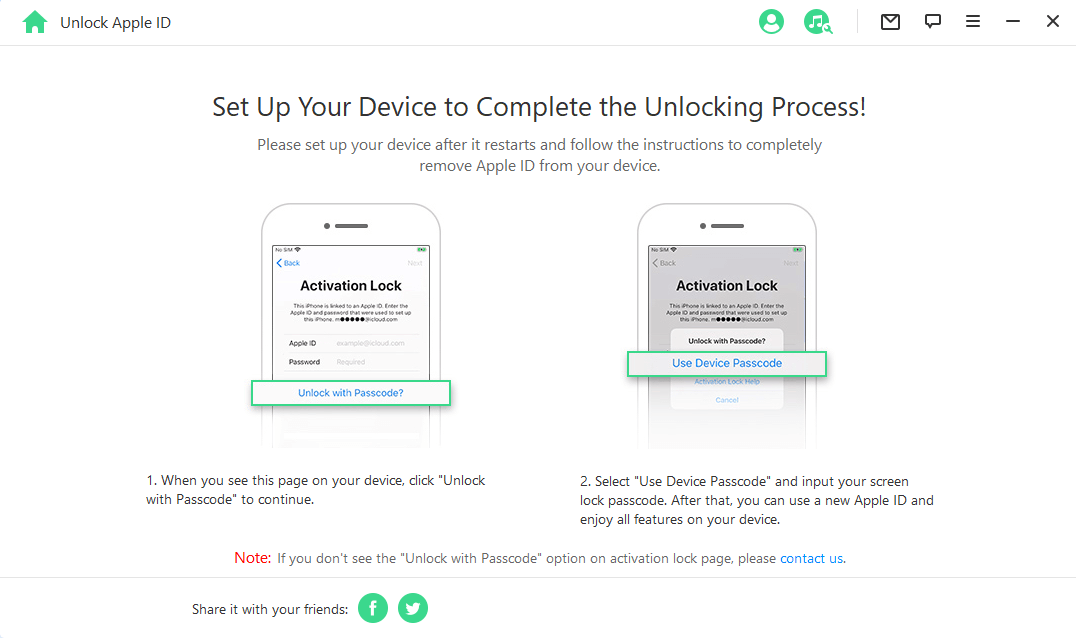
That's it! By following these steps, you can easily unlock your Apple ID using iDelock and regain access to all your Apple services. Enjoy the full functionality of your device once again.
Part 4: Things to Check Before Fixing Apple ID Verification Failed
Before diving into specific troubleshooting steps, it is essential to check a few basic factors that might contribute to the verification failure. Here are three things to consider:
1Check Wi-Fi Settings
A stable and reliable internet connection is crucial for successful Apple ID verification. Unstable Wi-Fi signals or connectivity issues can hinder the verification process.
Ensure you are connected to a stable Wi-Fi network. If needed, restart your Wi-Fi router or modem to refresh the connection. You can also try connecting to a different network to rule out any local network issues.
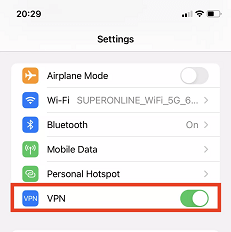
2Check VPN
If you use a Virtual Private Network (VPN) on your device, it can sometimes interfere with Apple ID verification.
Go to Settings and disable your VPN temporarily and try verifying your Apple ID without the VPN connection. If the verification succeeds, configure your VPN properly to allow access to Apple services without disruptions.
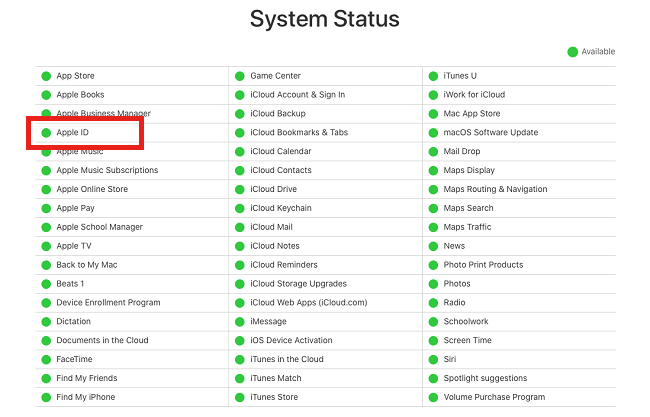
3Check System Status
It is crucial to check Apple's System Status page to identify any ongoing service disruptions or issues. This page provides real-time updates on the status of various Apple services, including Apple ID. If there is an issue reported for Apple ID or any related services, it is likely the cause of the verification failure. In such cases, waiting for Apple to resolve the issue is the best course of action. If nothing wrong, you would see all green dots.
Part 5: 6 Common Ways to Fix Apple ID Verification Failed
If you have checked WiFi, VPN and Apple System Status and there is nothing wrong with them, then you might consider the following six common ways to fix Apple ID verification failed:
Solution 1 for Apple ID Verification Failed: Update Time & Date
The first solution is to update the time and date on your device. This is important because an incorrect time or date can cause authentication issues and lead to the "Apple ID Verification Failed" error. By updating the time and date, you ensure that your device's authentication processes align with the server's authentication protocols.
Open the Settings app on your iPhone or iPad.
Scroll down and tap on "General."
Tap on "Date & Time."
Toggle on the "Set Automatically" option to enable automatic time and date updates.
If the option is already enabled, toggle it off and then toggle it back on.
Solution 2 for Apple ID Verification Failed: Update iOS Version
Updating your iOS version can address compatibility issues and fix potential bugs that may cause "Verification Failed”. Apple regularly releases iOS updates that include bug fixes, security enhancements, and improved compatibility with their services.
Go to the Settings app on your device.
Scroll down and tap on "General."
Tap on "Software Update."
If an update is available, tap on "Download and Install" to update your iOS version.
Solution 3 for Apple ID Verification Failed: Sign Out/In of Apple ID
Signing out and signing back in to your Apple ID can refresh the authentication process and resolve verification issues. This solution helps to ensure that your Apple ID credentials are correctly recognized and authenticated by Apple's servers.
Open the Settings app on your device.
Tap on your Apple ID at the top of the screen.
Scroll down and tap on "Sign Out."
After signing out, tap on "Sign in to your iPhone" and enter your Apple ID credentials.
Solution 4 for Apple ID Verification Failed: Reset Network Settings
Resetting network settings can help resolve connectivity-related issues that may cause verification problem. This solution resets your device's network settings, including Wi-Fi, cellular, and VPN configurations, which can clear any potential network-related conflicts affecting the verification process.
Open the Settings app on your device.
Tap on "General."
Scroll down and tap on "Reset."
Tap on "Reset Network Settings" and confirm your selection.
Solution 5 for Apple ID Verification Failed: Use Verification Code
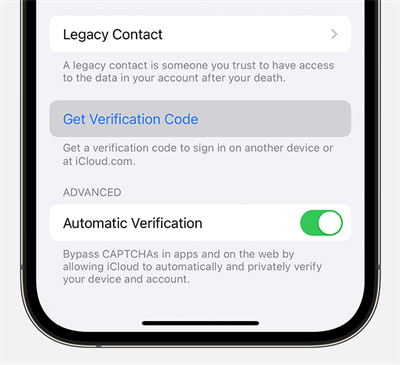
Using a verification code can avoid Apple ID verification failed and provide an alternative method for authentication. You can generate a verification code from another Apple device using the same Apple ID, and then enter it on the device experiencing the verification issue.
On another Apple device signed in with the same Apple ID, go to Settings > [Your Name] > Password & Security.
Tap on "Get Verification Code" to generate a code.
On the device with the verification error, enter the verification code when prompted.
Solution 6 for Apple ID Verification Failed: Change Apple ID Password
Changing your Apple ID password can help resolve authentication issues and ensure that you have the correct credentials for accessing your Apple ID. By changing your password, you refresh the authentication process and eliminate any potential password-related conflicts.
Open the Settings app on your device.
Tap on your Apple ID at the top of the screen.
Scroll down and tap on "Password & Security."
Tap on "Change Password" and follow the on-screen instructions to create a new password.
FAQs about Apple ID Verification
Q1: Can you verify Apple ID using email only?
No, Apple ID verification cannot be completed using email only. Apple uses a multi-factor authentication system that typically requires users to verify their identity through multiple methods, such as a verification code sent to a trusted device, a trusted phone number, or using a verification code generated on another Apple device.
Q2: How do I turn off Apple verification on my iPhone?
It is not recommended to turn off Apple verification on your iPhone as it compromises the security of your Apple ID. Verification processes help protect your account and sensitive information from unauthorized access.
Q3: Why is my iPhone asking for Apple ID verification?
There are several reasons why your iPhone may ask for Apple ID verification. Common causes include outdated time and date settings, software glitches, network connectivity issues, or changes made to your Apple ID or password.
Conclusion
When you unfortunately encounter Apple ID verification failed issue, it can be cuased by various factors mentioned above. To resolve these issues and successfully verify your Apple ID, iDelock is the best Apple ID unlocker that you can find on the market, offering you a seamless unlocking experience. Just download and give it a try!
Download Now
Secure Download


